
Adding Flowers and Small Details to Craft Projects for a Luxe Look
Let's talk small details in paper craft and mixed media projects. Here's why you shouldn't skimp on them.

Hi, crafty friend! I'm all about flowers and little details in my projects. Each little thing you add is just another element for the eyes to feast upon. Think of small details as a little treasure tucked into your project that creates a rich and luxe look to your projects that is so pleasing to look at.

Skimping on little details like art stones, small flowers, stenciled texture or even glitter might seem tempting. I get it--you've got a lot to do and you just need to create a little something. But here's why you shouldn't--it's not just about creating a luxe project to look at, it's about playing and enjoying the process!
After all, that's why we create--to play, to de-stress, to be in the moment, and to just have fun! And those little details are so fun to add.

Now that I've waxed poetic about the creative process, let's get into the tutorial for this little mixed media canvas. If you want a full supply list for this project, you can find it at the bottom of this post.
Start out by covering a 5x7 canvas with some patterned paper. I used a sheet of dark paper from the Farm Sweet Farm 12x12 Paper Pad and distressed the edges. I like to use Finnabair's Soft Matte Gel to attach paper to canvas and a brayer to help really press it into place by rolling it on the edges and the back side of the canvas. Then apply Finn's Paper Texture Paste through a stencil. I used Manor House. Set this aside to dry.

Prime your moulds with gesso if they are cast from resin. There's no need to prime moulds cast using Redesign with Prima's Casting Mix. For the moulds, I used some small medallions from Finn's Mirror Frames Mould, a wax seal from The Home Baker Sweet Seal Mould, and the large rectangular frame from Redesign's Ornate Legacy Mould.

Cover your moulds using two Finnabair waxes to create an ombre look. I used Rose Gold and Celestial. I started with Rose Gold, adding it to some spots on the mould, then adding Celestial in the empty spots and brushing over the edges of Rose Gold to feather the two colors into one another.

To add a delicate highlight to your moulds' texture, apply the Uchia Rose Gold chisel tip marker to the highlights of your moulds.

Next, glue a piece of the Postcards from Paradise Lace to the back side of the frame mould. I tacked it in place with a few small dots of hot glue, trimmed off the excess, then saturated the edges of the lace on the back of the frame with Soft Matte Gel to provide more permanent adhesion. Let this gel dry.

Once your elements are ready, it's time to start layering it all on your canvas! I used hot glue to add my flowers and moulds. To let the lace insert in the frame shine, I used my "floating frame" technique. This is where I use flowers on diagonal corners to pop the frame up on the project.

The sentiments were fussy cut from a 4x6 Journaling Notecard from the Farm Sweet Farm collection. I popped them on using some foam adhesive strips and hot glue.

I tucked in the small moulds among the flowers then added a few chipboard stickers and some gems. The smaller finishing touches was dry brushing white gesso on the moulds and flowers, adding art stones and glitter, as well as some pearls.

And that's it! Let me know in the comments which little detail in this project is your favorite. Until next time, happy crafting!
Adrienne
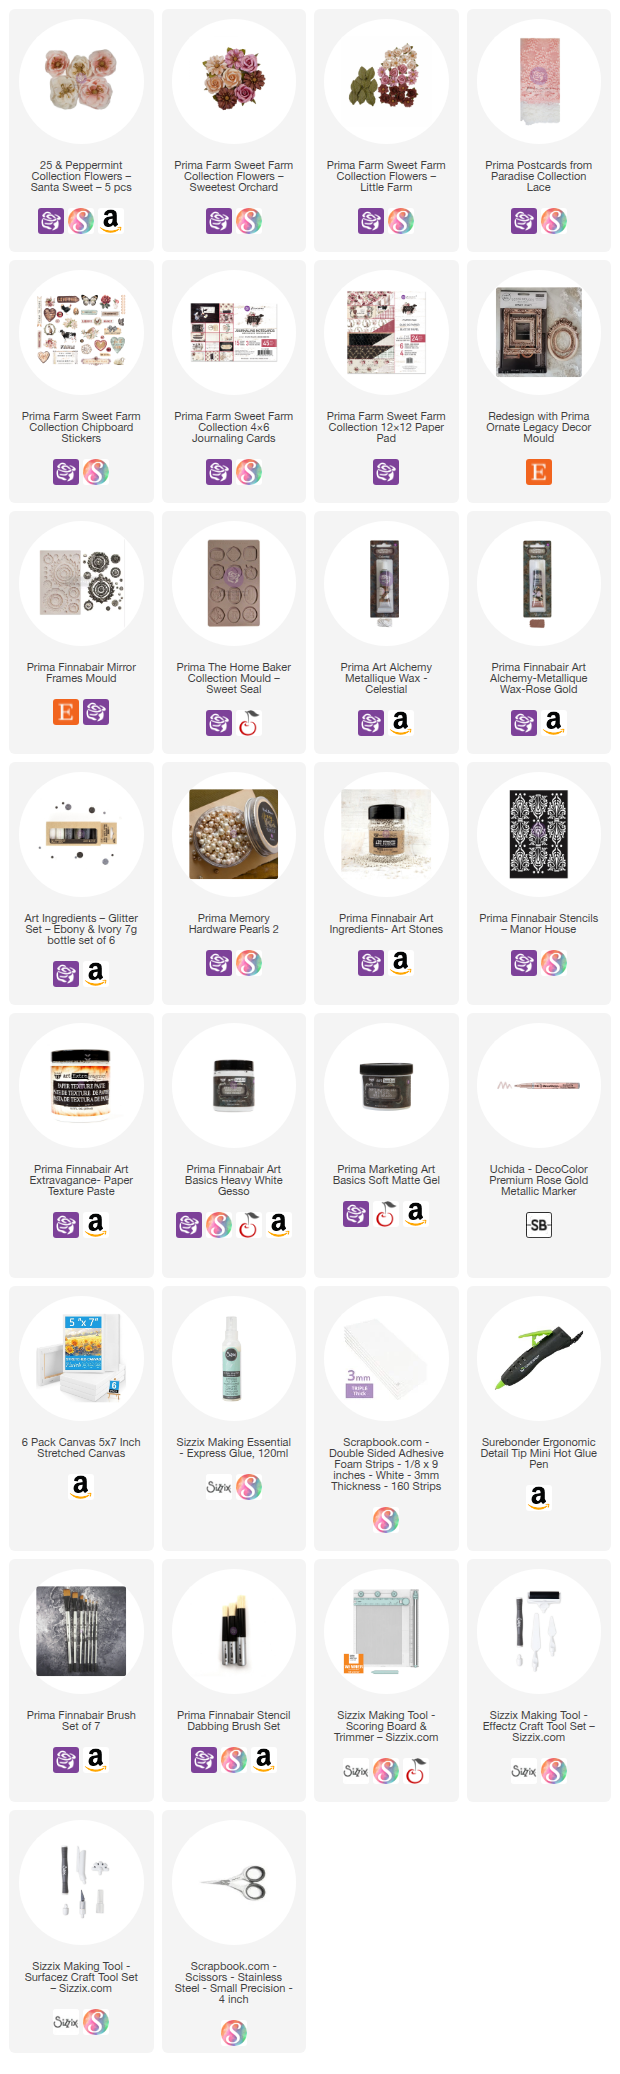
Shop the Supplies:
Scrapbook.com, A Cherry On Top, Sizzix, Prima Marketing, Spellbinders, Etsy & Amazon
I am an affiliate with multiple companies. When you shop the links below, I receive a small commission from the affiliate, at no additional cost to you. This helps me balance the costs of the time and love I put into my projects and blog so I can continue to share my ideas with you for FREE. If you shop the links, thank you! I greatly appreciate it.
Below are products that I used for this project.


0 comments
I'd love to hear your thoughts!