
How to Stamp on Canvas: Stained Glass Mixed Media Effect
Stamping on cardstock or paper? Sure, but what about canvas? Here's how easy it is to create a gorgeous stained glass effect on canvas by stamping and embossing then using Distress Sprays!

Hi, crafty friend! In my last project using the New Vicki Boutin Sizzix collection, I talked about how to get versatility out your of your craft stash. In the blog and the video, I said my goal was to show you different ways to use the Stamp and Framelit sets in this release--so here's technique number 2!

The last technique was die cutting only with the thinlits in the Greenery Layers 1 and Floral Layers 1 Stamp and Framelit sets. This time, I focus mainly on stamping only. And rather than just stamping on cardstock or paper to create a background, I'm sharing just how easy it is to stamp on canvas board!

For this technique, I recommend canvas board, rather than a stretched canvas. Canvas board is a thin piece of board with canvas on top. No matter where you stamp on the canvas, there will be a firm platform underneath. Stretched canvas, which is canvas stretched over a wood frame, and while it can be taut, when pressed, the center can give a little. It's also impossible to use a stamping platform with stretched canvas.
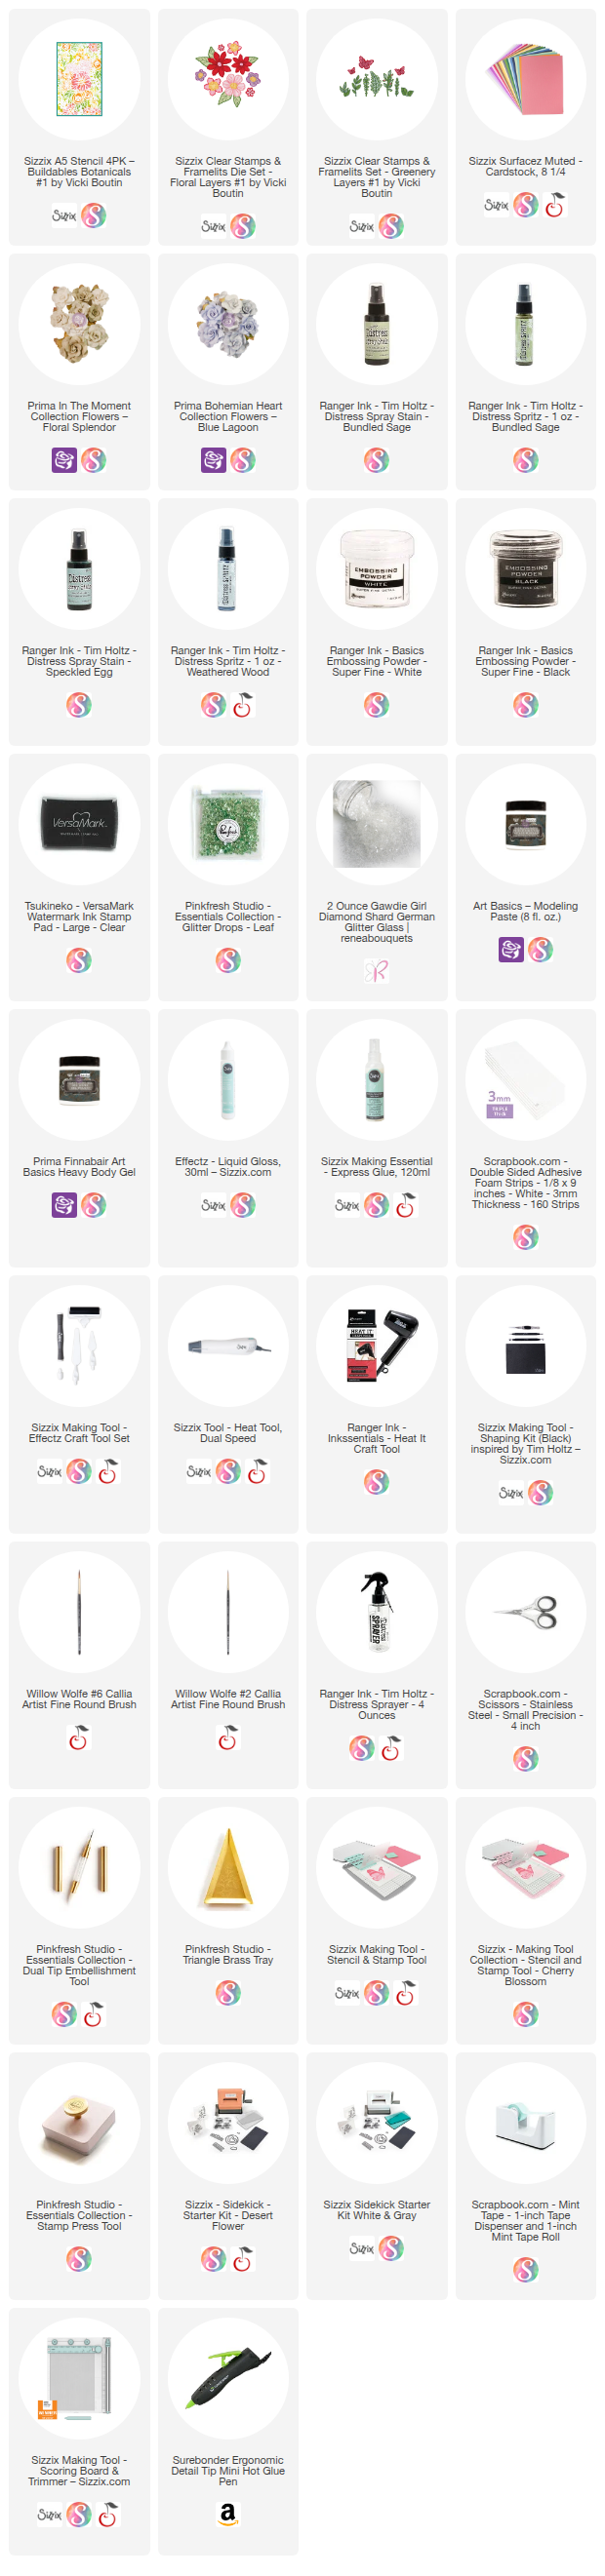
I've got all of the supplies for this project listed below!

So let's get into this tutorial. Start by placing your canvas board onto the Sticky Grid on your Sizzix Stencil and Stamp tool. Place a stamp from the Floral Layers 1 onto the top of the canvas and pick it up with the lid of your stamp tool.

My stamps were brand new out of the box and that means they have some oils on them from the production process that can cause your ink to bead up and stamp unevenly. You should always season new stamps by rubbing them with your fingers or by rubbing an archival ink pad over them--I used the Tim Holtz Distress Archival Ink in Black Soot. This will stain your clear stamps slightly, but it also makes it easier to see exactly where your clear stamps are placed on projects in the future.

Ink up your stamp with some embossing ink and then press it onto the canvas. I like to use a stamp press tool to help me get even pressure and I usually do 2 to 3 impressions. Once you are happy with the inked impression on your canvas, remove the canvas from your stamping platform and cover it with white embossing powder. I like the Ranger Super Fine White embossing powder, which gives nice crisp lines. Heat your embossed image.

Then continue building up your stamped area over the top half of your canvas. Let your stamped images overlap a bit to really fill it up. After a set of impressions, remove the canvas from the platform and emboss it with powder. Easy peasy!
After the top half of your canvas is covered in stamps, add texture to the bottom half with stenciled paste. I used the leaf stencil from Vicki's Buildable Layers Botanicals 1 stencil set. The long palette knife and the Sizzix Making Tool Effectz set is perfect for applying pastes. I used Finnabair's Modeling Paste.

Be sure to set your canvas aside to dry for about 15 minutes or so and to wash your stencil and palette knife or place them in a stencil bath right away.
Once your canvas is dry, you can begin adding color to it! I used several Tim Holtz Distress Spray Stains and some Spritzes in green and blue. Randomly spray the colors on and then spritz water over them to get the colors to move and mix. You can speed up the drying process by running a heat tool over it or a small fan.

After the color is dry on your canvas, you can decorate it! I used layers of blue and green Prima flowers. I also used some of the Thinlits in the Greenery Layers 1 set to die cut some green leaves to mix in with the flowers. I shaped the leaves with a shaping kit.

I highly recommend using Finn's Heavy Body Gel to glue the flowers directly to the canvas. I find that Distress sprays and hot glue don't mix and things that are hot glued to a canvas with Distress sprays pop off really easily. So that first layer got heavy body gel, and flowers and leaves that were glued on top of that first layer got hot glue.

And finally, I did some stamp and die cutting. This will be the technique I focus on more in the next project, so I just wanted to give you a little taste here with this project. I stamped out the large butterfly from the Greenery Layers 1 set once, and the medium butterfly twice with the embossing ink. I used the Ranger Super Fine Black embossing powder, then watercolored the butterflies with the same sprays as I used on the canvas.

Then I die cut these butterflies with the coordinating Thinlits (rather than the Framelits). To make them sparkle, I used Sizzix Liquid Gloss to the edges of the wings and dusted them in Reneabouquets Diamond Glitter Glass (regular glitter works too, but I like the chunky glass effect of glitter glass). Then I added a bit of foam adhesive to the back of the bodies, bent the wings up slightly, and added them to my canvas with hot glue.
The finishing touch was adding some glitter gems with my Sizzix Express Glue! I hope this inspires you to try out this stained glass effect, whether it's on canvas or cardstock. Until next time, happy crafting!
Adrienne
Shop the Supplies:
Scrapbook.com, A Cherry On Top, Sizzix, Prima Marketing, Spellbinders, Etsy & Amazon
I am an affiliate with multiple companies. When you shop the links below, I receive a small commission from the affiliate, at no additional cost to you. This helps me balance the costs of the time and love I put into my projects and blog so I can continue to share my ideas with you for FREE. If you shop the links, thank you! I greatly appreciate it.
Below are products that I used for this project.


0 comments
I'd love to hear your thoughts!