
DIY Easy Christmas Cookie Treat Boxes
Christmas time is here and that means cookie exchanges and gifting homemade treats! And what better way to really show off your homemade treats than in a handmade treat box! Let’s make these easy DIY cookie treat boxes together.

Hey, crafty friend! Creating beautiful handmade treats boxes is so much easier than you think! All you need are a handful of tools, cardstock, perhaps some acetate, and some pretty patterned paper and embellishments.

I created my set of treat boxes using Prima Marketing’s Twinkle & Treats collection along with the Sweet Seal Mould from their Home Baker collection. The baking and Christmas themed elements are perfect for holiday cookies! As always, you can find a full list of the supplies used linked at the bottom of this post—now let’s get into this tutorial!
Jump to a Section
Cut & Score | Creating the Window | Gluing Your Box Together | Decorating Your Box | Shop the Supplies

Cut & Score
This box is 6 inches square and 3 inches tall with a 1 inch deep lid. And each insert is 2 3/4 inches square.
You’ll need to pull out your trimmer and scoring board to make your box—I highly recommend the Sizzix Scoring Board and Trimmer Tool. Not only is it an all-in-one tool that cuts and scores, but the rulers and scoring board flip over so you can switch between inches and centimeters! So you don’t have to convert or buy extra tools just to follow this tutorial, which will be in inches.

To create the box, it's pretty simple. You cut some squares of cardstock, score in on the sides, then cut some tabs at the scored corners, and glue the tabs to the sides to create your box and lid. Then you decorate the sides and top with patterned paper.

Because your decorative patterned panels are slightly smaller than the sides and lid of the box, be sure to pick out some nice coordinating colors of cardstock. I chose a cream cardstock from Bazill for the bottom of the box and a pine green hue from the Sizzix Muted Surfacez cardstock pack. The patterned paper is from Prima's Twinkle & Treats 12x12 Paper Pad.
So let's talk measurements. Here's what you'll need to create this exact sized box:
- Box: 12x12 inch cardstock scored at 3 inches in on each side
- Box Lid: 8 1/16 inches cardstock scored at 1 inch in on each side
- Inserts: 8 1/4 inch cardstock scored at 2 3/4 inches in on each side (cut and score 4 of these)
- Box Patterned Panels: 5 3/4 by 3 3/4 inches (cut 4 of these)
- Box Lid Patterned Side Panels: 5 3/4 by 3/4 inches (cut 4 of these)
- Box Lid Patterned Top: 5 3/4 by 5 3/4 inches
- Box Lid Acetate: 5 3/4 by 5 3/4 inches
- Box Inside Bottom Panel: 5 9/8 by 5 9/8 inches

Once you have all of your pieces cut and scored, you'll need to cut tabs on the box bottom and lid as well as for the inserts. Follow these diagrams to cut the tabs (click to enlarge, diagrams not to size but for reference only):


Note: The reason I cut part of the tabs off for the inserts is to have a little less bulk on the inside. This will allow you to fit your cookies in nicely. If your cookies really fill the inserts tightly, cut a little notch at the top of two opposite sides of your insert with a circle punch. This will allow your recipient to easily pull out the first cookie, which makes the rest a little easier to get to.
Die Cut/Hand Cut the Optional Window
Now if you want to add a little acetate window, you'll want to glue the patterned paper to the top of the lid first. Just add glue to the outside edges of the patterned piece and attach it to your cardstock lid. Then use a nested square metal die and run it through your machine.

Because of the size of the cardstock, you'll need a larger die cut machine to run this through, like the Big Shot Pro, Big Shot Switch or the 8 inch Spellbinders Platinum.
Or, if you don't have a machine this big, you can take out a self-healing craft mat, ruler and craft knife and cut it by hand! I've got some recommendations for a craft knife and mat in the supply list below.

Gluing the Tabs and Panels Together
After you have cut your optional window, you can glue the tabs of your box, lid and inserts together using liquid glue.

Glue the patterned side panels onto the box and lid using either liquid glue or a permanent adhesive runner. You'll get a bit of the cardstock underneath peeking out on all sides for a nice contrast.

And glue the acetate to the inside of your box lid using liquid glue or permanent adhesive runner. I add the glue to the box lid then place the acetate over the glue.

Then adhere the panel for the inside bottom of the box. This will be the little surprise underneath the inserts that hold the cookies! I used a fun chunk of the pattern that features the little elves making a gingerbread house.

Decorating Your Box
Use the Redesign with Prima Casting Mix and The Home Baker Sweet Seal Mould to make a wax seal for each box you make. Follow the directions on the box using the 2:1 ratio of mix to water. Let your cast fully harden and dry before removing it from your mould--drying time will vary depending on your climate, but generally, you can demould in about a half hour to an hour.
My biggest tip is to not touch your mould at all while it is drying--you don't want to disturb the mixture while it is setting. I often do my casting with this mix at the end of the day and leave it overnight so I'm not tempted to touch it too early.

Once your mould is ready, paint it with the deep green color in the Art Philosophy Watercolor Confections Essence palette. After your paint is dry, use your finger to apply the Aged Brass Finnabair Wax to the highlights of the mould.

I added ephemera, chipboard sticker sentiments, stickers from the Sticker Sheet and several of the flowers to the top of the box from the Twinkle & Treats collection. I used a hot glue gun to add these elements to my box as well as foam adhesive. Then add your Home Baker Sweet Seal mould to your box along with a few gems from the Twinkle & Treats Say It In Crystals.

Add cookies to your inserts and then place the inserts inside your box. If you want, you can tie a little ribbon or twine around your box to secure the lid for transportation. I used some of the dark green twine from The Home Baker Spools of Yarn set.

If you are wondering what the cookies are in my box, they are our family's recipes for Lebkuchen, Pfeffernüsse and Lizer Augen. If you haven't guessed, my family is German and Austrian, and these are some very traditional Christmas cookies you find in both countries. We also make Vanilla Kipferl and Sahne Zungen (which is a type of spritz cookie), but we haven't gotten to those ones yet. You can get recipes and learn about these cookies and other types of German and Austrian holiday cookies over on the German Girl in America blog. Let me know what holiday cookies you love to make for the season in the comments!

And that's it! I hope you enjoyed this tutorial and that it inspires you to make a special box for your special seasonal cookies. Until next time, happy crafting!
Adrienne
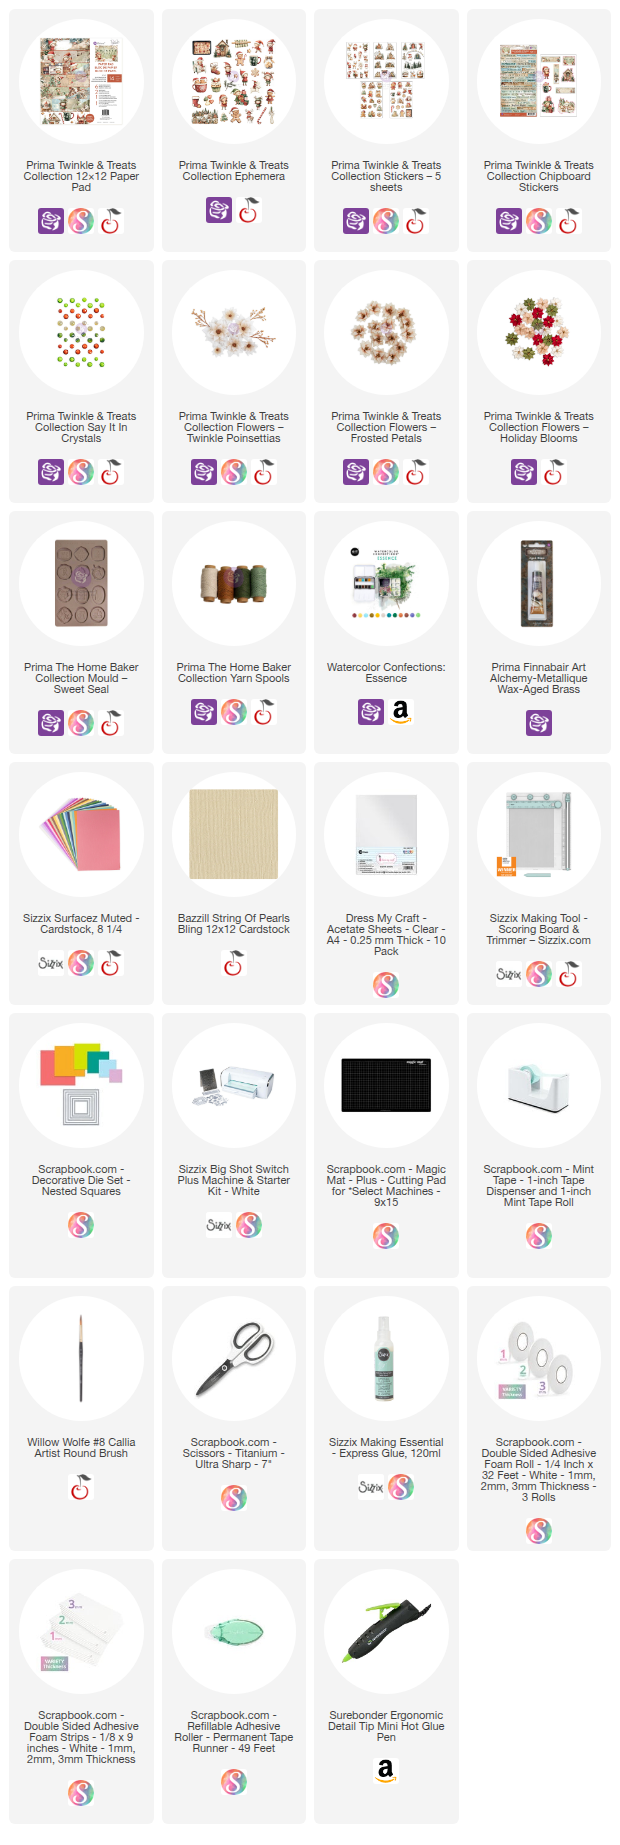
Shop the Supplies:
Scrapbook.com, A Cherry On Top, Sizzix, Prima Marketing, Spellbinders, Etsy & Amazon
I am an affiliate with multiple companies. When you shop the links below, I receive a small commission from the affiliate, at no additional cost to you. This helps me balance the costs of the time and love I put into my projects and blog so I can continue to share my ideas with you for FREE. If you shop the links, thank you! I greatly appreciate it.
Below are products that I used for this project.


2 comments
Absolutely gorgeous! I am going to make some of these. I love making gift boxes.
ReplyDeleteSo happy to hear you love this tutorial and that you are going to make some treat boxes! Thanks for stopping by!
DeleteI'd love to hear your thoughts!