
Quick and Easy Letters to Santa Christmas Stationary Kit
Create a cute DIY kit for your kids to send letters to Santa or to use as stationary for including letters to friends and family in your holiday greeting cards.

Hey, crafty friend! Some of the biggest holiday traditions for Christmas include sending Christmas cards to friends and family, and kids writing letters to Santa. To help you do either (or both!), I created this tutorial for a stationary kit using the Twinkle & Treats collection along with the From the North Pole Wax Seal Mould—a match made in heaven!

I used a wooden box in my stash of things. I think this came from Target's dollar spot several years ago--but you just want to select one that is going to fit something that is 6 inches wide so you can use the Twinkle & Treats 4x6 Journaling Notecards, which are cute little post cards!
Shop the main supplies used for this project in the supply list below!

Cover the inside of your box with some of the Twinkle & Treats 12x12 paper. Then make yourself some dividers--2 that go all the way across and then 1 shorter one that will divide the back section in half. I used more of the 12x12 paper pad, creating 1/4 inch tabs on both sides of each divider. Then I backed the divider with some white chipboard to make it super sturdy.

Glue your dividers into your box with some liquid adhesive then add the Twinkle & Treats Stationary Kit paper and envelopes (I folded the paper in half), 1 of each 4x6 Journaling Notecards, and 1 of each of the 3x4 Journaling Notecards.
I also created some handmade kraft glassine bags using my Sizzix Scoring Board and Trimmer Tool and hot glue. The kraft glassine is something from Tim Holtz that I've had in my stash for a really long time. But if you can't make your own, you can always buy glassine bags, usually from the baking section of your craft store--it's with all of the little baggies and boxes you can put treats into. Or you can buy white or kraft glassine sheets on Amazon--I've listed one option below for you in my supply list.
Pro Tip: Use hot glue to adhere your glassine bag together.

Using a wax seal burner set, melt some wax pellets and pour it into your From the North Pole Wax Seal Mould. Once they've cooled, remove them from the mould and add a touch of Finnabair's Metallique Wax to the raised areas of the moulds. I used Aged Brass and Old Silver.
Then add these wax seals to one of the glassine bags and some tickets and ephemera from Twinkle & Treats to the other 2 baggies. Place them into your box. Now it's time to decorate the outside of the box!

Start by gluing some velvet ribbon of your choice around the outside of the box. Don't worry about tying it off at the center--just hot glue the center ends together as we'll be covering these with other bits and bobs--just leave some ends hanging past the bottom of the box.
Cast another one of the From the North Pole Moulds but this time in a more durable material like resin or Redesign's Casting Mix (I used the latter). Prime if you used resin, then paint the mould with a green watercolor. Add the Aged Brass Wax to the highlights.

Add some of the Twinkle & Treats flowers and sprigs to the box using hot glue. Add the little elf with presents from the Chipboard Stickers set. Using a bit of foam adhesive, glue a candy cane ephemera to the back of the wax seal mould then glue these to the top of your floral cluster on the box. Pop on a few of the Crystals if you like and then your stationary kit is ready to use!
I hope you enjoyed this quick and easy tutorial and that it inspires you to create your own version of this for you and your family this holiday season. Let me know if you'll be using it to send a little letter to friends and family in Christmas cards or if your child will use it to write letters to Santa in the comments below, and until next time, happy crafting!
Adrienne
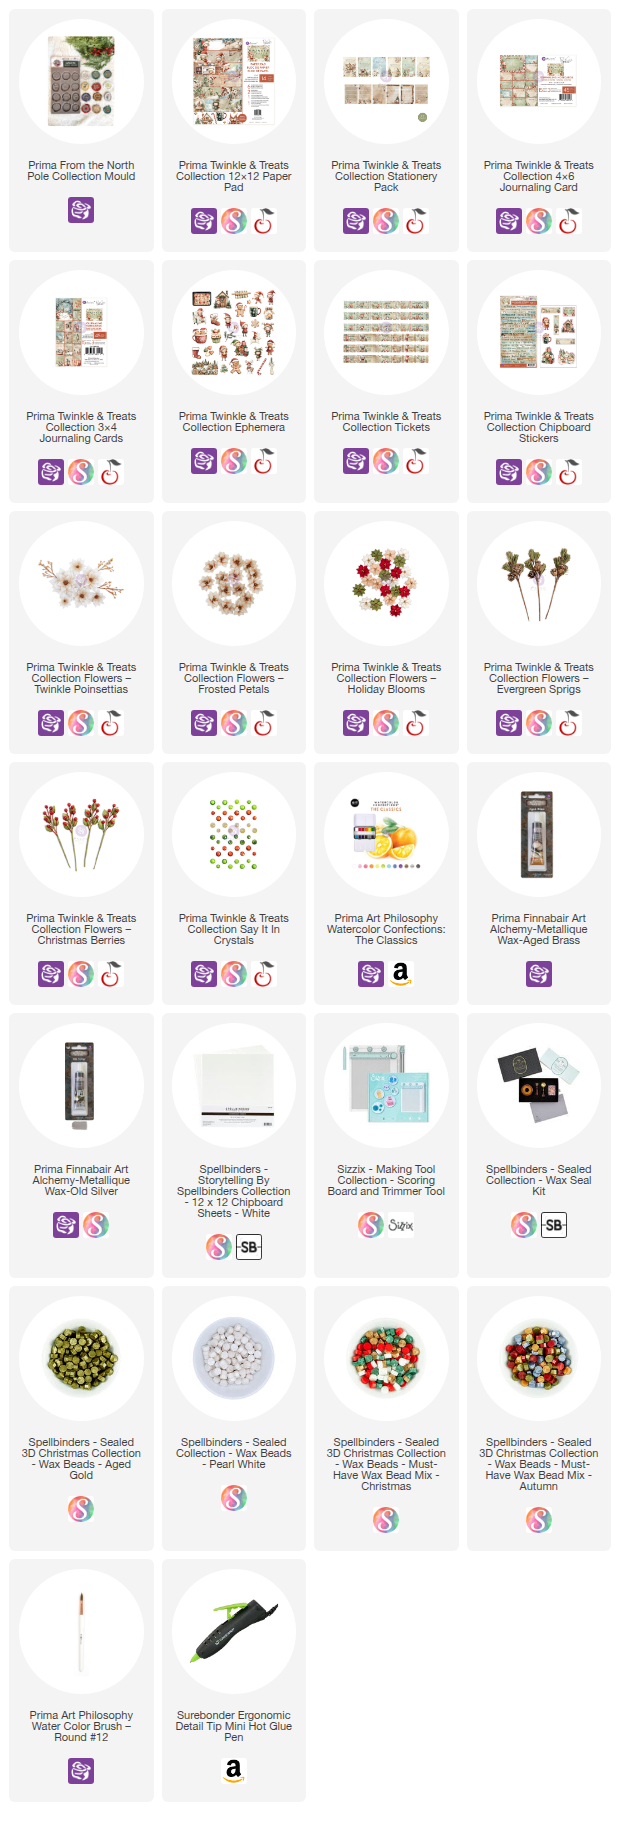
Shop the Supplies:
Scrapbook.com, A Cherry On Top, Sizzix, Prima Marketing, Spellbinders, Etsy & Amazon
I am an affiliate with multiple companies. When you shop the links below, I receive a small commission from the affiliate, at no additional cost to you. This helps me balance the costs of the time and love I put into my projects and blog so I can continue to share my ideas with you for FREE. If you shop the links, thank you! I greatly appreciate it.
Below are products that I used for this project.


2 comments
So beautiful and nicely organized.
ReplyDeleteThank you so much!
DeleteI'd love to hear your thoughts!