
Crone's Moon Mixed Media: DIY Halloween Decor
The Witchcraft Thinlit from Sizzix and Tim Holtz is perfect for creating a crescent moon mixed media decor piece.

Hey, crafty friend! I love a good mixed media project and I really wanted to nestle this old witch and her cat into a bunch of pretty flowers for a beautiful mixed media piece.
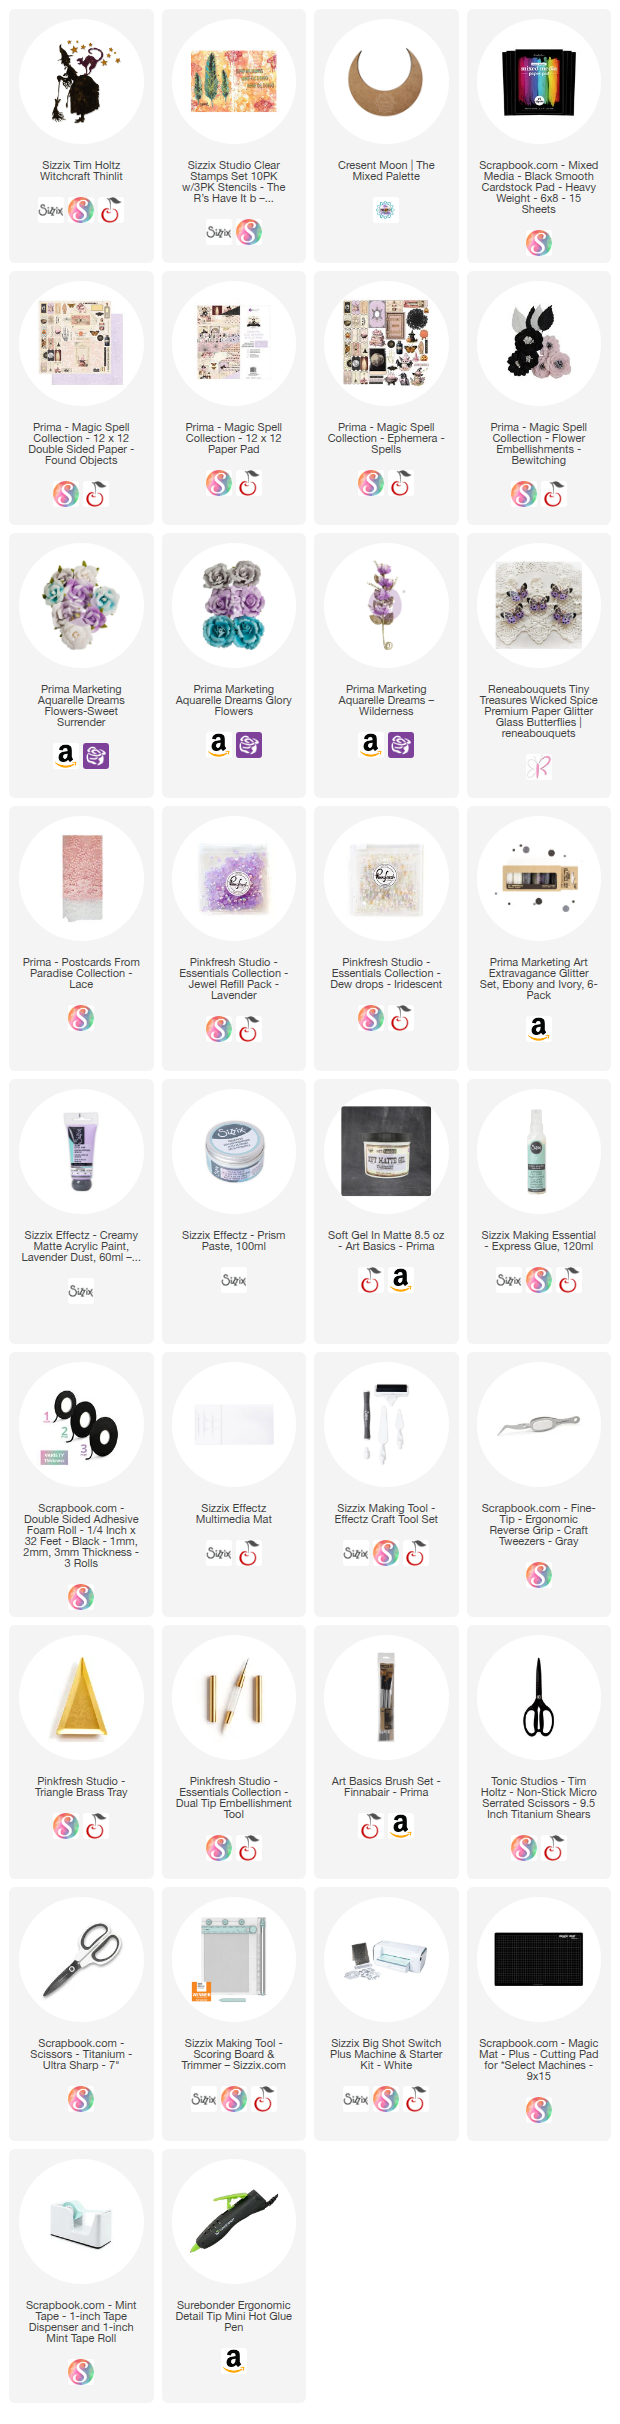
You can shop all of the essential supplies for this project below!

I know that in pop culture, witches are often misunderstood. Historically and before the witch trials, witches were respected healers. So I didn’t want this witch to be creepy, but to celebrate the beauty of living a life in tune with nature.
But enough of me waxing poetic about women who had power and therefore threatened the power of the patriarchy. I’ll just say, listen to the BBC podcast “Witch”—it’s an enlightening and enthralling look into the history of witchcraft! Now, let’s get into this tutorial!

First, die cut the witch and her cat from some thick black cardstock and set these aside. Select a piece of patterned paper—I used the purple star paper from Prima’s Magic Spell collection. Trace the crescent moon MDF shape onto your patterned paper and cut the shape out with a pair of scissors.

Prep your crescent moon base by painting the edges of the crescent moon with paint that matches your patterned paper you’ve chosen. I used the Lavender Dust paint from Sizzix as it perfectly matches the purple star paper.

After the paint is dry, use a paintbrush to apply a thin layer of Prima’s Soft Matte Gel onto the top of the crescent moon. This gel has low water content and is good for gluing papers onto MDF shapes. Press your patterned paper moon cut onto the surface and use a brayer to smooth out any air bubbles and spread the gel to the edges. I like to use the Sizzix Multi Effectz tool as it includes a brayer and palette knifes to help with mixed media projects.

Once the patterned paper is on, use the star stencil and a palette knife for Sizzix Studio’s the R’s Have It set to add some texture paste through the stencil. I used Sizzix Prism Paste, but you can use any effect or modeling paste.

Once your paste is dry, you can add all of the embellishments! I started with a base of flowers and some lace vines that I cut up into sections. I used hot glue to adhere all of my elements, but if you want more work time to move things around, use Prima’s Heavy Body Gel. Once the base layer is down, glue the witch on top of the base layers of flowers.

Next, glue some additional flowers and lace onto the witch. Add the cat to the bottom tip of the crescent moon. Gently bend the wings on 3 Reneabouquets butterflies and glue them to the project, nestling them onto the flowers. Add in some ephemera if you like—I included a sentiment and potion bottle from the same Prima collection.

The finishing touches are adding some glitter the edges of the flowers and the broom bristles by applying Soft Matte Gel with a paintbrush and then sprinkling on the glitter. Tap off the excess glitter and put it back into the container. Then glue on some sparkly gems!
I hope you enjoyed this tutorial and that it inspires you to create something that celebrates the power and independence of women by honoring the historical aspect of witches. Until next time, happy crafting!
Adrienne
Shop the Supplies:
Scrapbook.com, A Cherry On Top, Spellbinders, Sizzix, Etsy & Amazon
I am an affiliate with multiple companies. When you shop the links below, I receive a small commission from the affiliate, at no additional cost to you. This helps me balance the costs of the time and love I put into my projects and blog so I can continue to share my ideas with you for FREE. If you shop the links, thank you! I greatly appreciate it.
You can also use the code adrienne15 for 15% off your order on the Prima Marketing Retail site.
Reneabouquets is a small business that offers bespoke paper crafting embellishments.
Below are products that I used for this project.


2 comments
I love this project and your theme. I clicked on the BBC link and am hooked on the witches podcast. Thank you for the inspiration and the suggestion. And I am going to make a project inspired by yours. Crafty hugs, Kim
ReplyDeleteI'm so glad you love the project and that you are enjoying the podcast! Can't wait to see your version of the project!
DeleteI'd love to hear your thoughts!