Watercolor Floral Memorydex Card Tutorial

by - 12:30:00 PM

I love water coloring and pockets. And what better way to decorate a Memorydex card than to combine the two?

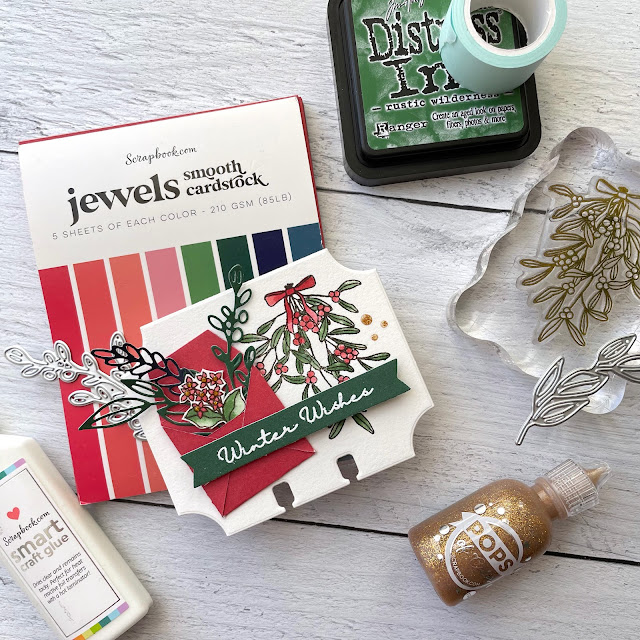
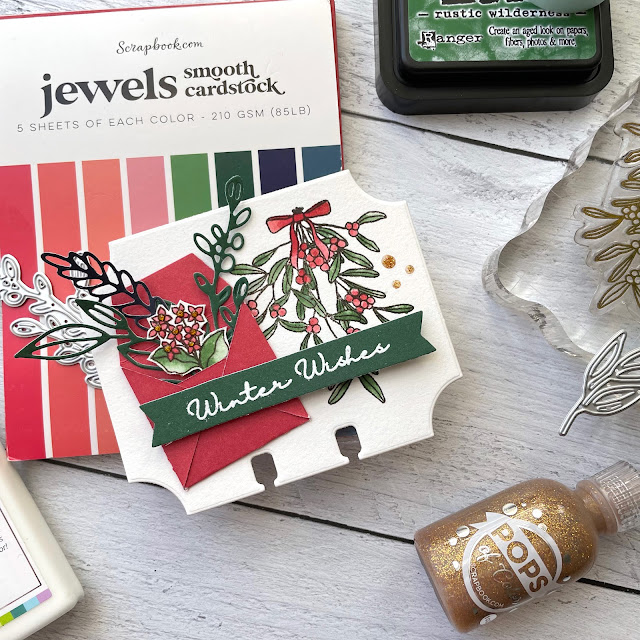
Memorydex card made with: Scrapbook.com Winter Florals stamp set, A2 jewels smooth cardstock, pops of color glitter gold, smart glue, mint tape, sprigs dies: Tim Holtz distress ink; Ranger super fine embossing powder; Heidi Swapp memorydex die

I used another one of the newest stamps from Scrapbook.com that they sent me to create this pretty Memorydex card. I have had my eye on the Winter Florals stamp set since it was posted as coming soon on their website so I was thrilled to get the stamp in the mail from them! (As of publishing, it's not yet available for purchase, so visit this link and click on the "notify me" button and you'll get a message when it becomes available!)

Memorydex card made with: Scrapbook.com Winter Florals stamp set, A2 jewels smooth cardstock, pops of color glitter gold, smart glue, mint tape, sprigs dies: Tim Holtz distress ink; Ranger super fine embossing powder; Heidi Swapp memorydex die

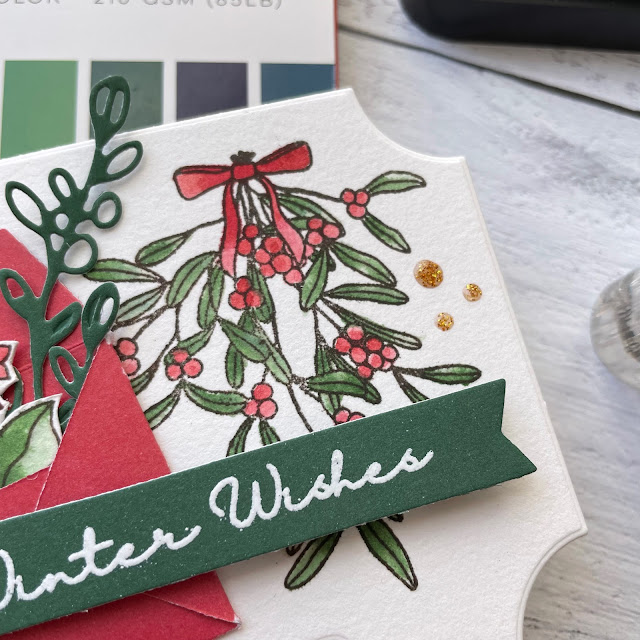
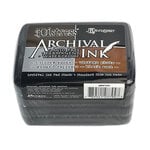
I have a tendency to go straight for pattern papers when cutting the base of my Memorydex cards. It’s easy to create a background to build off of, but sometimes, it’s also nice to make your own background. So I cut out a card base with one of the Heidi Swapp dies from some of the new Art Philosophy watercolor cardstock and then stamped the mistletoe image onto the card (on the smoother side) using the ground espresso Archival Distress Ink.  I also stamped a small cluster of flowers from the same stamp set onto some more of the watercolor cardstock. 

Memorydex card made with: Scrapbook.com Winter Florals stamp set, A2 jewels smooth cardstock, pops of color glitter gold, smart glue, mint tape, sprigs dies: Tim Holtz distress ink; Ranger super fine embossing powder; Heidi Swapp memorydex die

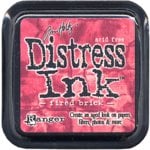
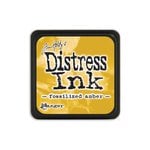
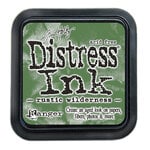
Next I smooshed some Distress Ink colors onto my glass media mat to use as my water colors. I used Rustic Wildnerness, Fired Brick and Fossilized Amber. I wet the areas I wanted to paint with water and then picked up some of the color I wanted with a water brush marker. I layered and layered until I was happy with the shading.

Memorydex card made with: Scrapbook.com Winter Florals stamp set, A2 jewels smooth cardstock, pops of color glitter gold, smart glue, mint tape, sprigs dies: Tim Holtz distress ink; Ranger super fine embossing powder; Heidi Swapp memorydex die

I then added a few drops of Pops of Color in gold glitter to the centers of the flowers in the cluster and set it aside to dry. I cut out a pocket using one of the new Little Envelope dies as well as some florals from the Sprigs die set. I chose a few coordinating colors from the Jewels Smooth Cardstock pad.

Memorydex card made with: Scrapbook.com Winter Florals stamp set, A2 jewels smooth cardstock, pops of color glitter gold, smart glue, mint tape, sprigs dies: Tim Holtz distress ink; Ranger super fine embossing powder; Heidi Swapp memorydex die

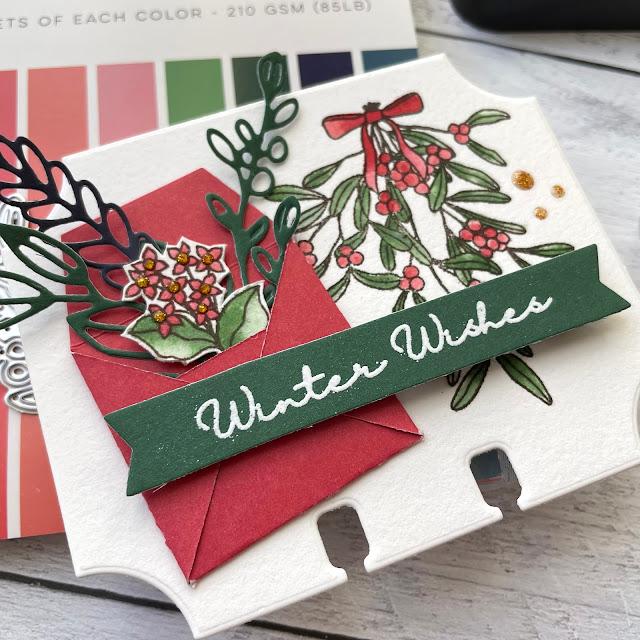
I glued my envelope together into a pocket using a couple of small drops of Smart Glue. I added the sprigs and then fussy cut the flower cluster and added it as well, using a foam square to pop it up a bit. I then glued the pocket of florals onto the front of the Memorydex card.

Memorydex card made with: Scrapbook.com Winter Florals stamp set, A2 jewels smooth cardstock, pops of color glitter gold, smart glue, mint tape, sprigs dies: Tim Holtz distress ink; Ranger super fine embossing powder; Heidi Swapp memorydex die

Finally, I stamped one of the coordinated sentiments from the set in embossing ink and then heat embossed it with Ranger’s Super Fine embossing powder in white. I then cut the sentiment out with the banner die from the Winter Wishes die set. I adhered it with a few foam squares and added a couple more drops of glitter Pops of Color. 

It’s so cute and gave me a chance to use a more traditional Christmas palette, which is a good stretch for me since I have a tendency to reach for icy blues at this time of year. I hope you enjoyed this quick walk through tutorial and until next time, happy crafting!
Adrienne

Shop the Supplies:


ReplicaSurfaces

Love the background I shot my photos on? It's from Replica Surfaces, a company that makes rigid photo-realistic backgrounds. This surface is called Shiplap You can pick up your own with a 15% discount by shopping this link. When you do, I get a small commission from the sale at no extra cost to you, which helps me continue to provide you amazing tutorials and information, just like this blog post!


Scrapbook.com

I am an affiliate with Scrapbook.com. When you shop the links below, I receive a small commission from the affiliate, at no additional cost to you. This helps me balance the costs of the time and love I put into my projects and blog so I can continue to share my ideas with you for FREE. If you shop the links, thank you! I greatly appreciate it.


Below are products that I used or similar products.


You May Also Like

0 comments

I'd love to hear your thoughts!