
Floating Acetate Mini Slimline Card

- Stamp sentiment (I used the new Feel Better Sentiments 2 set from Scrapbook.com that they sent me--as of publishing this blog, it's still marked as coming soon, so if you love it, visit this link and click on the notify me button and you'll get an email when it's ready for purchase!)
- Embossing ink
- Embossing Powder (I like using Ranger’s Super Fine powders because they show off more details in your stamps)
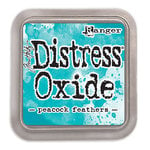
- Ink of your choice (I love using Distress Oxides—they provide great coverage and are highly pigmented)
- Stencil (I used the Nature layering stencil from Tim Holtz)
- Acetate
- Smooth white cardstock
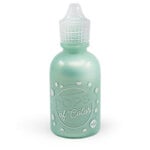
- Pops of Color (I chose seafoam, bubblegum and soft lilac)
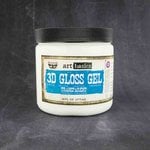
- Thick art medium like 3D gloss gel, heavy body gel or gesso (remember that it being transparent vs. opaque will change the way it looks—I used a transparent 3D gloss gel)
- Jewels
- Foam adhesive
- 4” mint tape
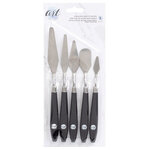
- Palette knife or craft scraper
- Heat tool
- Stamping platform or stamping block


Shop the Supplies:
ReplicaSurfaces
Love the background I shot my photos on? It's from Replica Surfaces, a company that makes rigid photo-realistic backgrounds. This surface is called Shiplap You can pick up your own with a 15% discount by shopping this link. When you do, I get a small commission from the sale at no extra cost to you, which helps me continue to provide you amazing tutorials and information, just like this blog post!
Scrapbook.com
I am an affiliate with Scrapbook.com. When you shop the links below, I receive a small commission from the affiliate, at no additional cost to you. This helps me balance the costs of the time and love I put into my projects and blog so I can continue to share my ideas with you for FREE. If you shop the links, thank you! I greatly appreciate it.
Below are products that I used or similar products.


0 comments
I'd love to hear your thoughts!