
How to Create a Scrapbook Layout Using the Sizzix Sidekick Mini Die Cut Machine
You don't need an expensive die cut machine to achieve beautiful scrapbook layouts. See how you can create detailed layouts using small dies and embossing folders with this one tiny die cutting machine!

I love my Sizzix Sidekick! It doesn't take up a lot of space, but even so, it's still a powerful die cut machine. I love that it uses a suction base, which keeps it stable. But even better, Sizzix and Letters by Shells released a sweet line of thinlits and a mini embossing folder that work perfectly with the Sidekick!

And while these tiny dies and embossing folder are also perfect for cards, small home decor projects, or even barrettes--which I made with the Fruit Doodles Thinlits, let's create a scrapbook layout together with this line!
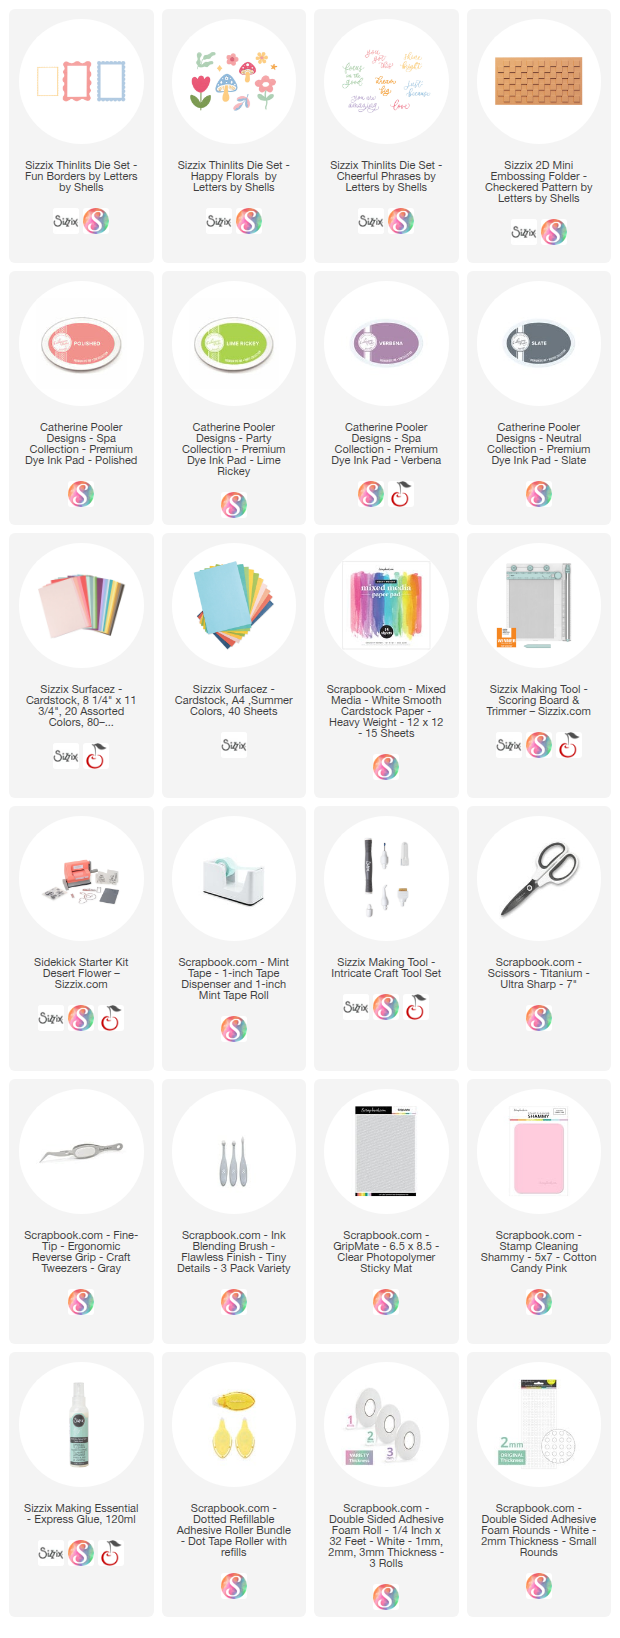
Shop all the products used in this project below!

I started with a white 12x12 piece of Mixed Media Cardstock for the base of my project. I chose a 4x6 and a 3x4 photo. I matted the smaller with some Sizzix cardstock. Then I added the photos with dotted and foam adhesive to layer them.

I then die cut the word "amazing" in the Cheerful Phrases Thinlits three times from Sizzix Cardstock. I glued the layers together to make a dimensional and sturdy die cut.

I then die cut a bunch of the leaves and flowers from the Happy Florals Thinlits from various Sizzix Cardstock. I used Catherine Pooler Inks to add more dimension to my die cuts. I love using the Scrapbook.com GripMate to hold my tiny die cuts in place while applying ink.

Then I embossed a piece of cardstock with the Checkered 2D Mini Embossing Folder. This became the background for a frame. The frame was cut from the same white cardstock as the background of the layout using the Fun Borders Thinlits.
These border Thinlits are buildable--you cut one half of the frame and then glue the pieces together to make a hole frame. There's even straight pieces that allow you to make rectangles, rather than more of a square shape.

I trimmed down the embossed cardstock to fit my frame and glued the layers together. All that was left, was to glue all of my die cut elements down onto the layout! Super simple and so pretty. I hope you feel inspired to pull your Sidekick out for a scrapbook layout, and until next time, happy crafting!
Adrienne
Shop the Supplies:
Scrapbook.com, A Cherry On Top, Spellbinders, Sizzix, Etsy & Amazon
I am an affiliate with multiple companies. When you shop the links below, I receive a small commission from the affiliate, at no additional cost to you. This helps me balance the costs of the time and love I put into my projects and blog so I can continue to share my ideas with you for FREE. If you shop the links, thank you! I greatly appreciate it.
Below are products that I used for this project.


0 comments
I'd love to hear your thoughts!