
Prima Marketing Halloween Kit: DIY Candy and Cookie Boxes
These sweet round boxes only require a paper trimmer, scissors and round die cuts or punches--and they are perfect for holding holiday cookies or candies.

Hey, crafty friend, today is all treats and no tricks! These round boxes are based off a design by my friend Caro Vela and I simply had to make a version of my own and share the details of mine here in my blog. I also thought it a good excuse to use the Prima Marketing Midnight Magic Box Kit to turn these into some sweet Halloween candy boxes--but they could also hold some round cookies too!
You can shop all of the supplies used for this project, including the limited edition Box Kit, below!

Let's not waste any more time and get right into it!
Important Note: Depending on the size of your circles, you'll need different length strips to create the sides of your circular box/container. But remember, your kit papers are 12 inches long, so your circles can't be so big that a 12 inch long piece of cardstock isn't enough to wrap around it--plus you want at least 1/4 inch overlap to glue your sides together.

1. Cut the Circles for Your Box Bottom and Lid
- Die cut or punch out your circle for the outside top of your lid and the outside bottom of your box.
- Die cut or punch out your circle for the inside top of your lid and the inside bottom of your box--these will need to be just ever so slightly smaller than the ones you just cut.
- Die cut or punch out a matte to layer on top of the lid.
Note: I used the 4th, 5th and 6th largest circles from Spellbinder's Everlasting Circles Die to create all the round pieces for my box, including the matte for the top.

2. Cut the Strips for the Sides of Your Box
- Cut the bottom side patterned cardstock strip to 2 1/2 inches tall.
- Cut the lid side patterned cardstock strip to 1 1/2 inches tall.
- Cut the internal plain/solid cardstock strip to 3 3/4 inches tall.

3. Score and Cut Tabs On Your Strips
- For the bottom side patterned strip, score 1/2 inch from the bottom and cut tabs along this 1/2 inch section.
- For the lid side patterned strip, score 1/2 inch from the top and cut tabs along this 1/2 inch section.
- For the internal cardstock strip, score 1/2 inch from the bottom and cut tabs along this 1/2 inch section.

4. Glue the Tabbed Strips to Your Circle Bases
- Curl your strips a bit between your fingers. This will help your strips curve nicely around your circles and keep your strips from bending.
- Dry fit the bottom side strip and the top side strip to the largest circles you cut for the box bottom and box lid. Mark where the two ends of your strips meet with a pencil. (I used some low tack craft tape to help me dry fit my strips.)
- Then trim your strips to 1/4 to 1/2 inch longer than that mark to create an overlapping tab for gluing the ends together.
- Using your favorite liquid glue, attach the tabs on the bottom side strip to the bottom circle--attach the tabs to the "inside" side of the circle. Then glue your overlapping tab together.
- Do the same with the side strip for the lid, attaching it to the "inside" side of the lid circle. Then glue the overlapping tab together.

- Insert the plain cardstock strip inside the bottom of your box and mark where the two ends of the strips meet with a pencil.
- Trim your plain cardstock strip to 1/4 to 1/2 inch longer than that mark to create the overlapping tab for glueing.
- Add liquid adhesive to the tabs of your plain cardstock strip and insert it back into your box bottom and press the tabs down with a tool, like a ruler or bone folder.
- Add liquid adhesive to the overlapping tab and press together--you may not be able to get all the way to the bottom, but that's okay. You just want to get glue as far down as possible.
- Glue the slightly smaller circles to the inside of the lid and inside of the bottom to cover up the tabs on both pieces.
- Check to make sure your lid fits on top of your box. You should see 1/4 of an inch of the plain cardstock between the patterned bottom and lid of the box.

5. Decorate Your Box and Add Treats
- Add the smallest circle on top of your lid with liquid adhesive or glue runner.
- Add flowers and ephemera to your lid using hot glue. (I cut the stem with pumpkins in half using titanium scissors to add it to both of my boxes.)
- Apply glitter to your flowers and leaves by painting a bit of Finn's Soft Matte Gel on then sprinkling on the glitter.
- Add some gems to your lid for a bit of bling.
- Apply some pom pom trim around the top edge of the patterned paper of the bottom of your box using hot glue.
- Add some ephemera to the bottom of the box with liquid adhesive or glue runner. (I used a sentiment ephemera strip and some star ephemera for both of my boxes.)
- Fill your box with candies or cookies!

I hope this tutorial inspires you to create something sweet this Spooky Season! Once you get the hang of it, you'll be able to adjust the heights of these boxes to create all different sizes. Until next time, happy crafting!
Adrienne
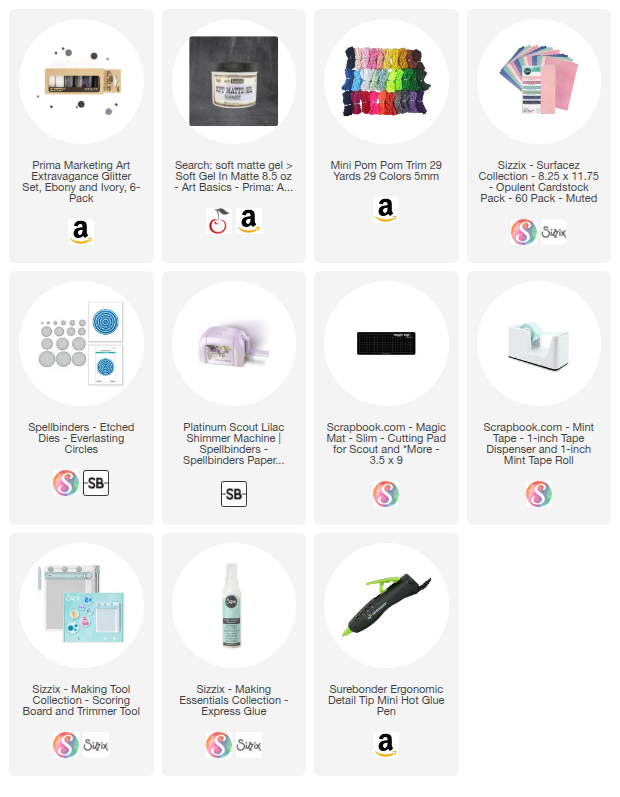
Shop the Supplies:
Scrapbook.com, A Cherry On Top, Spellbinders, Sizzix, Etsy & Amazon
I am an affiliate with multiple companies. When you shop the links below, I receive a small commission from the affiliate, at no additional cost to you. This helps me balance the costs of the time and love I put into my projects and blog so I can continue to share my ideas with you for FREE. If you shop the links, thank you! I greatly appreciate it.
You can also use the code adrienne15 for 15% off your order on the Prima Marketing Retail site.
Below are products that I used for this project.


0 comments
I'd love to hear your thoughts!