
DIY Vintage Styled Halloween Tree Ornaments
Let's talk about imperfect projects--while also working on some vintage styled DIY Halloween tree ornaments!

Hey, crafty friend! What you see online in my photos are always the nicely staged finished project. But there are mishaps in my craft room too--yes, even as an experienced Design Team member for several companies, including Prima Marketing.

Not every project is going to turn out perfectly or even at all, especially when you are trying something new. And that's okay. But it also doesn't mean you should give up either.

But here's how that relates to this project. This project was my very first time pouring clear epoxy resin. I've always used the quick cure white resin and it's pretty fool proof--I can still count my bad pours on 1 hand. But epoxy is a different animal. I freely admit I was nervous pouring it for the first time.
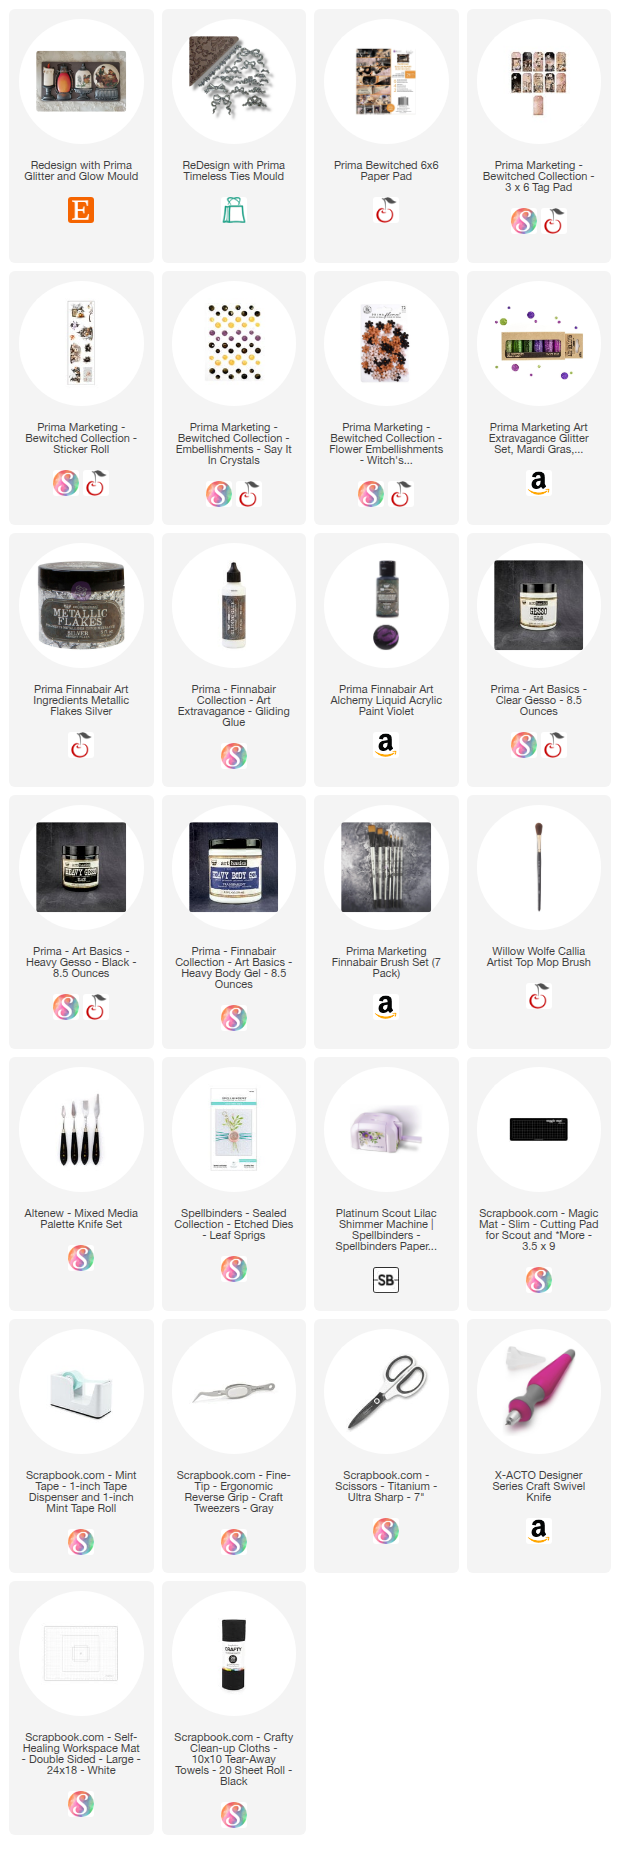
You can shop all of the products used in this project below!
Unfortunately, I don't think I mixed my first batch well enough. Because over 24 hours later, I had half-cured, still sticky and still bendable resin casts. I tossed that first batch as it was completely unusable. But I did not give up!

Instead, I poured a second time. And this time I probably mixed my resin parts a little too vigorously. Because while it fully cured in 24 hours, I had a bunch of tiny bubbles that I just couldn't get rid of. Maybe my room was too cold too. Who knows. But I do know that each time I pour epoxy, I'm going to learn. And that means each pour is going to be better and better! But I decided to go with my second pour because the results reminded me of vintage seed glass--and vintage was the vibe I was going for.

Now, that I've waxed poetic about growing in your art and skills, let's get into this tutorial!
- Mix equal parts of your clear epoxy resin and pour into the Glitter and Glow Mould. Allow to cure until hardened and remove from your mould. (Be sure to work in a well-ventilated area and wear a mask and gloves.)
- Use clear or white resin to cast the Timeless Ties mould--choose 3 bows for your project.

- Trace your clear moulds onto the papers of your choice--I used the 6x6 Bewitched Paper Pad and the Tag Pad.
- Cut the traced shapes out with a craft knife or scissors then apply Clear Gesso to your traced shapes to protect it from additional moister you'll add later.

- Add a sticker from the Bewitched Sticker Roll to your paper shapes.
- Apply Soft Gloss Gel over the side with the sticker and stick some silver metallic thread into it to create a loop at the top, the stick the mould cast onto the gelled paper.
- Apply Finn's Soft Gloss Gel or Liquid Fluid Medium to the clear mould casts where you would like the casts to be transparent.
Note: You get slightly better results with the Liquid Fluid Medium, but if you don't have it the Soft Gloss Gel works pretty well too.

- Paint the rest of your clear mould casts with Heavy Black Gesso.
- Paint the bow moulds with Clear Gesso.
- Paint the bow moulds with the Liquid Acrylic Paint in Violet.

- Use a paintbrush to apply Gliding Glue to the black areas of your mould casts and let dry--it will still be tacky after it's dry.
- Place Silver Metallic Flakes into the tacky glue then use a fluffy paintbrush to buff the excess off.
- Apply Black Gesso over the silver areas and buff off the excess paint over the highlights with a soft cloth. This creates a vintage look to the metallic areas.

- Use Heavy Body Gel to adhere the ribbon to your ornament cast.
- Apply Soft Gloss Gel to parts of the ribbon and sprinkle on a purple from the Mardi Gras glitter set. Tap off the excess.
- Add a Bewitched Say It In Crystals gem to the center of the bow.
- Optional: Die cut a small leaf from some patterned paper. Glue the leaf sprig to the back of a Witch's Sprinkle flower from the Bewitched collection.
- Use Heavy Body Gel to glue the flower to your ornament.

And that's it! I hope you enjoyed this look at my slightly imperfect project and its process. I hope that it inspires you to try something new and to not give up on it if it doesn't work out the first time. Let me know in the comments which ornament you like best--the crystal ball, the lantern or the cloche. Until next time, happy crafting!
Adrienne
Shop the Supplies:
Scrapbook.com, A Cherry On Top, Spellbinders, Sizzix, Etsy & Amazon
I am an affiliate with multiple companies. When you shop the links below, I receive a small commission from the affiliate, at no additional cost to you. This helps me balance the costs of the time and love I put into my projects and blog so I can continue to share my ideas with you for FREE. If you shop the links, thank you! I greatly appreciate it.
You can also use the code adrienne15 for 15% off your order on the Prima Marketing Retail site.
Below are products that I used for this project.


0 comments
I'd love to hear your thoughts!