
DIY 13 Nights of Halloween Advent Calendar
Instead of 1 night of treats, this Halloween Advent calendar gives you 13 nights of treats! Get the measurements for the tiny treat boxes.

Hey, crafty friend! I always love a good advent calendar. I've made a bunch of different ones for Christmas, but how about Halloween? 31 is a lot of pieces to create, so I went with the "unlucky" number 13.

I've got a full list of supplies linked below for you, but let's not waste any time and get right into this fun little project!

I purchased this unfinished wood coffin board with skull at my local Michaels craft store. It was the perfect size for some 1 1/2 inch square boxes. These boxes are the perfect size for small treats--like Dove chocolates or mini Reese's cups.

Since unfinished wood is really thirsty, I prepped this coffin board first with some gesso. You can use clear, white or black--doesn't matter as you'll be painting over it with acrylic paint.
Once dry, use Finnabair's Metallique Paint in Amethyst to give this a shiny look. Pro Tip: Use Painter's Tape to tape off the black edges and skull to make painting easier.

To add a little more life to the skull, use some watered down black gesso to go over the skull. Work in small sections and then use a microfiber cloth to wipe the excess paint off the highlights.

To create the little boxes, you'll need some Bewitched 6x6 patterned paper for the lid and some black cardstock for the bottom. Here are the dimensions you'll want to cut your pieces to:
- Black Cardstock: 3 x 3 inches
- Patterned Paper: 2 9/16 x 2 9/16 inches

You'll need to score on all 4 sides of the cardstock and patterned paper pieces. Here's where you need to score at:
- Black Cardstock: 3/4 inches
- Patterned Paper: 1/2 inches

This will create some boxes that are 1 1/2 inches square, with a height of 3/4 inches and a lid depth of 1/2 inches. Pro Tip: The Sizzix Scoring Board and Trimmer Tool makes projects like this easy. Not only do you get scoring and trimming all in one tool, but you can easily switch between metric and imperial measurements by flipping the board and rulers.

First fold along the creases with your fingers, then smooth it with a bone folder. Take a pair of scissors and snip some tabs on two sides--cut along the crease you made, stopping at the perpendicular crease. See the graphic below for where you need to cut with scissors.

Once your tabs are cut, glue them with your favorite liquid adhesive to create the sides of the box and lid. Once you've made as many boxes as you want, adhere them to your board or project with a thin layer of heavy body gel applied to the bottom of each box. I let this sit with something that had a little bit of weight to it for about 10-15 minutes while the gel cured.

While this sits, work on the numbers. I used some white resin to cast some of the tiny numbers from Finnabair's Letterpress Numbers Mould. Then I primed them with some clear gesso. To make them super shiny with a liquid like finish, I used the Uchida Deco Pen with a small chisel tip in silver, simply coloring over the entirety of the mould.

Once the box bottoms are glued down, you can decorate the lids! I used the Bewitched Sticker Roll, Chipboard Stickers, Ephemera, Tickets, and the tiny little Witch's Sprinkle Flowers. I even added some of the tiny fussy cut frames from the cutout sheet in the 6x6 paper pad. I used foam adhesive to help me layer everything on then popped the number for each box on the top.

The finishing touches included adding a flower crown to the skull with more Bewitched flowers, a chipboard sticker to the top of the coffin board, some flowers near the bottom of the board, and some of the pretty crystals from this collection. All that's left is to fill your boxes with some small treats or gifts and enjoy the spooky season!
Until next time, happy crafting!
Adrienne
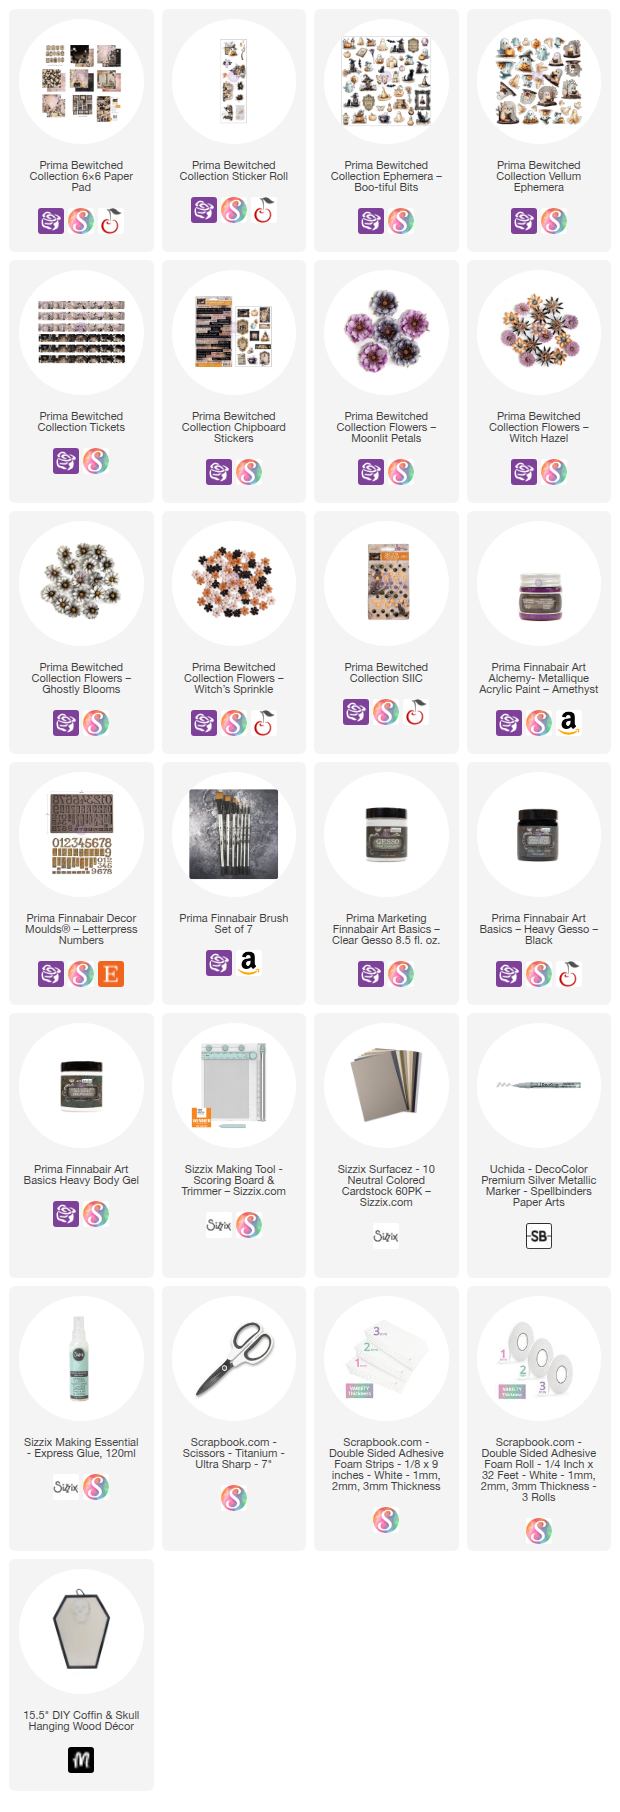
Shop the Supplies:
Scrapbook.com, A Cherry On Top, Sizzix, Prima Marketing, Spellbinders, Etsy & Amazon
I am an affiliate with multiple companies. When you shop the links below, I receive a small commission from the affiliate, at no additional cost to you. This helps me balance the costs of the time and love I put into my projects and blog so I can continue to share my ideas with you for FREE. If you shop the links, thank you! I greatly appreciate it.
Below are products that I used for this project.


0 comments
I'd love to hear your thoughts!