
This elegant gift box, tag and card set is sure to wow. But don't worry, it's simple to make!

Hey, crafty friend! We are celebrating Sizzix's 25th Anniversary and they released a fun Birthday collection to celebrate. I've taken 3 of those products to create an elegant matching gift box, tag and card set.

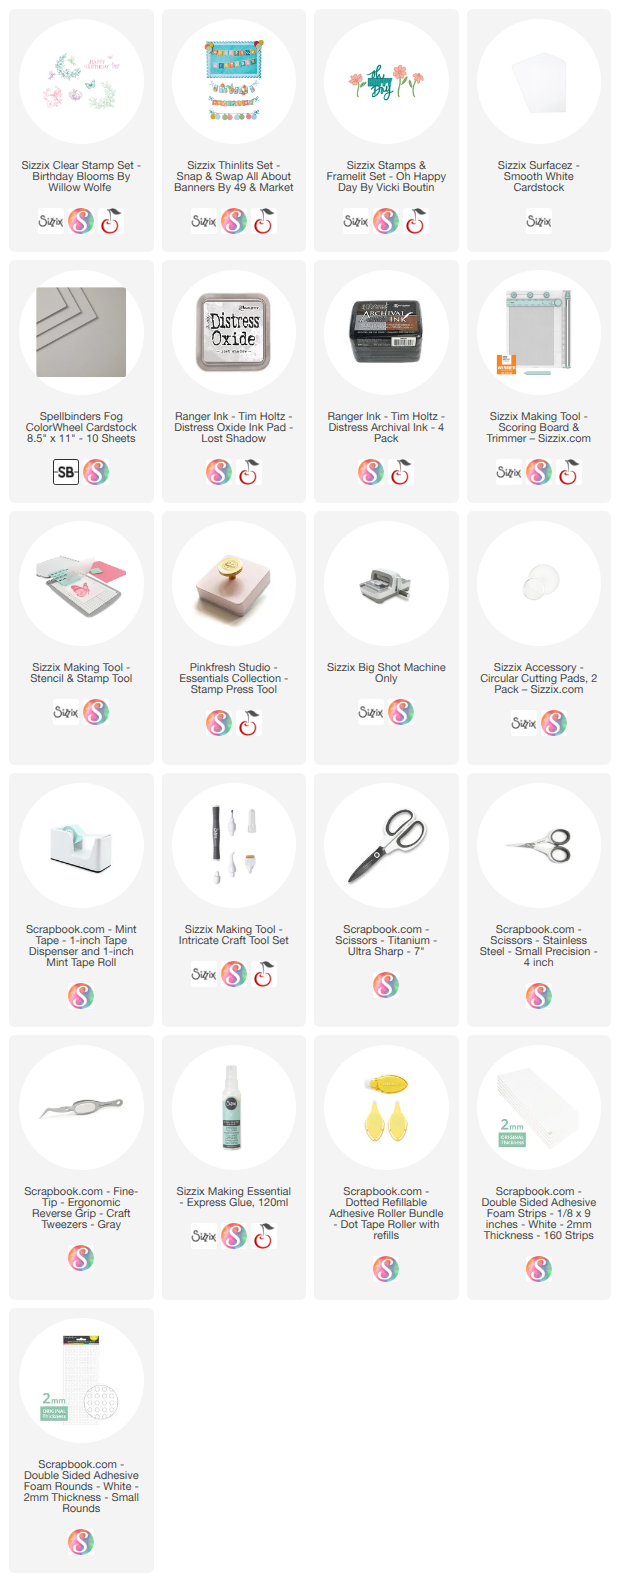
I've got all the products used listed below, so let's get into this "picture" tutorial!
Jump to a Section

>Gift Box Tutorial
 |
| This gift box is a breeze to make with the Sizzix Scoring Board and Trimmer Tool! |
 |
| Use the Sizzix Scoring Board online generator to get the dimensions for a 3x3x3" box with a 3/4" lid depth. Trim and score box and lid according to the directions. |
 |
| Fold on the scorelines and then cut the tabs loose. |
 |
| Cut the tabs at an angle so that when folded into the box/lid, you don’t have any edges that hang over for any uneveness. |
 |
| Glue the tabs together to create your box and lid. |
 |
| Trim some light grey and white cardstock to mattes to fit onto the lid and each side of the box. Glue the grey mattes in place. |
 |
| Using a light grey ink, stamp one of the floral motiffs from the Willow Wolf Birthday Blooms stamp set on each white matte. |
 |
| Die cut the tiny flowers in the 49 & Market All About Banners Thinlits set in both white and grey. Glue the layers together. |
 |
| Glue the flowers to the sides of the lid. |
Gift Tag Tutorial
 |
| This tag is tiny and pretty and is perfectly sized to fit the gift box. |
 |
| Trim a piece of white cardstock to 3 ½ x 2" and then use the notching punch to make a tag shape. |
 |
| Then use the hole punch to create the hole for the tag. |
 |
| Stamp a floral motif from Willow Wolfe Birthday Blooms in light grey ink, then the Happy Birthday sentiment in a darker grey ink. |
Shaped Card Tutorial
 |
| This shaped card combines elements from all 3 of the products I chose from the Birthday collection and is easier to make than you might think. |
 |
| From light grey cardstock, die cut the postage frame from 49 & Market All About Banners Thinlits set with the string in the top Snap & Swap Slot and fill in the other slots with the basic edge. Use craft tape to hold them in place! |
 |
| Cut the postage base layer from white cardstock and stamp a flower in light grey ink from Vicki Boutin’s Oh Happy Day stamp set to create a random background pattern. |
 |
| Place the grey frame over top and use it to center the Willow Wolf Birthday Blooms Happy Birthday sentiment stamp. Remove the frame and stamp this sentiment in a darker gray ink. |
 |
| Use 2mm thick foam adheisve to adhere the light gray frame to the white stamped base. |
 |
| Die cut and glue together the tiny flowers from the All About Banners Thinlits set and add to the string on the frame using 2mm thick foam dots. Fold some white cardstock and die cut the postage base layer again to create a shaped card base and glue the card front to the base to create a shaped card. |

I hope you enjoyed this fun and elegant Birthday gift set. And until next time, happy crafting!
Adrienne
Shop the Supplies:
Scrapbook.com, A Cherry On Top, Sizzix, Prima Marketing, Spellbinders, Scrap Diva Designs, Etsy & Amazon
I am an affiliate/associate with multiple companies. When you shop the links below, I receive a small commission from the affiliate on qualifying purchases, at no additional cost to you. This helps me balance the costs of the time and love I put into my projects and blog so I can continue to share my ideas with you for FREE. If you shop the links, thank you! I greatly appreciate it.
Below are products that I used for this project.


0 comments
I'd love to hear your thoughts!