
This Mini Junk Journal Tutorial will have You Swooning!
You can create a mini shabby chic junk journal using several of the smaller paper pads and the ephemera packs from Prima's Sweet Spring collection.

Hi, crafty friend! Today, I'm sharing a tutorial for an accordion fold mini junk journal. Now you can totally use whatever collection you want, but today, I'm using Frank Garcia's Sweet Spring collection from Prima Marketing to make this a shabby chic junk journal. Plus, the little frames in the Butterflies and Frames ephemera pack are perfect for turning into pockets--yes, you read that correctly, we are turning frames into pockets!

If you want to use the same collection, I've listed all of the supplies I used below. Now, let's not waste any more time and get right into this tutorial.

- Select 6 papers from the Sweet Spring 8x8 paper pad.
- Trim 5 of the papers to 3 1/2 x 4 1/4 inches.

- Along the right 4 1/4 inch side of these 4 pages, score in at 1/4 inch to create a tab--we'll use these tabs to connect one page to the the next, creating a long line of pages you can fold back and forth like an accordion.

- Trim the last paper to 3 1/4 x 4 1/4 inches--this will be the final page in this accordion fold junk journal.

- From the Sweet Spring Butterflies and Frames ephemera pack, pick out 1 frame for each page, front and back--there should be 12 different designs so you can do one of each design like I did, or duplicate your favorites if you like.

- Using liquid glue, attach the tab to the previous page, glueing the non-tabbed page on last. Fold the pages back and forth to close the junk journal up and test that everything fits together well.
- Cut a length of chiffon ribbon to around 22 inches.

- To get the best long-term hold, sew the ribbon and one of the frames with a smaller window to the front cover of your junk journal. This creates the closing mechanism. I sewed around the edges of the page, around the edges of the frame, and 2 lines down the center of the frame over the ribbon to really lock it all into place. You can use tacky glue if you don't like to sew.
- Add some optional stitching to the edges of all of the frames.

- To create flips, cut a piece of 6x6 or 8x8 paper to 3 1/2 x 4 1/4 inches and create the quarter inch tab, just like you did for the majority of the base pages. Then glue the tab on top of whatever page you want to add it to.

- To create the pockets, add some 1/8" wide 1 millimeter thick foam adhesive to the bottom and sides of your frame. Before sticking it down to your page, take some measurements to know how tall and wide your card or tag can be that you'll slide into the pocket. Also, to keep your tag or card from sticking to any excess adhesive on the foam, brush the foam with anti-static powder before removing the backing.

- Create a little card or tag from 6x6 paper with your paper trimmer and/or scissors and slide it into your pocket.

- Decorate your junk journal with stickers and ephemera. Keep the foam adhesive to a minimum and only use 1 millimeter thick foam adhesive. You can also use small die cuts to add more interest or interactivity to your junk journal. I also added a few tiny binder clips and paper clips to hold the flips closed to make it easier to flip through the journal.

- For the cover, you can also add more dimensional elements; such as a chipboard sticker, tiny Prima paper flowers and gems; and you can also use some 2 millimeter thick foam.

I hope that you enjoyed this accordion fold mini junk journal tutorial and that it inspires you to make one too! If you do, be sure to tag me on your social posts so I can ooh and ahh over it! I love to see your makes. Until next time, happy crafting!
Adrienne
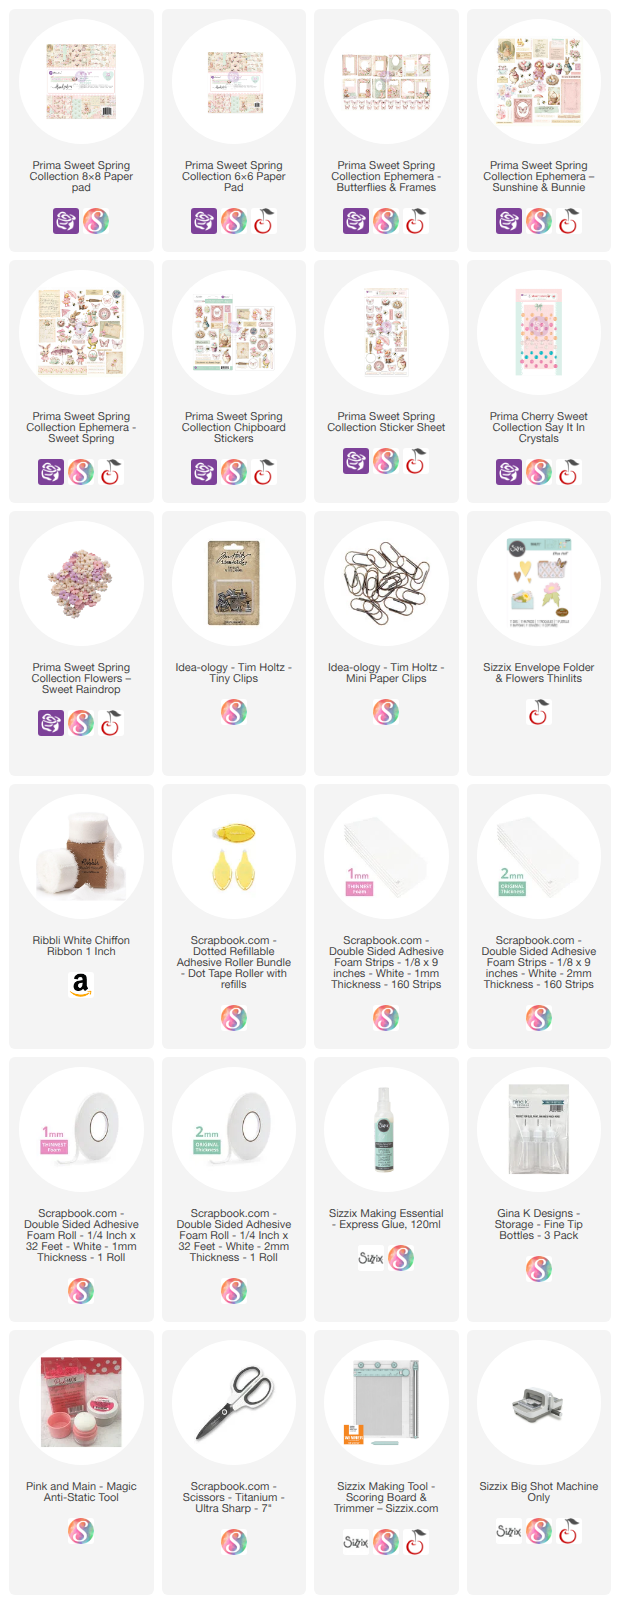
Shop the Supplies:
Scrapbook.com, A Cherry On Top, Sizzix, Prima Marketing, Spellbinders, Scrap Diva Designs, Etsy & Amazon
I am an affiliate with multiple companies. When you shop the links below, I receive a small commission from the affiliate, at no additional cost to you. This helps me balance the costs of the time and love I put into my projects and blog so I can continue to share my ideas with you for FREE. If you shop the links, thank you! I greatly appreciate it.
Below are products that I used for this project.


0 comments
I'd love to hear your thoughts!