
DIY Pearl Berry Clusters for Your Craft and Mixed Media Projects
Making your own little berry clusters made of pearls is super easy and can be added to a variety of craft projects. Check out the supplies you'll need, plus get the steps for creating these sweet little berries!

Hey, crafty friend! It's all about berries and blooms today. While I love adding Memory Hardware Pearls in between the petals of Prima flowers, these pearls have holes in them so you can actually use them on string and wire too!

That makes them perfect for creating your own little cluster of berries! So let's get right into it!
Jump to a Section
Berries Supplies | Berries How-To | Mixed Media Canvas Tutorial | Shop the Project Supplies

Berry Cluster Supplies
- Memory Hardware Pearls
- 24 Gauge Wire
- Round Needle Nose Pliers
- Wire Cutter (if you don't have a cutter on your pliers)

How to Create a Pearl Berry Cluster
- Cut a 3-4 inch length of wire.
- Use your needle nose pliers to create a small loop at one end of your wire.
- String a pearl onto your wire, pushing it all the way up to the loop you just created.
- Use your needle nose pliers to bend or loop the wire below the pearl to keep it in place at the end of your wire.
- Repeat this process using different sized pearls to create a cluster of 5 pearls (I used 3 small, 1 medium and 1 large pearl in my clusters).
- Arrange your pearls into a nice little bouquet so they sit at different heights.
- Take the longest wire and wrap it around all of the other wires tightly to keep your bouquet in place.
- When adding to your projects, wrap the excess wire into a circle to hide it neatly beneath a paper flower! (I used hot glue to add mine, but you can also use Heavy Body Gel.)

Mixed Media Canvas Tutorial
Let's talk about how you can recreate this mixed media canvas project. First, start by creating 4 clusters of pearl berries. I created two pink and cream berry bouquets, and two green and cream ones. Trim a pice of the Serene Petals 12x12 green background paper to 3 by 9 inches (or to whatever size our canvas is). Distress the edges of your paper with a distressing tool blade edge of your scissors.
Using a craft knife and self healing craft mat, or a pair of small scissors, fussy cut the ribbons from the element cut sheet in the Serene Petals 12x12 paper pack. Set these aside.

Apply Finn's Modeling Paste to your background paper through a stencil and let it dry. Then attach your paper to the canvas using liquid adhesive, such as Soft Matte Gel. Cover one of the Imperial Intricacy moulds cast in white resin with Finn's Opal Magic Green Brocade Wax using a stencil brush.
Place several of the Timeless Blooms flowers onto the base of your canvas, along with sisal fibers and some lace. I like to use hot glue or Heavy Body Gel to adhere things in place on my mixed media canvases. Your flowers should be placed in a way that will help to hold up the resin mould cast, but still peek out a bit from below the mould. Add in two of your pearl berry bouquets--I placed mine in opposite corners, under the flowers in the corners.

Hot glue the mould cast on top of your flowers. Then glue the large pink flower from the Meadow Bouquet flower sets, sisal fibers, as well as the large pink bow that you fussy cut. Glue down your last two pearl berry clusters and two of the green flowers from the Budding Serenity flower set. Add one of the pink flowers from that same set to the center of the large pink flower. Then tuck in the other two smaller fussy cut bows.

Add a butterfly ephemera from Serene Petals to the large pink flower. Notch one of the sentiment strips from the ephemera into a banner, shape it with your fingers and tuck it under the large pink flower. Finish off by adding a little white gesso to the edges of your flower petals and popping on some crystals from Serene Petals.
I hope you enjoyed learning how to make your own little berry clusters from pearls and wire, plus my sweet little mixed media canvas tutorial. And until next time, happy crafting!
Adrienne
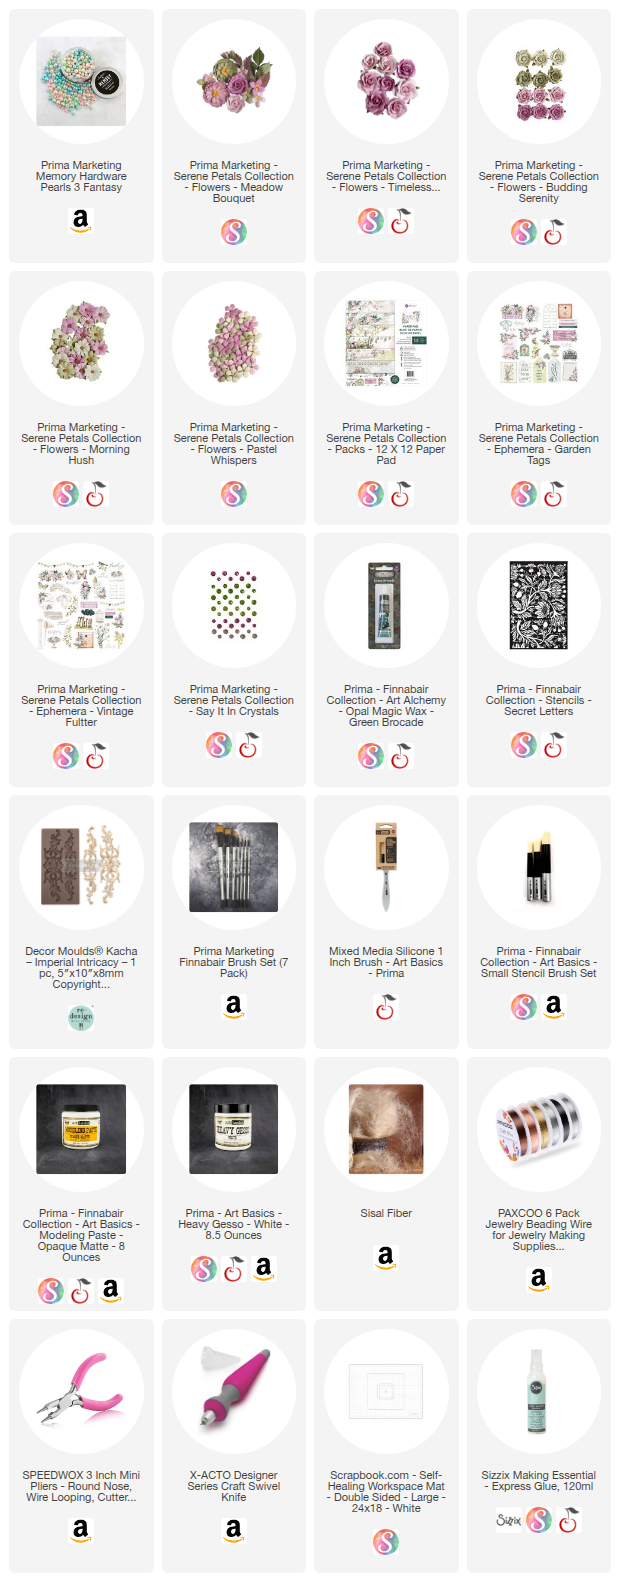
Shop the Supplies:
Scrapbook.com, A Cherry On Top, Spellbinders, Sizzix & Amazon
I am an affiliate with multiple companies. When you shop the links below, I receive a small commission from the affiliate, at no additional cost to you. This helps me balance the costs of the time and love I put into my projects and blog so I can continue to share my ideas with you for FREE. If you shop the links, thank you! I greatly appreciate it.
You can also use the code adrienne15 for 15% off your order on the Prima Marketing Retail site.
Below are products that I used for this project.


0 comments
I'd love to hear your thoughts!