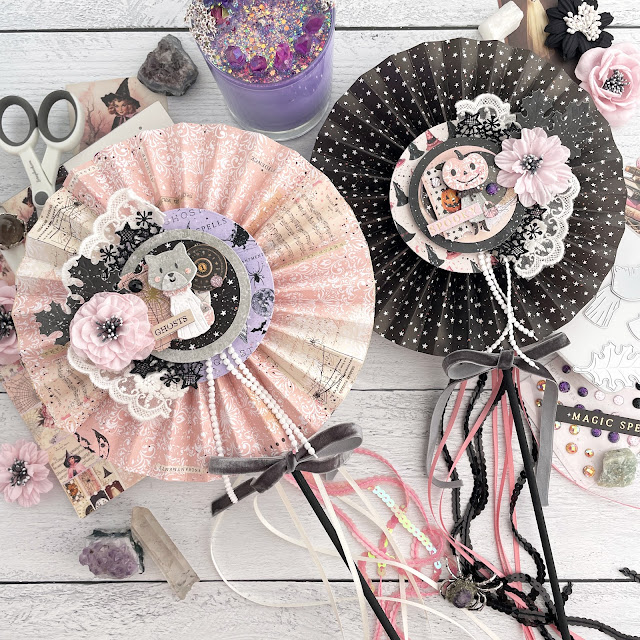
How to Create Halloween Rosette Lollie Wands
Let’s create some fun paper wands for Halloween by creating layered rosettes!
Hi, crafty friend! I’ve made wands with felt and stuffing before but today, I wanted to bring you a wand tutorial that doesn’t require a sewing machine.
So let’s dive into these lollie rosette wands! First, I cut 3 pieces of patterned paper to 4x8 inches each for each rosette you want to make (I made two, so the rest of the die cutting directions will be for 2 lollies.). I used the Magic Spell 8x8 paper pad for this. Then I scored at every quarter-inch using my Sizzix Scoring Board and Trimmer Tool. (I've got a full list of linked supplies below for you!)
Accordion fold at the score lines and then glue the 3 matching pieces of paper together in a little line using liquid adhesive. Then form a ring by gluing the two ends together.
Before we get into forming the rosette, let’s first work on some other elements. Die cut out 2 of the Willow Lane trick-or-treaters and assemble them. I used the Ghost Cat and Pumpkin Head dies. Also, die cut 4 of the Cozy Foliage leaves from the black cardstock in the Willow Lane paper pad.
Die cut two sets of 3 circles of varying sizes from the Magic Spell paper pad and the Willow Lane paper pad plus 2 small circles.
For the front, distress the edges of the smallest circle with a distressing tool like that in the Sizzix Surfacez Multi-Tool. Then use dotted adhesive to glue the next two smaller two circles together.
Add some ephemera from the Magic Spell collection and the trick-or-treater die cut to the center of the layered circles using foam adhesive.
Then turn your layered circle piece over and use hot glue to attach some lace to part of the circles. I used a black star lace and cream floral lace from Reneabouquets.
Pop 2 layers of 2mm thick foam adhesive onto the back of this layered circle and adhere it to the center of the largest circle. Use hot glue to attach some lace dangles if you in between the layers of circles.
For the back, adhere the 3 layers of circles together with dotted adhesive.
Next, flatten the ring into a rosette and push the center together, using hot glue to hold it in place. Then hot glue your decorated circle centers onto the front and the other circles onto the back of each rosette. Add a flower and the leaves to the side with the lace.
Paint a wooden dowel with black paint such as Prima’s Pitch Black Impasto or their Heavy Black Gesso.
Cut several strands of ribbon and sequin trim then hot glue these just underneath the large circle on the back so the strands hang down toward the bottom. Hot glue the dowel on so that the top end of it sits just under the circle on the back.
Tie a little velvet ribbon bow onto your dowel just under the rosette and secure with hot glue so it doesn’t come untied. And that’s it! These lollies are big, so if you want a smaller one, decrease the width of the strips to make it to 2.5 inches and use smaller circles for the rosette centers. Until next time, happy crafting!
Adrienne
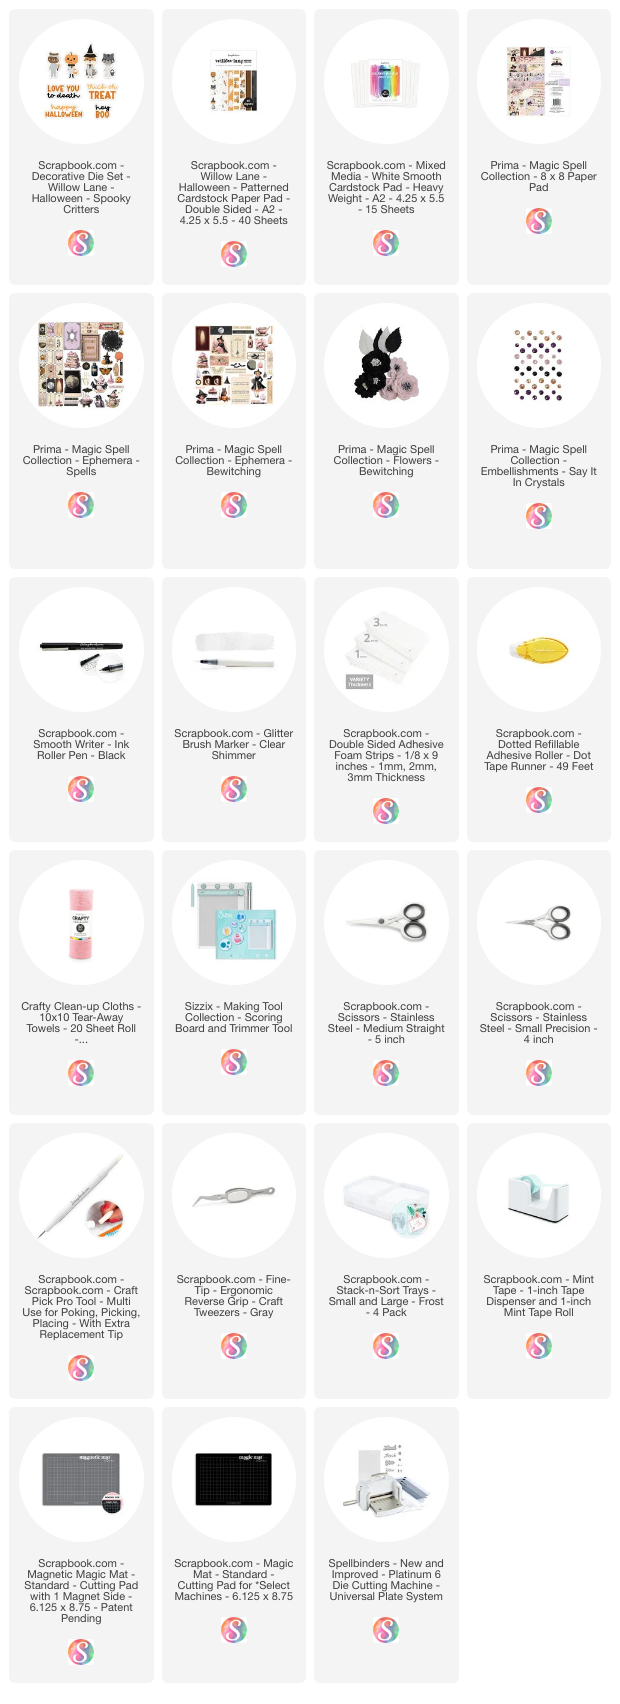
Shop the Supplies:
Scrapbook.com
I am an affiliate with multiple companies, including Scrapbook.com. When you shop the links below, I receive a small commission from the affiliate, at no additional cost to you. This helps me balance the costs of the time and love I put into my projects and blog so I can continue to share my ideas with you for FREE. If you shop the links, thank you! I greatly appreciate it.
Below are products that I used for this project.


0 comments
I'd love to hear your thoughts!