Reindeer Games Christmas Card with Scrapbook.com
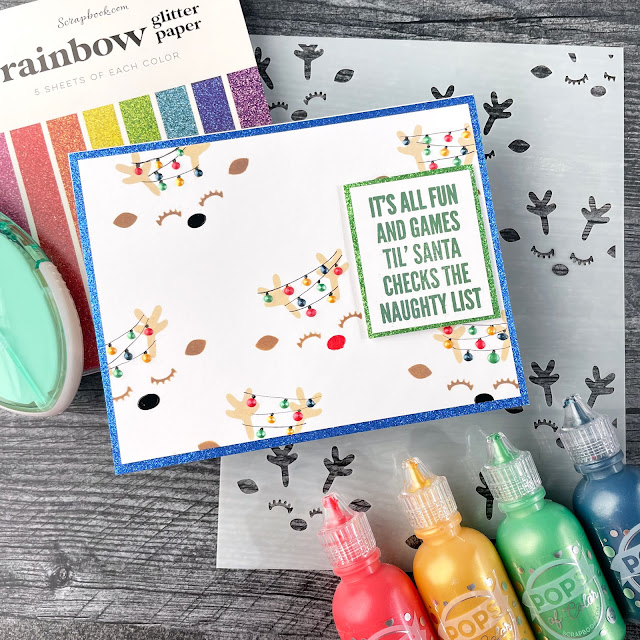
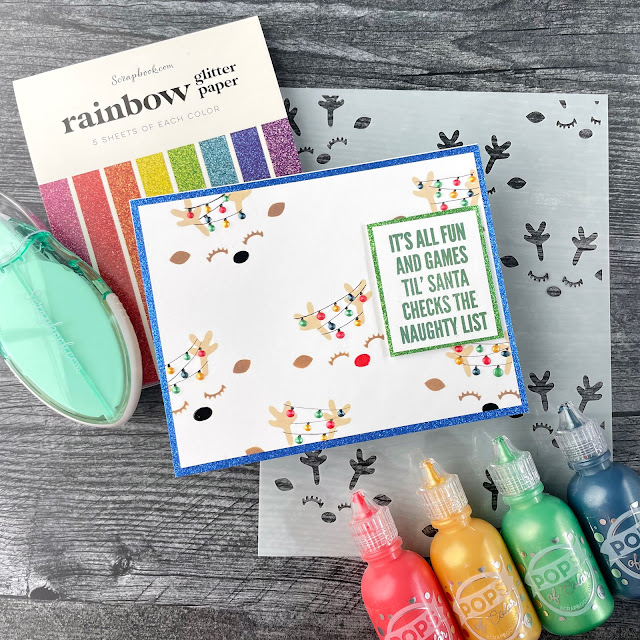
It's easy to make Christmas lights with Pops of Color from Scrapbook.com.
I'm getting a head start with this card made with supplies from Scrapbook.com. They sent me some fun supplies to play with and this is just one of two projects that I created. I'll be sharing the other one a little later on.
Creating vintage style strings of Christmas lights is super easy with their Pops of Color dimensional paint. I am completely obsessed with this product! It is so easy to use and is so versatile! Not only can you create dimensional dots and scrape it through a stencil, like I did in this project, but you can also splatter it and paint with it!
Now let's jump right into this tutorial! I started out by attaching the Cute Reindeer stencil to a solar white A2 flat card front using 4" mint tape by applying this low tack tape to the back of the stencil and card. This keeps your stencil in place while using it.
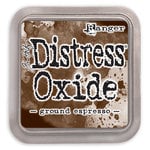
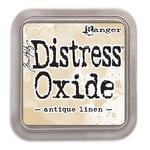
I masked off the nose and antlers of each deer with mint tape and then used Distress Oxide in ground espresso to color the ears and eyelashes. I then uncovered the antlers and masked off the eyes and ears to apply Distress Oxide in antique linen.
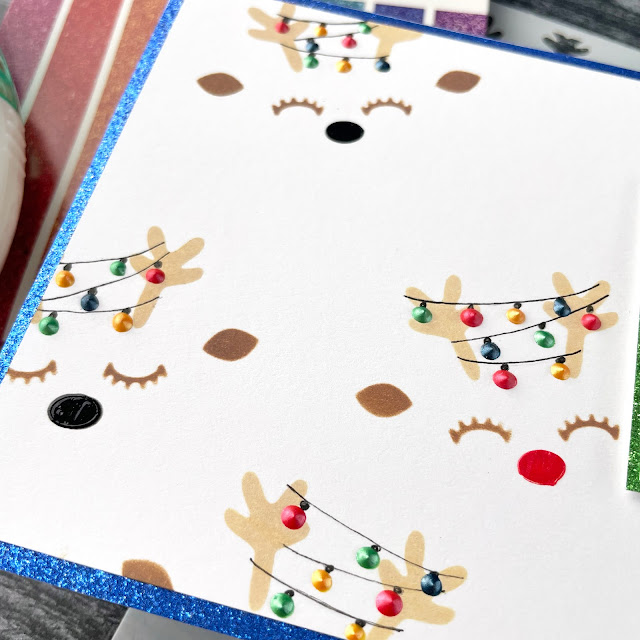
I then unmasked the noses and masked off the antlers again. I applied a little bit of gloss black Pops of Color to all of the reindeer noses except one, which got a cherry pie red nose. I just added a small bit of the paint to the stencil just next to the nose and then applied gentle pressure with a scraping tool to scrape the color through the opening. Don't apply too much pressure or you won't get much of the paint in the nose.
Carefully peel off the stencil and remove the mint tape and be sure to wash your stencil asap (or at least place it in a container of water to soak). It shouldn't take too long for your Pops of Color to dry, but I also like to make sure that my Oxides don't smudge by giving a really quick shot with my heat gun.
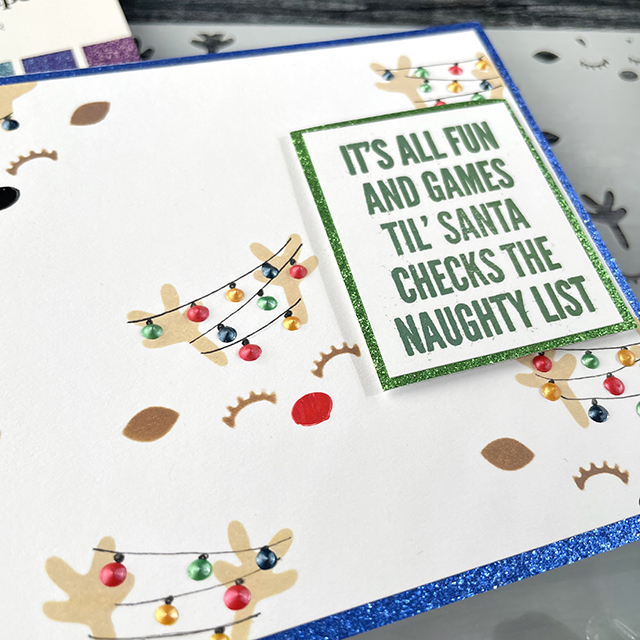
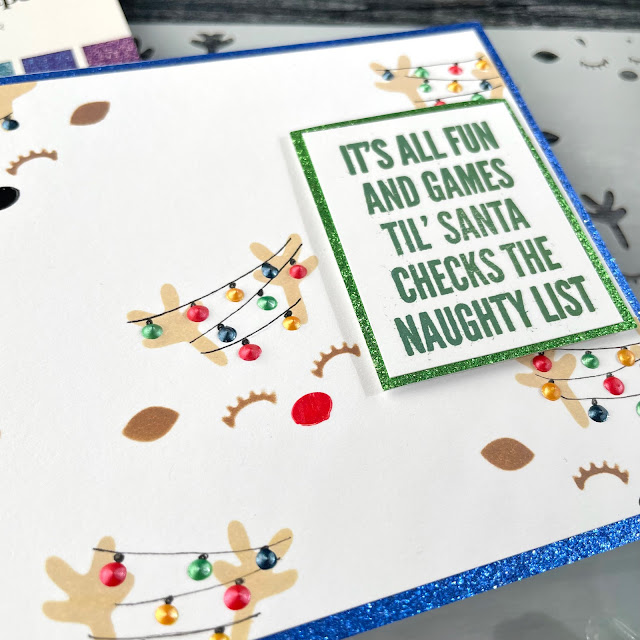
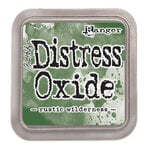
While I was waiting for it to fully dry, I stamped out my sentiment from the Sassy Christmas stamp set using Distress Oxide in rustic wilderness. I gave my sentiment a quick set with a heat tool and then cut it out and matted it with green glitter paper from the Rainbow Glitter pad.
Once my reindeer where dry and smudge-proof, I lightly drew out the lines for the string lights with a pencil. Next, I went over the pencil lines with an archival safe black fine point pen. I added a few black dots along the string lines for the base of the bulbs.
For adding the bulbs, I added a small dot of Pops of Color in cherry pie, orange sherbet, green apple and deep sea. These are the perfect colors for vintage Christmas lights! Once you have piped on all of your dots, give your card a few gentle taps on your craft desk to round out the dots and smooth any imperfections in your piping. Once dry, I matted it with blue glitter cardstock and added my sentiment with foam adhesive.
And that's it for this reindeer games card! I hope they all stay off the naughty list. Until next time, happy crafting!
Adrienne
Shop the Supplies:
Scrapbook.com
I am an affiliate with Scrapbook.com. When you shop the links below, I receive a small commission from the affiliate, at no additional cost to you. This helps me balance the costs of the time and love I put into my projects and blog so I can continue to share my ideas with you for FREE. If you shop the links, thank you! I greatly appreciate it.
Below are products that I used for this card.










0 comments
I'd love to hear your thoughts!