
DIY Embossed Dark Academia Panels with Tim Holtz and Sizzix
Sizzix and Tim Holtz just released some of the most popular 3D embossing folder textures in a new larger size! These A5 sized Texture Fades are perfect for slimline cards or other larger projects--like these mixed media panels.

Hey, crafty friend! I'm so excited about these larger sized embossing folders! You can really do a lot with them, like cover the larger sized Idea-ology vignette boxes or Etcetera panels! So for today's tutorial, "Goth Adrienne" is sharing how she created these stunning dark academia inspired panels! (Yes, I'm talking about my alter ego in third person. 🤷🏻♀️)

Now I've got a full step-by-step YouTube tutorial for you but I also wanted to share a few things here that will help you create this project that I don't mention in the voice over of the video. If you are just here to shop the full supply list, rather than just the essentials listed in my YouTube description box, I've got that full list of supplies below for you!
Jump to a Section
Embossing Tip
First, and I just quickly mention this in the video, is that when embossing with the Sizzix 3D Texture Fades, it's really important to mist your cardstock or paper with water first. This will help the fibers of the paper stretch and mould, rather than tear.

I find that the Sizzix 3D embossing folders are just unmatched by other company's 3D embossing folders. The depth Sizzix has achieved is next level, which means there is a lot of movement that your cardstock will need to do--so misting with water is a crucial step!

Die Cutting Tip
Second, if you are working with intricate dies like the Spider Web Thinlits, then you'll want to use the Precision Chrome Base Plate. This really just helps cut that die perfectly and all the negative pieces just kind of fall out or easily come out with the slightest brush of a finger. No poking with a die pick here!

Now I could have used the Chrome Base Plate with the Skeleton Leaves die, but I actually like the look of negative pieces stuck in the leaf dies. When autumn leaves start to deteriorate, they often aren't just a perfect little skeleton, so for me, having some of those negative pieces still in the die cut make it more realistic. But if you prefer that more perfectly cut die, then definitely use the Precision Chrome Base Plate for this Thinlit set as well.

Resin Pouring
I use a set of resin mould casts for this project, but I don't go into detail about that process. However, I do have a tutorial video on how to pour resin for moulds and how to paint those moulds--and I use the exact same mould, Midnight Muses! So be sure to check out that blog post with the tutorial video.

Resin Alternatives
Now if resin pouring isn't your thing, you have two options. First, you can use air dry clay or modeling material in your moulds. The detail isn't as fine with paper clay, but there aren't harsh chemicals involved.

Or, if you have the Entomology Stamp and Framelits sets, then by all means, stamp, color and die cut away! I would definitely recommend shaping the insects you use for these projects with the Shaping Tools so that it looks more realistic. (That is one of the things I love about mould casts--the dimension and texture!)

And that's it! If you haven't checked out my tutorial video for this project yet, be sure to head over there and give it a watch! Be sure to subscribe to my channel too--I'm getting closer to the 2k subscriber mark and I would love it if you were part of my little YouTube community. Until next time, happy crafting!
Adrienne
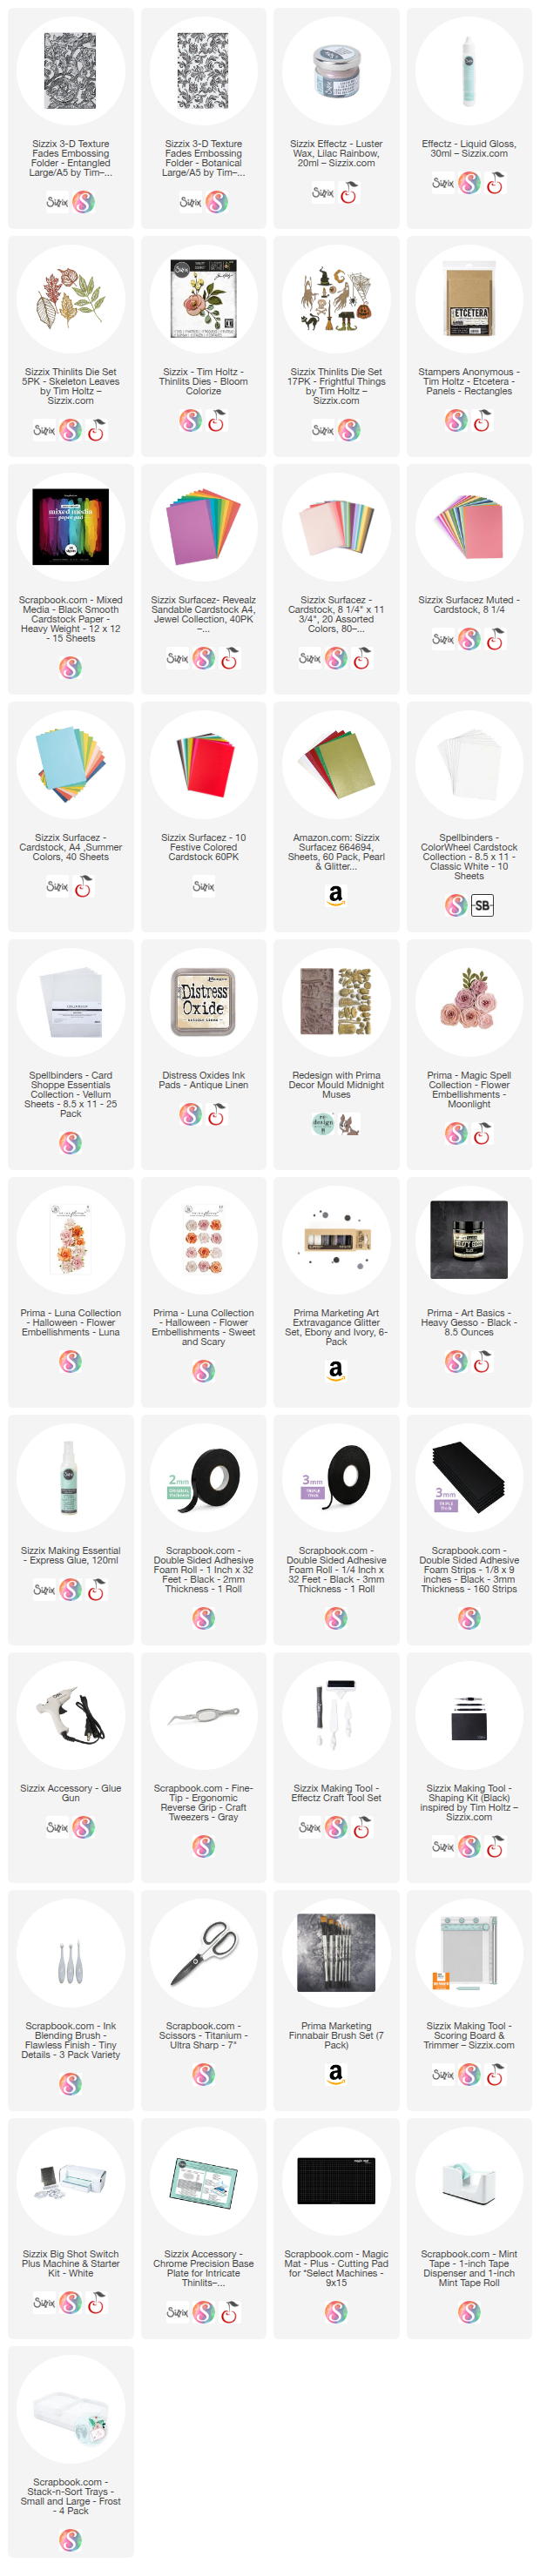
Shop the Supplies:
Scrapbook.com, A Cherry On Top, Spellbinders, Sizzix & Amazon
I am an affiliate with multiple companies. When you shop the links below, I receive a small commission from the affiliate, at no additional cost to you. This helps me balance the costs of the time and love I put into my projects and blog so I can continue to share my ideas with you for FREE. If you shop the links, thank you! I greatly appreciate it.
Below are products that I used for this project.


0 comments
I'd love to hear your thoughts!