
DIY Gothic Victorian Halloween Ornaments with Noel Elegance Mould
These Christmas ornament moulds can be used for any holiday--just choose the theme of the small mould and your color palette for endless possibilities. Use my DIY gothic ornament tutorial for creating your own ornaments for any holiday or theme.

Hi, crafty friend! I've been working on creating ornaments for my future Halloween tree, so I have another set of gothic ornaments for you! But the best part bout the Noel Elegance Mould from Redesign with Prima is that you can fill it with just about any theme of smaller moulds and use your own color palette to create ornaments for any holiday! Just follow this tutorial and switch it up where you want to create your own ornaments.

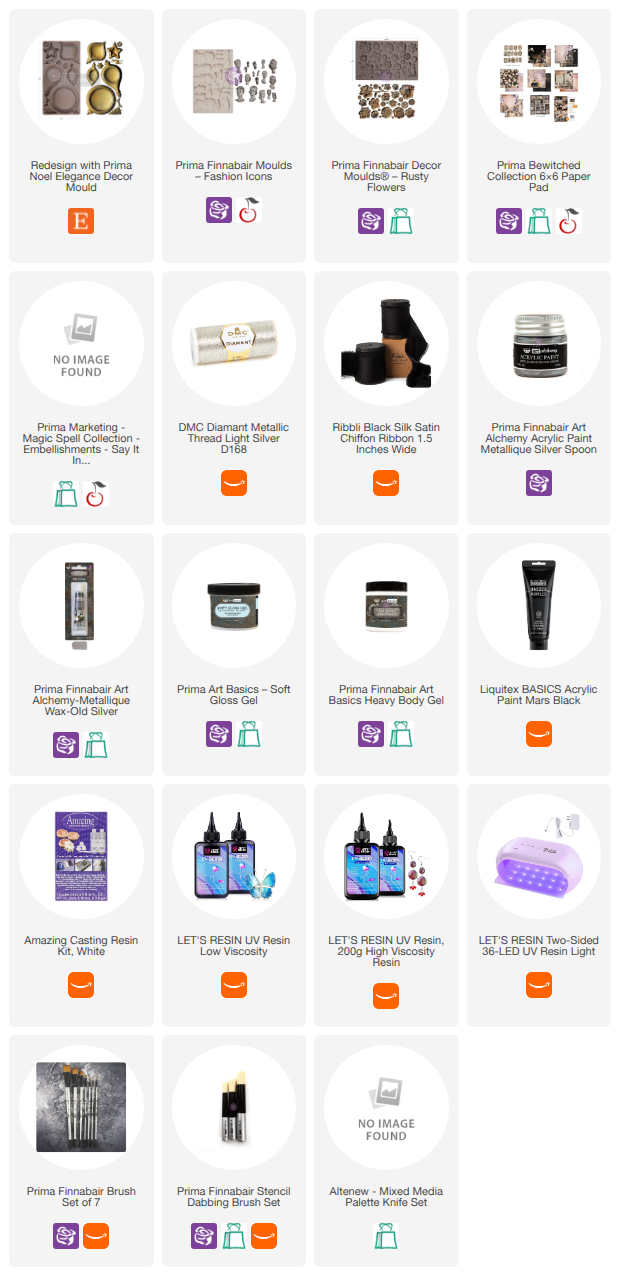
If you want to recreate these ornaments, I've listed all the supplies below, including the Noel Elegance Mould. Now, let's get right into this tutorial.
 |
| The Redesign with Prima Noel Elegance Mould comes with a few elements that you can add inside for Christmas ornaments, or you can use any other small moulds from Redesign, Prima or Finnabair to create ornaments for any holiday or theme! |
Start by casting all of your moulds using resin. I used the Amazing Casting Resin in white for this. It sets up in 10 minutes for demoulding and then I let my casts sit for about an hour to fully harden.

Then prep your Noel Elegance mould casts by painting them with the acrylic paint color of your choice (I used black). Make sure to paint the cavity in the mould nicely as this becomes the background. Then paint the top of the mould (the ornament cap and hanging loop) with one of Finnabair's Metallique acrylic paints. I used Silver Spoon and painted the front and back of this part of the ornament with it.

Speaking of the back, what about it? You can paint it and then add some Redesign Decor Transfers or you can do what I did which was to trace the mould out onto some Prima Marketing patterned paper. Cut this out with scissors. But save doing the backs up pretty for a bit--we'll finish this up later.
For the smaller moulds that go inside, I also painted them with a base layer of the black acrylic then went over them with the Silver Spoon paint. I think a black base really makes metallic paints pop!

Then use some of Finnabair's Metallique or Matte Wax to highlight the texture on the Noel Elegance Moulds. I used my fingers to really get that texture, then used a Dabbing Brush to apply the wax to the flatter areas of the mould. Make sure to not get wax in the cavity--if you do get any in there, just touch up with your acrylic paint.

I glued on the paper backs here and that is fine, but it does get a little hot under the UV lights and if the gel is still wet, it can sort of sweat through the paper. It doesn't ruin it, but it does feel funny when you pick up the ornament. But since we haven't domed up the center of the ornaments yet with moulds and UV resin, it does make it easier to glue the paper on.

You can also wait to do the Decor Transfers until the end too. But if you do it now, make sure you seal them in with some Decoupage Gel (matte or glossy) to protect it from getting scratched and let it dry fully before moving on to the UV resin.

Now for the fun part! I did my UV resin in layers to make sure that it's fully hard and there isn't any liquidy uncured resin hanging out inside the cavity. I started by adding a thin layer of low viscosity UV resin to the cavity, especially toward the center. Low viscosity flowers more easily so it will spread and fill the mould cavity nicely. But I'd pull that resin out to the edges of the cavity as much as possible in that first layer. You can see in my flower version that there was some places where the resin didn't flow into the nooks and crannies of the edges of the previous layer of resin and it created some air pockets. That was okay for me because I wanted these to look like the small moulds were coming up out of deep, dark water.

Let this cure for 3 to 5 minutes under a powerful UV light meant for resin. Then check to see if your mould will lay nicely in the cavity on top of that layer of resin. If it does, add it in and then add another thin layer of low viscosity UV resin around it. If not, add another layer or resin and then check again.

Then just keep adding thin layers of low viscosity UV resin until the cavity is just about full, curing each layer with the UV light. Don't forget that you can also add mica powders, mica flakes, glitter glass, glitter, pearls and so much more at this stage too. Be sure that what you are using is designed for resin (like all of Finnabair's line of ingredients).
For the final layer of UV resin, use a high viscosity. This has more surface tension and can be used to cover things and domes up a little. Add a layer of this high viscosity resin and cure.

Decorate the back if you haven't already then add some hanging loops with metallic thread or ribbon. I also added some decorative chiffon bows, glueing them in place with some of Finn's Heavy Body Gel. I also added some sparkly gems because no project is complete for me without a bit of sparkle!
Now obviously with a name like Noel Elegance, these ornament moulds were designed for Christmas. But you can also fill these with spring or Easter themed moulds for your Easter tree, or with flowers for a floral themed Christmas tree, or whatever your heart desires. Also, I encourage you to check out Nathalie's tutorial video using this ornament mould for her Christmas version with pearls and glitter. She also shows 2 other creative ideas for this mould!
Shop the Supplies:
Scrapbook.com, A Cherry On Top, Sizzix, Prima Marketing, Spellbinders, Scrap Diva Designs, Etsy & Amazon
I am an affiliate/associate with multiple companies. When you shop the links below, I receive a small commission from the affiliate on qualifying purchases, at no additional cost to you. This helps me balance the costs of the time and love I put into my projects and blog so I can continue to share my ideas with you for FREE. If you shop the links, thank you! I greatly appreciate it.
Below are products that I used for this project.


0 comments
I'd love to hear your thoughts!