
autumnChristmashalloweenholidaysjunk journalMemorydexmini albumscrapbookingSizzixspringsummertutorialwinter
Seasonal DIY Part 1: Building Embellishment Clusters for a Mini Album
Creating layered embellishment clusters is easy and once you have the base layers down, decorating them for different themes or seasons is a breeze.

Hi, crafty friend! This is the first part in a three part series. I'll be making a mini album with some elements that I create, and first up are these embellishment clusters. The second part will focus on some tags and the third part will be the creation of a mini album and decorating the cover.
Jump to a Section

About the Project & Products
My mini album will be a "year in review" and so I wanted to create a page for each season of life in one year--spring, summer, back to school, Halloween, winter, Christmas and birthday. I created one embellishment cluster for each of these themes.

Now as I mentioned above, the base layers are all the same. Each tag has a torn paper die cut, a postage stamp, a banner, and leaf sprig. Then each one got some different elements for the theme. Spring is just a butterfly as new life starts, summer a life saver for fun in the pool or vacation, back to school had a flower and a butterfly as the warm months come to an end and we look toward fall, Halloween had some spooky icons, winter a sprig of needles and orange, Christmas a Santa hat and poinsettia, and birthday a balloon with bow.

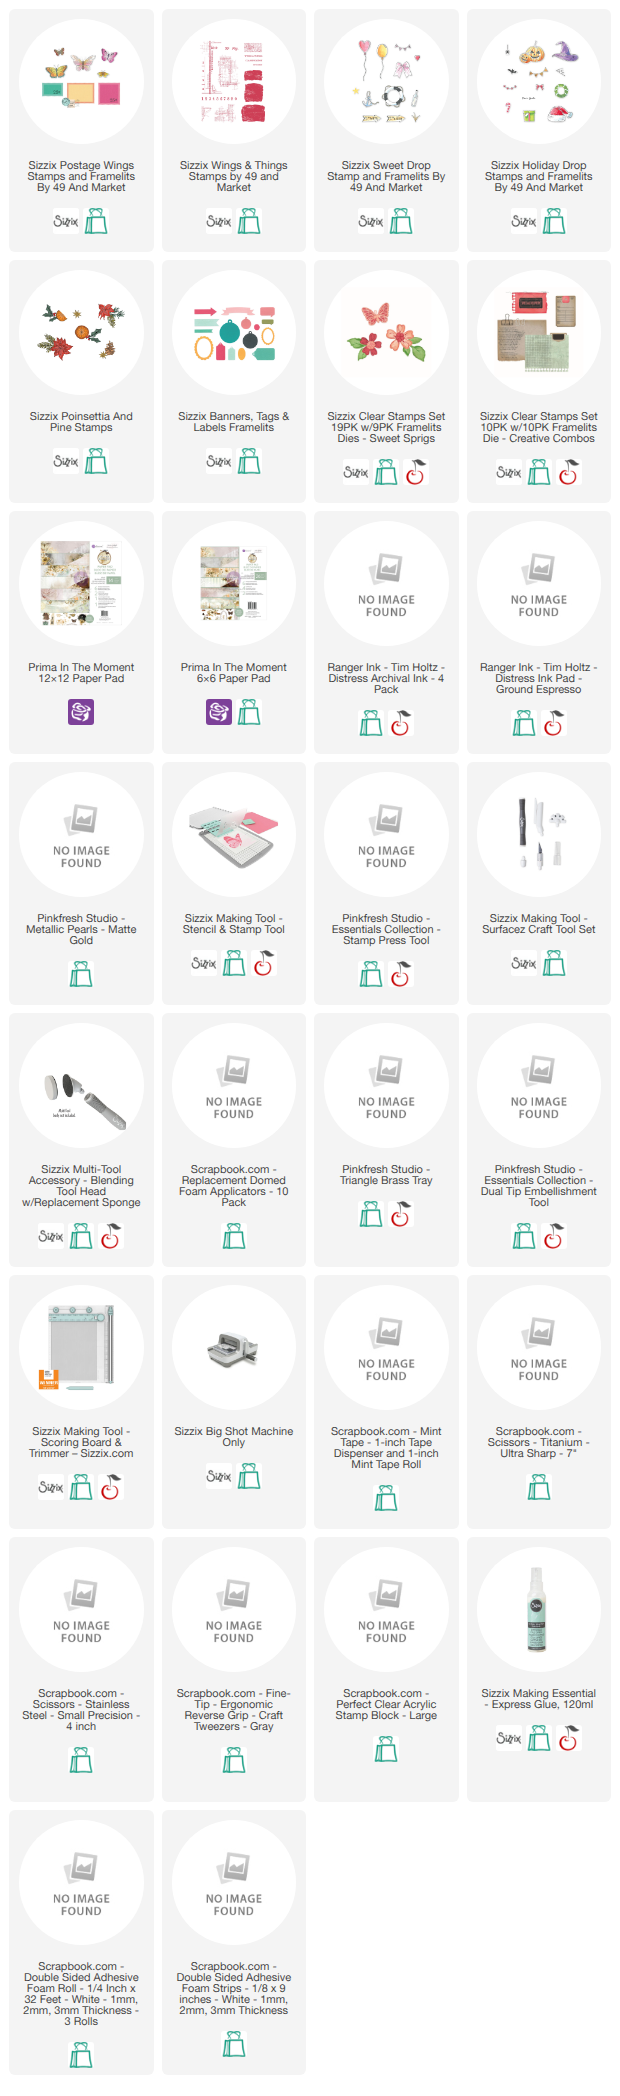
I created these with some of the newest Sizzix 49 & Market release, plus some older releases. What I love about the 49 & Market collection with Sizzix is that each release is designed to build off the previous ones. That means you can mix and match to create custom crafts. I also added in the Poinsettia and Pine stamp set and the Banners, Tags & Labels created by Sizzix in-house designers.

Besides some of the new (and old) stamps and dies from Sizzix, you'll also want a stamping platform like the Sizzix Stencil and Stamp Tool; various inks; patterned background papers; foam adhesive in varying thickness; and of course, your Sizzix die cut machine like the newly redesigned Big Shot.
I'll have all of the supplies listed below for you, so let's get right into how you can create these sweet layered embellishment clusters.

Embellishment Cluster Tutorial
Start by die cutting one of the postage frames from the Postage Wings Stamp and Framelit set. Because I was die cutting from patterned paper, I opted to not stamp this with the matching stamp. And to create added depth, I die cut two postage frames for each embellishment cluster. Then also die cut the torn spiral notebook paper from the Creative Combos set using some patterned paper.

Using your Scoring Board and Trimmer Tool, cut a background paper for the postage frame. You want it to be sized so you can glue the postage frame to it, without any overhang on the outer edge. Don't glue these together yet. Also cut some patterned papers big enough for the other elements: a banner from the Banners, Tags & Labels Framelits, the leaf sprig from Sweet Sprigs Stamp and Framelit set, and the element(s) for your season/theme.

Place these pieces of patterned paper onto the Sticky Grid of your Stencil and Stamp Tool. Place the leaf sprig and the theme element(s) onto their corresponding papers and pick them up with the lid of the tool. Ink these up with a black archival ink (I used Distress Archival in Black Soot) and stamp these out.
Then using the background style stamps in Postage Wings and Wings & Things, stamping them in a grey ink (I used Distress Archival in Hickory Smoke). I used both my stamp platform for things I really wanted to show nicely, and just holding the acrylic stamp in my hand to do a more grungy stamp style.

Then, die cut these elements out with the corresponding Framelit. For the stamp only sets, I used a pair of small scissors or craft knife and self healing craft mat to cut these images out.

Now let's work on assembling. Glue the layers of the postage frame together and then glue it to the background paper that you just stamped on. Add some 2 millimeter thick foam adhesive to the back of this and adhere it to the torn paper die cut.

Add some Distress Ink to the edges of the other elements and then layer them on with liquid adhesive or 1 or 2 millimeter thick foam adhesive. I added the Sweet Sprigs flower under the postage frame and then pretty much everything else got layered on top of that postage frame.

I added the leaf sprig with Sizzix Express Glue, then the banner with 1 millimeter thick foam. The Christmas and Halloween one had an icon layered under the banner with 1 millimeter thick foam, so for the banner, I added it with 2 millimeter thick foam adhesive.
After those elements were glued on, I added some matte gold pearls and these embellishment clusters are done! Stay tuned for my layered mini tags tutorial and then my mini album tutorial, the later of which will be a long-form YouTube tutorial. Until next time, happy crafting!
Adrienne
Shop the Supplies:
Scrapbook.com, A Cherry On Top, Sizzix, Prima Marketing, Spellbinders, Scrap Diva Designs, Etsy & Amazon
I am an affiliate/associate with multiple companies. When you shop the links below, I receive a small commission from the affiliate on qualifying purchases, at no additional cost to you. This helps me balance the costs of the time and love I put into my projects and blog so I can continue to share my ideas with you for FREE. If you shop the links, thank you! I greatly appreciate it.
Below are products that I used for this project.


2 comments
These are beautiful. I particularly love the jack o lantern! 🎃 Who would have guessed they are all the same base? So clever!
ReplyDeleteThank you, Jordan! So happy to hear you love them!
DeleteI'd love to hear your thoughts!