
DIY Halloween Candy Bat Sign
Spooky season is now in full swing, so let's create a cute bat shaped sign about Halloween candy using Prima Marketing's Bewitched collection.

Hi, crafty friend! If you've been following me for a while, you know that Halloween is my favorite holiday and Bewitched is one of my all-time favorite Prima collections. And now that spooky season is officially under way, I had to pull this adorable collection back out.

This little bat-shaped sign is full of adorable ephemera and pretty flowers and easier to put together than you think! I've got all of the supplies I used listed below, so let's get right into this spooktacular tutorial!

Start by die cutting 2 large bats from the Bewitched 12x12 paper pad. I used the largest bat from Scrapbook.com's Halloween Bats die set. These bats will go back-to-back, so if your bat die isn't symmetrical, be sure to flip the back paper over for die cutting.

After both pieces are die cut, hold the two pieces back-to-back and punch a set of holes in the tops of the wings. Then flip the front bat over and glue some black lace to the bottom edge of the bat's wings. You can use hot glue or tacky glue.
Add some liquid adhesive around the holes at the top and 1mm thick foam adhesive to the rest of the bat. Adhere the back bat in place and then set the holes with some eyelets.

On the front of the bat, pile on your ephemera and flowers from Bewitched. I used both the cardstock and vellum ephemera packs and fussy cut one of the floral clusters from a 12x12 paper too. I layered it all on using dotted adhesive, foam adhesive and hot glue to create layers and dimension.

I then added a chipboard sticker and popped on some crystals from Bewitched. I chose the sticker that says "Witch way to the candy?" I also added some little candies from Tim Holtz that match the collection to tie in with the Halloween candy theme.

I used a 12 inch long 1/4 inch wooden dowel rod to hang the bat on. I sponged Finnabair's Soft Gloss Gel on and then covered it in a purple-pink glitter from the Mardi Gras set. After doing an initial layer of glitter, I sprayed the rod with a sealant and then quickly sprinkled on more glitter for a second layer. Then sprayed the rod again to prevent glitter fallout. You can use matte or gloss sealant.

Add some wood beads to both ends of the dowel rod with some hot glue or tacky glue. Then use some yarn, ribbon or twine, looping it through the holes on the bat and then tying the bat to your dowel rod.
And now you have a super cute layered Halloween candy sign in the shape of a bat! Drop any questions you have for me in the comments and also let me know what your favorite Prima collection is. Until next time, happy crafting!
Adrienne
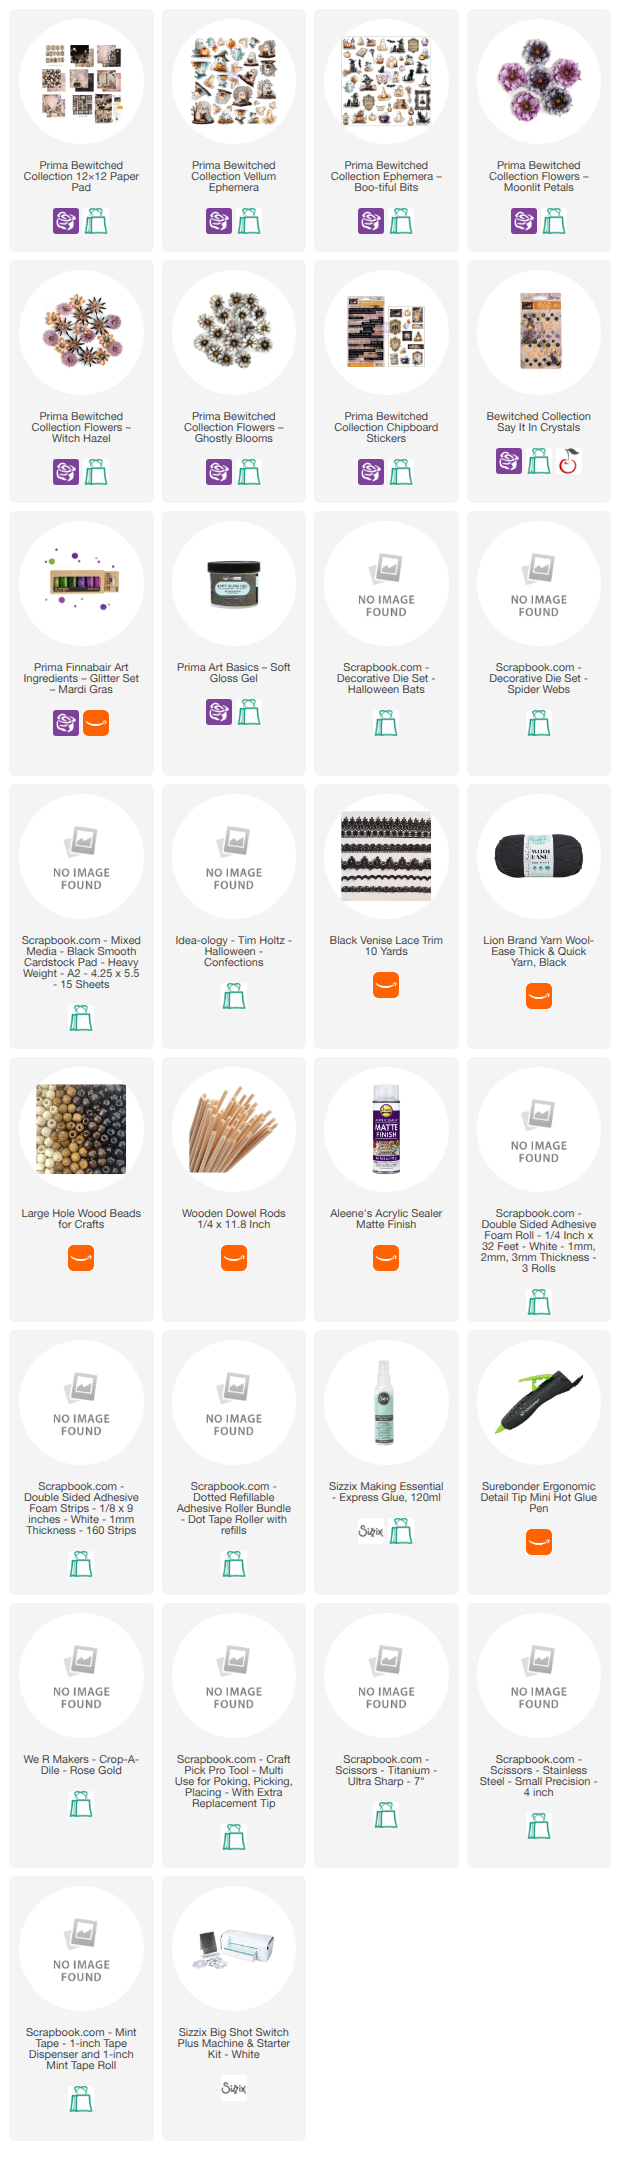
Shop the Supplies:
Scrapbook.com, A Cherry On Top, Sizzix, Prima Marketing, Spellbinders, Scrap Diva Designs, Etsy & Amazon
I am an affiliate/associate with multiple companies. When you shop the links below, I receive a small commission from the affiliate on qualifying purchases, at no additional cost to you. This helps me balance the costs of the time and love I put into my projects and blog so I can continue to share my ideas with you for FREE. If you shop the links, thank you! I greatly appreciate it.
Below are products that I used for this project.


0 comments
I'd love to hear your thoughts!