
DIY Felt Witch Boots Halloween Decor
This chic felt witch boot metal die from Spellbinders features felt flowers and stitched detail. It's perfect for becoming a Halloween tree ornament, decor on a tiered tray, or turned into a wand or pick for a floral bouquet.

Hi, crafty friend! The new Felt Stitch and Create Halloween collection designed by Nichole Spohr was recently released and it's got 4 cute dies that bring all the spooky vibes. It has a witch hat, witch boot, ghost and cat that are reminiscent of vintage Halloween decor.

Today I'm sharing how I turned the Harvest Witch Boot into an ornament. I'll have all of the supplies listed below for you, so let's get right into this tutorial. If you want to turn this into a wand or pick, see my notes at the end about stitching and when to place the dowel in.

- Start by die cutting the Harvest Witch Boot from some purple and orange felt in the Trend Merino Wool set, the green from the Cool set and the boot itself from the black in the Holiday set. See the photo below for how many times to cut each and in what colors.
Pro Tip: Spend some time poking out all the little die cut holes in the leaves and boots. This will make it easier when stitching, as well as helping you line the two boot pieces up better.

- Next, trim some 2 pieces of wire to just short of the length of the long green felt pieces. We are going to turn these into stems that are able to stand straight up and the wire will offer that support. Use 3 strands of green embroidery floss and an embroidery or hand sewing needle to tack the wire into place on one of the green felt pieces at the top, center and bottom.
- Use a hot glue gun to glue a second stem on top of this wired first piece to encase the wire and hold it in place more.

- Take the small orange pieces with the cuts in the center, fold it in half and glue on the bottom edge for both. I used a hot glue pen for this--just make sure you are being careful when doing this. Then glue each orange piece to one side of a purple petal felt piece.
- Roll and glue the petals around the orange piece so it becomes the flower center. Glue and roll the second petal set (with no orange flower center) to create a more full flower.
- Repeat to create the second flowers

- Create the other flower by rolling the long orange piece and gluing it. It will look like a little cinnamon bun when you are done.
- Lay one of the light purple petals flat on your work surface and then glue the little roll you just made to the edge of the light purple (see the photo below). The continue gluing the roll to the edge of the petals to create the flower shape. Add a second set of petals for a fuller flower.
- Using 3 strands the same green embroidery floss you used on the stems, stitch the 2 leaves with a running stitch using a tapestry needle.
- Make sure your green stems have the stitching facing down and glue one of the flowers onto each stem with hot glue.
- Hand cut out a star shape from the same green felt to create a nice back for your flower.
- Hot glue this star onto the back of the flower and stem to make it look nicer.

- Use 3 strands of white embroidery floss to stitch the lacing details on both of your boot pieces (separately, don't stitch them back-to-back yet).

- Line your boot pieces up. With 3 strands of black embroidery floss, start at the top of the boot on the side that faces toward the toe of the boot (for the photo below, that is the top right). Use a running stitch to go up and down through the holes. We'll go back and get the "missed" sections later.

- Once you get to the first side of the heel, stop and stuff the toe with Poly-fil. It's easier to stuff that now, rather than later. You might find it helpful to use a wax tipped tool to help you stuff those fibers down into the point of the toe.
- Continue stitching until you get to the top corner, opposite of where you started.
- Add Poly-fil to the heel and a bit to the bottom of the boot.
- Take your stemmed flowers and use titanium scissors to trim off excess stem and place them inside the top of the boot.

- Add additional stuffing to fill in the boot nicely. Again, remember to not overstuff as you don't want to pull or tear the felt at the stitching holes.

- Stitch across the top of the boot. You'll have to do a little maneuvering with your needle to get around the stems.
- Fill in the rest of your stitches by continuing/turning around and filling in the "missing" stitches for a complete look on the front and back.
- Tie off the black floss with a double knot and snip off the excess floss.

- Hot glue the 2 leaves to the top corner of the boot above the heel. Then add the last flower on top.
- Tie a piece of white cord or twine into a bow then hot glue it to the top of the lacing detail on the front of your boot.
- Add a button to the flower cluster using either hot glue or sewing it in place with some floss and an embroidery needle.

- To create the loop for your witch boot to hang from, take your tapestry needle and use 6 strands of floss, taking it through one of the holes at the top corner above the heel. (I worked from the back side of the boot).
- Come back through a hole or two away, remove your needle and tie the two ends together, snipping off excess floss.

Making a Wand or Pick
If you want to turn this into a wand or pick, start by stitching the boot in the same place. When you get to the spot where you want the dowel rod to be, stop stitching and tack the rod with a small bit of hot glue to 1 side of the inside of the boot. You can hide the open holes by stitching these before gluing the dowel in place, stitching each layer of the boot separately. You can add the pick to the bottom of the boot to make a wand or floral pick, or you can add it to the top of the boot to make a floral pick where to boots are coming out upside down--like the witch is stuck down in your vase and kicking her feet above.

I hope you enjoyed this step-by-step tutorial for stitching up the Harvest Witch Boot from Spellbinder's latest Stitch and Create collection for Halloween. I can't wait to see what you make; and until next time, happy crafting!
Adrienne
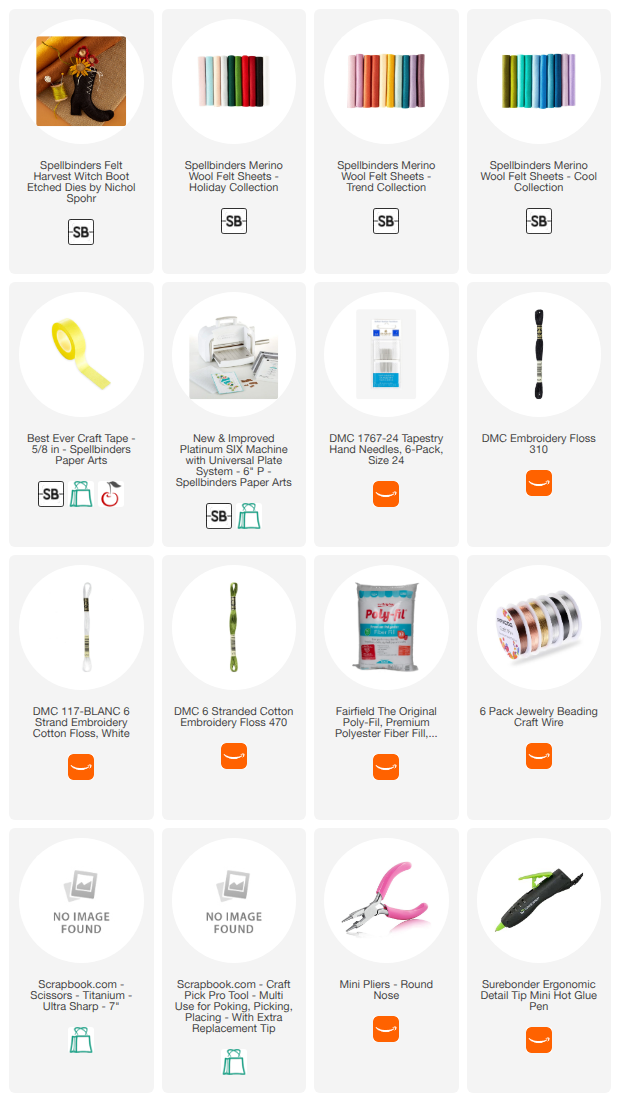
Shop the Supplies:
Scrapbook.com, A Cherry On Top, Sizzix, Prima Marketing, Spellbinders, Scrap Diva Designs, Etsy & Amazon
I am an affiliate/associate with multiple companies. When you shop the links below, I receive a small commission from the affiliate on qualifying purchases, at no additional cost to you. This helps me balance the costs of the time and love I put into my projects and blog so I can continue to share my ideas with you for FREE. If you shop the links, thank you! I greatly appreciate it.
Below are products that I used for this project.


0 comments
I'd love to hear your thoughts!