
DIY Christmas Ornaments with Frank Garcia Papers & Moulds
These Christmas ornaments feature blushing hues and hints of sparkle. I share my step-by-step tutorial using the new Christmas Blush collection from Frank Garcia.

Hello, crafty friend! Frank Garcia's newest Christmas collection features his signature vintage imagery and soft pink hues and is aptly named Christmas Blush. I used papers and moulds from this collection to create a set of blushing, slightly sparkly ornaments.

Besides some of the paper pads, mould and set of flowers from Christmas Blush, you'll also need some of the ephemera from the collection, as well as Finnabair's Snowflake Paste and some glitter. I also used a nesting die set, white cardstock, beads and a tassel. But don't worry, I've got the full supply list below for you, so let's get right into this tutorial!

First, cast your Christmas Blush Moulds using Redesign's Casting Mix. For some people it sets up in about an hour, but I've always cast my moulds at the end of the day and let them set up overnight. It really just depends on how patient you are (because you cannot touch these once they are setting up until they are dry) and your environment.

I live in a pretty dry climate so you'd think the water would evaporate quickly, but I find that the moulds stay soft for several hours. And so I'm not tempted to touch them, I let them cure overnight. It's just safer that way, especially because I don't have to worry about the mould getting accidentally bumped while curing, which can cause cracking. You'll know your casts are ready for demoulding when the back of the casts no longer feel cool to the touch.
Pro Tip: Use pieces of jewelry wire to reinforce the delicate areas of a mould. Fill your mould and after it has set up just enough so the wire doesn't sink all the way to the bottom, add it to your mould and let it fully cure and dry.
The nested die I used is from Scrap Diva Designs, called the Flower Nesting Set. It has two sets of nested dies, one larger and one smaller, each with a decorative outer die that has that pretty lacy pattern. I used the smaller set of dies in the set. I die cut the lacy one from white cardstock, and 2 of the smaller ones from several pieces of patterned paper from the Christmas Blush 6x6 and 8x8 Paper Pads. The size I used depended on how I wanted the pattern to appear after cut and layered, so what you use and white size is up to you! Just be sure to cut both of the smaller nesting dies twice for each ornament you make--you'll need layers for the front and back of the ornament.

Using liquid or roller adhesive, glue the smallest patterned die cut to the center of the next size up. Then glue the sets for the front of your ornament to the white front of the white cardstock die cut using the same adhesive.
For the back, we want to attach the tassel and the hanging loop first. Using a bit of hot glue, attach the tassel to the bottom of the back of your ornament. Then create a hanging loop with some white embroidery floss, a tapestry needle and some beads. Hot glue this loop to the top of the ornament.

Then use some 1 or 2 millimeter thick foam adhesive to attach the layered patterned pieces to the back of the ornament. Make sure you don't place tape where you may have a loop of tassel or floss as this can cause warping.
Turn your ornament back over to the front and attach a rhinestone chain around the patterned paper. Use a needle tipped bottle for your liquid glue and run a line along the edge of the paper, then place the chain in. I recommend Sizzix Express Glue because it dries pretty quickly, allowing you to work in sections while also not having to worry about messing up what you already lined up into the glue.

Once the glue for the rhinestone chain trim is dry, flip your mould over and add some Christmas Blush Ephemera to the back using foam adhesive.
Paint your Christmas Blush Mould casts using the Art Philosophy Pastel Dreams Watercolor Confections set. This has some lovely pinks perfect for this collection. Once your moulds are painted, lightly spray them with a matte sealant to lock in the watercolor. This is important or you'll reactivate the paint and turn your snow paste whatever color you apply it over.

After the matte sealant is dry, you can use a palette knife to apply Finnabiar's Snow Paste to your moulds. I added it to the brim of Santa's hat, the tips of the poinsettias, and all over the tree branches. Before the paste dries, sprinkle on some extra glitter--this is Christmas after all and it deserves a little extra sparkle!

After the paste is cured, you can add some ephemera, lace and the moulds to the front of your ornament. I used some foam adhesive to pop the moulds up nicely. Then add a flower to the bottom of the ornament, just above the tassel.
And that's it--a little shabby chic, a little sparkly and oh so easy! I hope you enjoyed this fun idea using moulds and paper to create Christmas ornaments. Let me know what your favorite product from the Christmas Blush collection is in the comments, and until next time, happy crafting!
Adrienne
Shop the Supplies:
Scrapbook.com, A Cherry On Top, Sizzix, Prima Marketing, Spellbinders, Scrap Diva Designs, Etsy & Amazon
I am an affiliate/associate with multiple companies. When you shop the links below, I receive a small commission from the affiliate on qualifying purchases, at no additional cost to you. This helps me balance the costs of the time and love I put into my projects and blog so I can continue to share my ideas with you for FREE. If you shop the links, thank you! I greatly appreciate it.
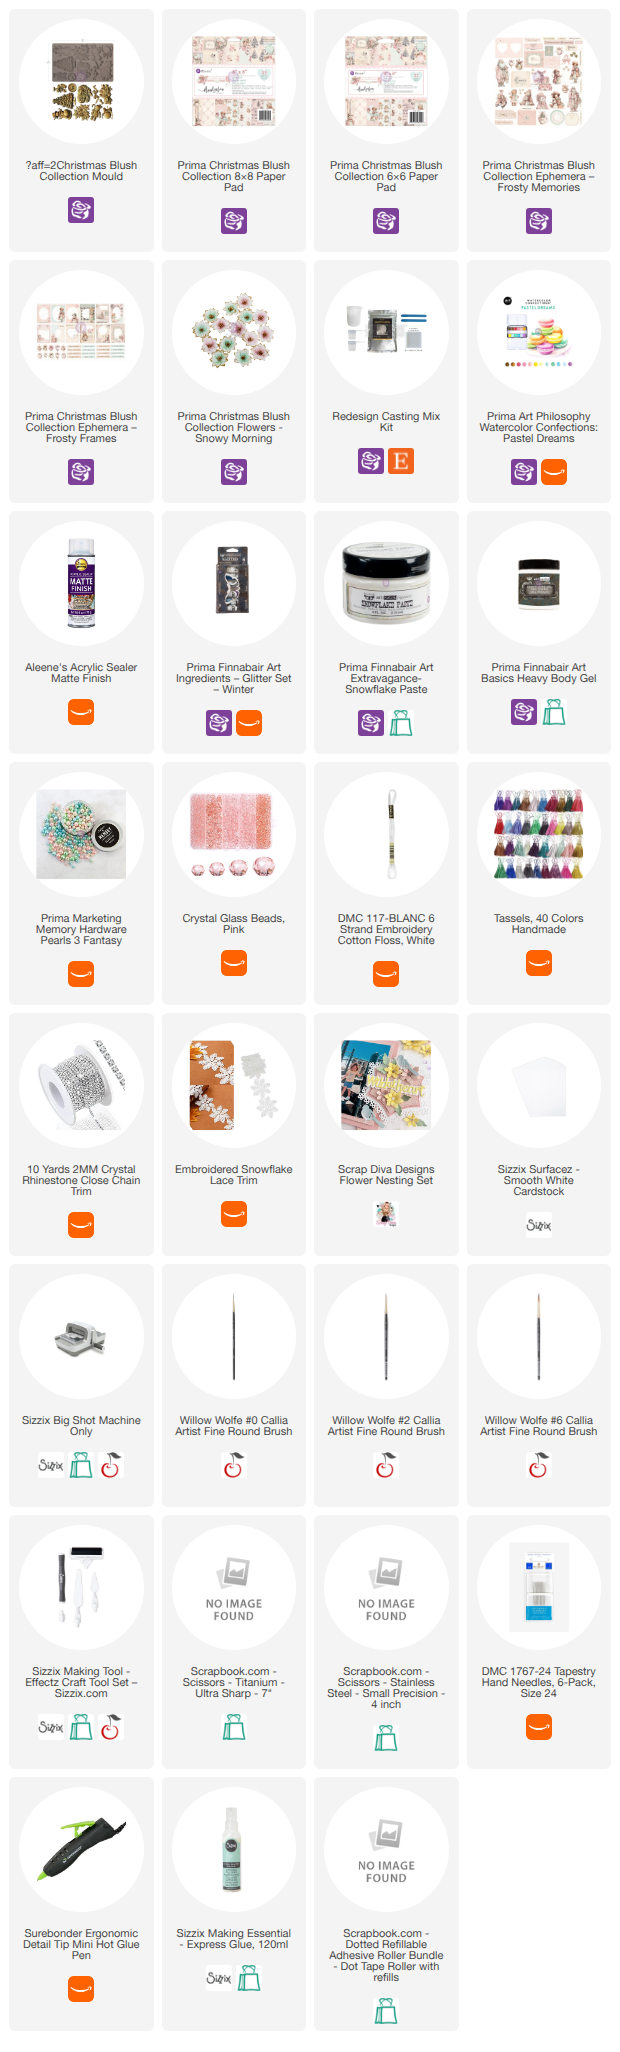
Below are products that I used for this project.


0 comments
I'd love to hear your thoughts!