
DIY Vintage Halloween Paper Rosette Tutorial + Paper Embellishment Layering Tips
Vintage inspired Halloween decor is very popular right now and it's hard to not see why. It's charming and so sweet! Even better, it is so easy to make your own vintage inspired Halloween decorations using Prima Marketing's new Made of Magic collection. Check out my tutorial video below for how to make these charming rosettes.

Hi, crafty friend! I love a little Spooky Season magic! And today, we are going to make a little magic together in my latest YouTube tutorial video for these charming little vintage Halloween inspired rosettes. In this video, you'll learn just how easy it is to create your own rosettes, plus you'll get my 5 tips for layering and adding a ton of dimension, even when your embellishments are mostly paper-based products.

You can find this video below as well as the full supply list. But while you are here, let's take a closer look at some of the details in this project.

What I think really lends these to having those vintage Halloween vibes is the crepe paper ruffles. And you can make these with a hot glue gun or by sewing the pleats in place.

I also added Finnabair glitter to the edges of the paper rosette part for that shine, along with one of the gems from the Say It In Crystals from the Made of Magic collection.

And of course the center of the rosette features pretty ephemera, tags, flowers and more from this new collection. And You'll get my tips for layering these kinds of elements in my tutorial video below!
I also talk about what you can add to your projects besides the pieces from this collection to really amp up the spooky factor--I added a die cut spider web, but if you don't have a die cut machine, check out the video for more suggestions!

And if you aren't into detailed mould painting, this project is for you because these little medallion moulds are easy to decorate. I just used a single paint and wax.

I also love adding textiles to my projects and for this one I used a mini tassel as well as the Spools of Yarn from Made of Magic to add additional texture and whimsy.

I hope that you enjoyed my tutorial video and that you learned some new layering techniques and tips that help you create gorgeous embellishment clusters. Let me know what you are planning to create with this new collection in the comments. And if you don't know yet, don't worry, there will be plenty more inspiration coming your way from the Prima Design Team, including a huge project from me that I can't wait to share! Until next time, happy crafting!
Goth Adrienne
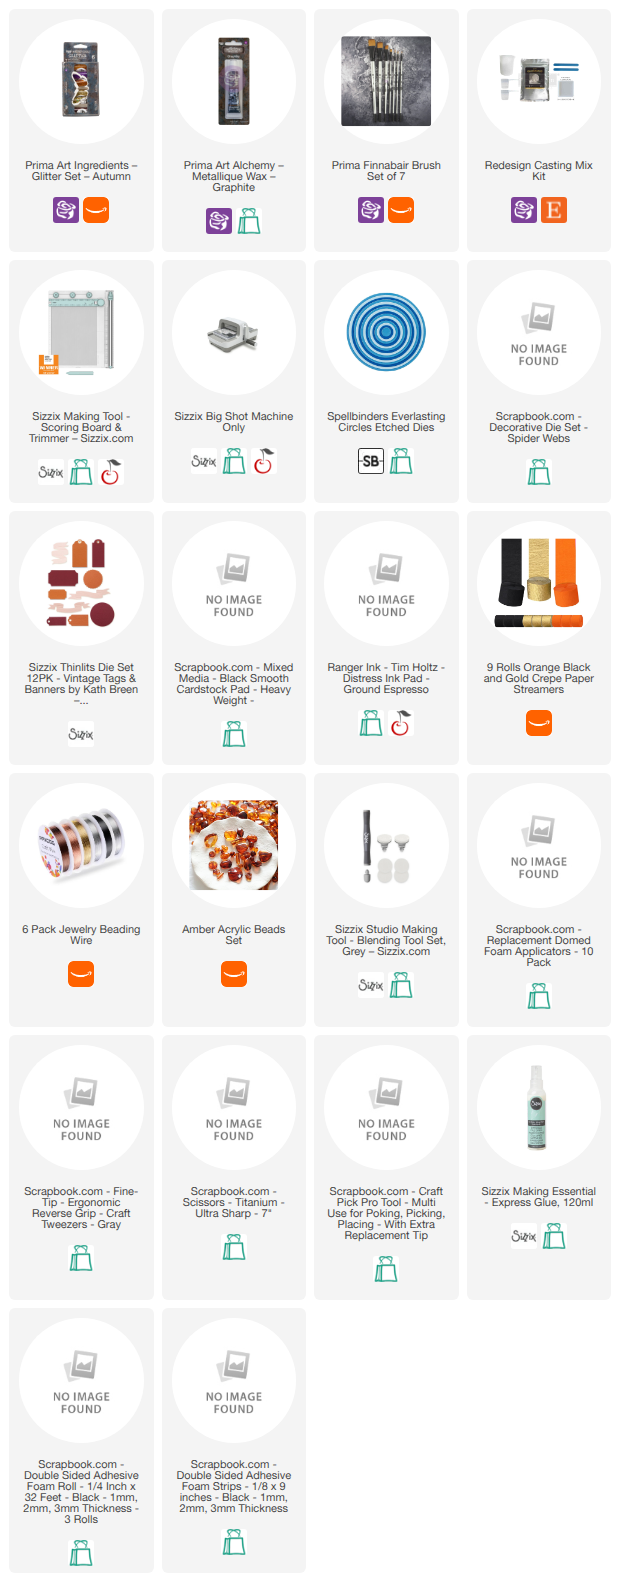
Shop the Supplies:
Scrapbook.com, A Cherry On Top, Sizzix, Prima Marketing, Spellbinders, Scrap Diva Designs, Etsy & Amazon
I am an affiliate/associate with multiple companies. When you shop the links below, I receive a small commission from the affiliate on qualifying purchases, at no additional cost to you. This helps me balance the costs of the time and love I put into my projects and blog so I can continue to share my ideas with you for FREE. If you shop the links, thank you! I greatly appreciate it.
Below are products that I used for this project.


4 comments
The crepe paper ruffles are my favorite part; they give these rosettes that lovely vintage feel. I wouldn’t have thought to mix yarn and little tassels with the paper layers. I’d love to try a few for a Halloween garland, with just a touch of glitter around the edges. Such a fun mix of textures. diploma
ReplyDeleteGlitter on the edges of the crepe paper would be a lovely touch!
DeleteLoved this tutorial. Can I ask where you got the tassel from? Thanks!
ReplyDeleteI thought I had added them to the shopping list but I guess I didn't! They should be in there now--got them from Amazon.
DeleteI'd love to hear your thoughts!