
DIY Witch Cottage: Using Paper Crafting and Mixed Media Supplies in a Dollhouse Build
This little witch cottage dollhouse is full of little details and combines miniatures with paper crafting and mixed media.

Hi, crafty friend! I recently finished up a 2 and half month long project and it was quite the undertaking! I've loved miniatures and dollhouses since I was a child and I've always wanted to build myself a spooky little dollhouse.

So when the Made of Magic collection from Prima Marketing and The 3 Girls Tale was released, I resolved myself to finish it in a tight timetable, come hell or high water. This project isn't for the feint of heart, but it's likely you won't be working on a short design team timeline like I was, so if you want to try your hand at this or something similar, this "tutorial" is for you! Or perhaps you are here because you are a miniaturist looking for new ways to create elements for your dollhouses. Either way, I've got you covered!

Now there are so many elements and things in this that I'm not going to do a detailed tutorial. But I do have a ton of Instagram Reels that I and Prima will be sharing, so stay tuned for the video details of how I created some of these things.

With that all in mind, I've broken this massive project into sections in this blog post, and I will add the Reels here as they get posted--so bookmark this page so you can come back. Within these sections, I've also added mini shopping lists, in case you want to shop for any of the supplies I used.
Now the order of these sections are in no way the order I actually did things in, just a grouping and semi-order that made sense to put everything into this blog post. If you do a dollhouse kit, it's important to pay attention to the order that everything needs to go into the house for your model. For instance, you want the flooring to go in before the roof for this model, and things such as siding and wallpapering should be done before adding your windows.
Jump to a Section
Dollhouse Build, Hardware & Chimney | Windows | Flooring & Wallpapering | Outdoor Moulds, Ephemera & Foliage |
Fireplace | Potions, Cabinet & Workbench | 3D Cauldron | Books, Bookshelf & Box of Books | Desk, Bed, Trunk & More |
Artwork & Floating Ghost | Baskets, Crate, Pots & Drying Rack | Witch Hat, Birdcage & Crystal Ball | Window Seat & Knickknacks | Final Thoughts & Questions
Dollhouse, Hardware, Roof & Chimney

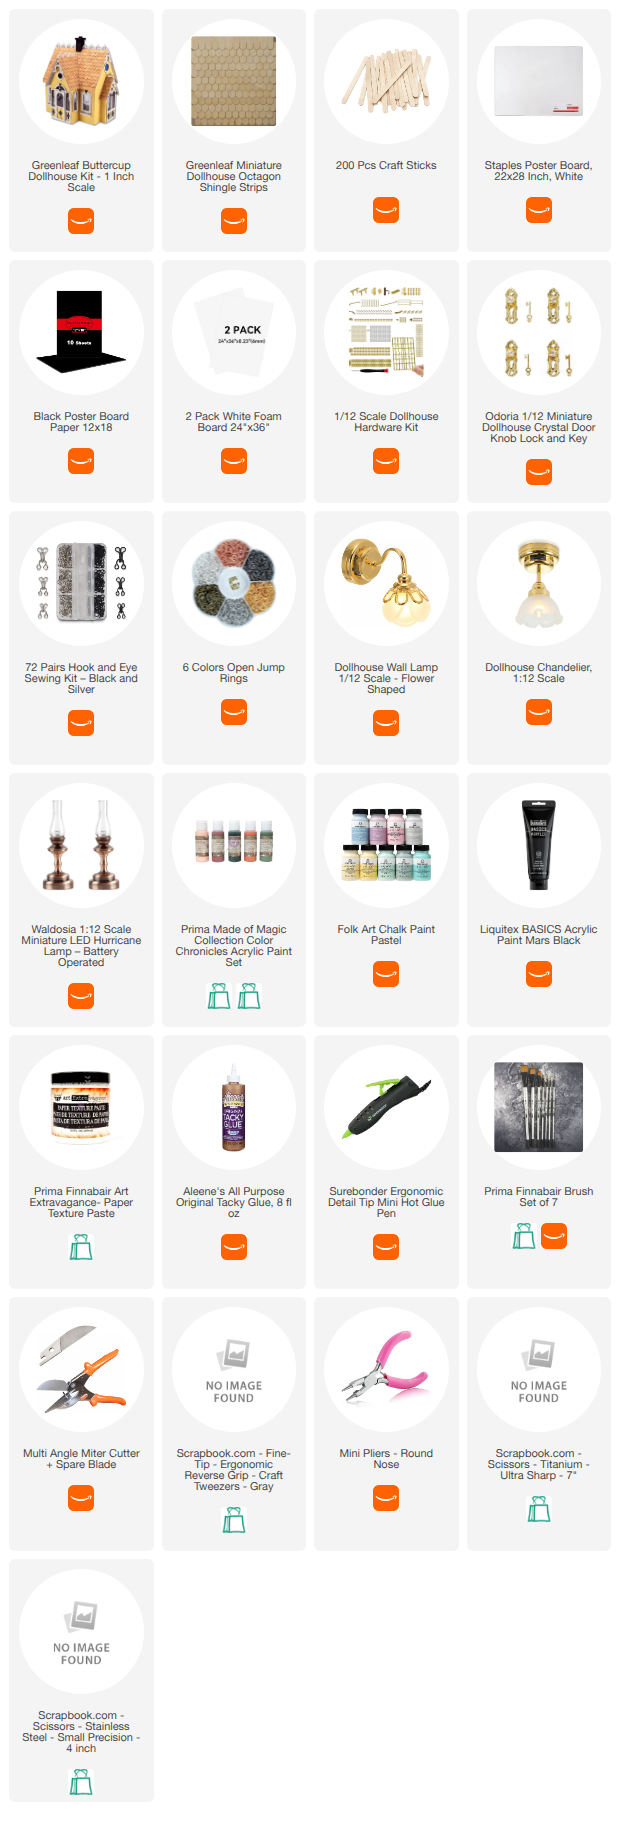
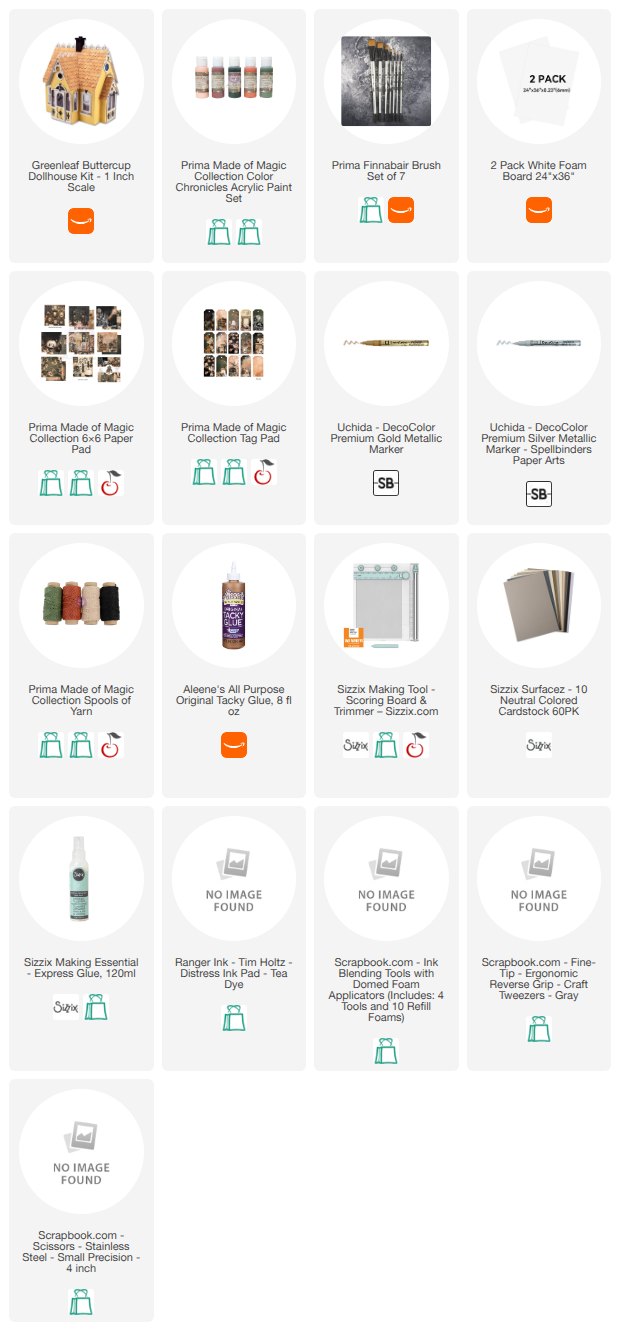
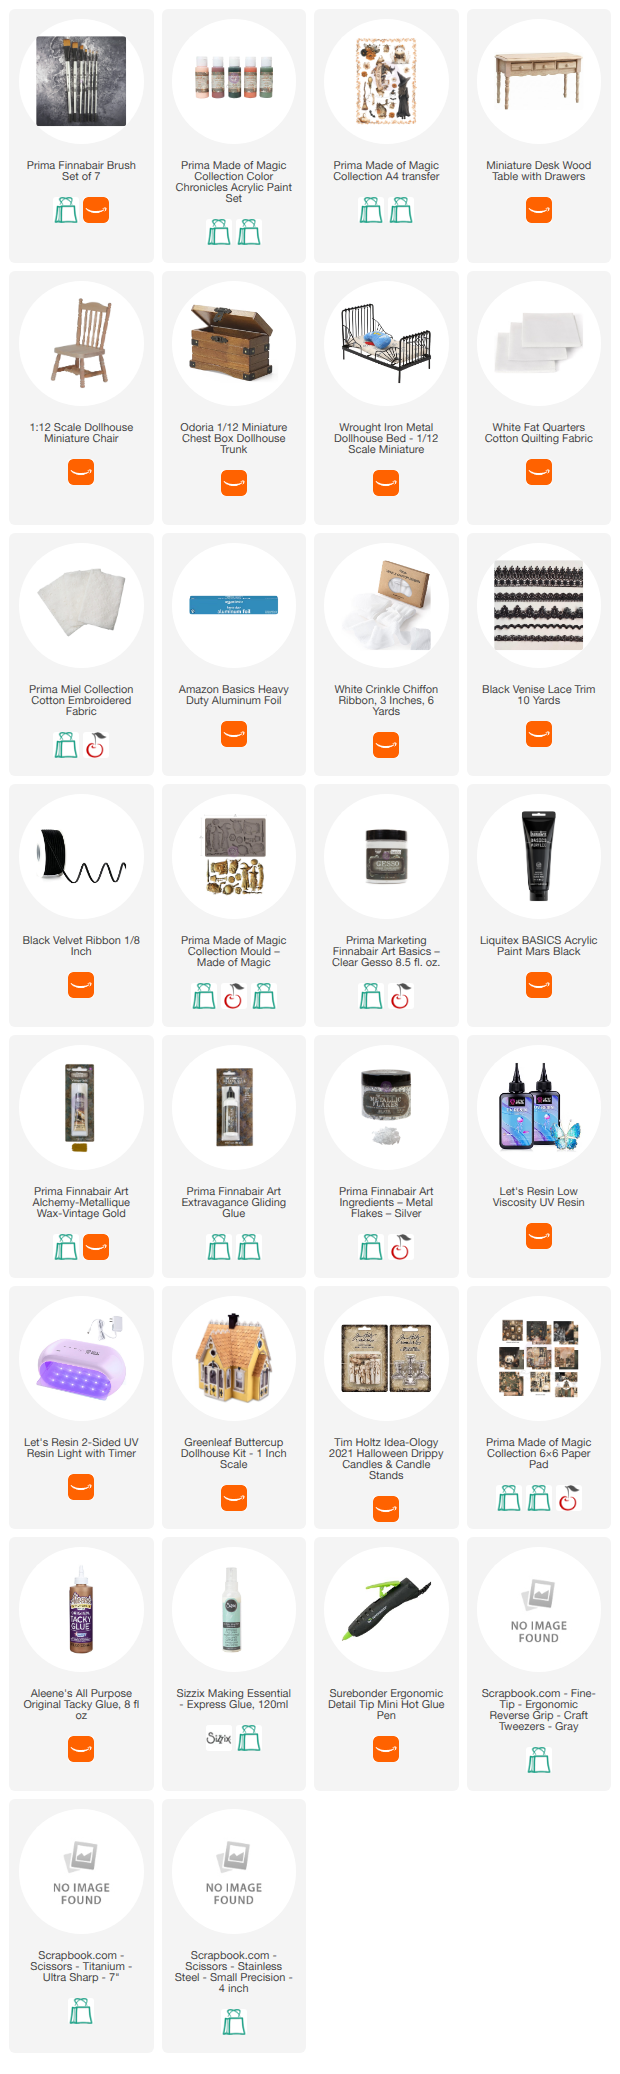
The dollhouse that I used was Greenleaf's 1 inch scale Buttercup dollhouse kit. They recommend Tacky Glue rather than wood glue for assembling dollhouses. I followed the build mostly, but changed a few things, like removing the windows on the left side of the house to accommodate the chimney stack I built from scratch using poster board, foam board, egg crates, Paper Texture Paste and acrylic and chalk paints. And because I moved the chimney down, I had to trace and cut half a piece of trim using a large craft knife.
Before gluing anything together, I traced all the floors, walls and roof pieces onto poster board so I would have templates for siding, wallpaper and more later on.
The underside of the roof pieces were painted with Made of Magic Color Chronicles paint. The roof pieces were also traced onto black poster board and then I glued the Greenleaf octagon shingles on, painting them with black acrylic and gray chalk paint. I then glued the entire sheet of shingles to the roof using Tacky Glue.
I also used other supplies for the window panes, rather than the supplied acetate (more on that later). I also made the front door operational, using a dollhouse hardware kit to add hinges to the door. Tip: use a pin vise to drill some tiny holes for each screw so you don't split your wood. I also added victorian styled crystal knobs on both sides of the door. I used a dab of black acrylic to paint the keyhole and then added some gold flatpack pearls in place of nails.
The siding is all black poster board glued onto the one of the templates for each wall and all the lights are battery operated. There's little magnets on the ceiling and wall lamps that help you hang them. The gables were also painted with Made of Magic paint and glued on with Tacky Glue.
Windows

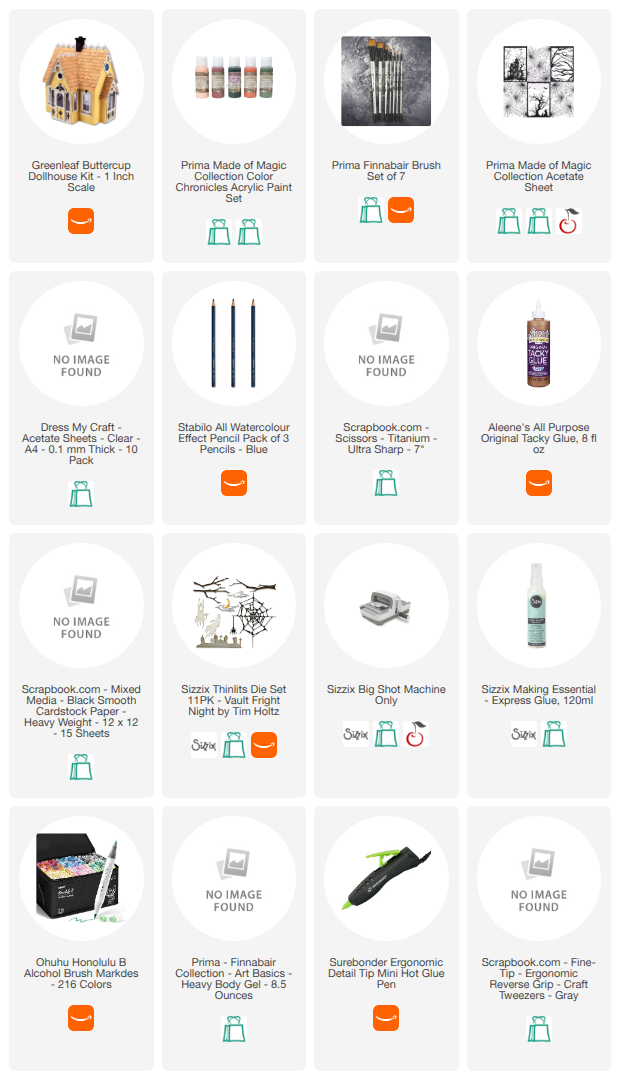
I painted all the window trim (and the bit that is visible on the house walls) with Prima's Made of Magic Color Chronicles paint. Then I traced out each size of the provided window acetate pieces onto the Made of Magic Acetate sheet using a wax pencil. I cut these out, wiped the excess wax off and then used tacky glue to adhere these to the back of the outside window trim before gluing these to the house.
The stained glass windows are meant to help hide the fact that I was placing a potions cabinet in front of one of the windows inside. I used plain acetate for these window panes, traced like the other window panes using the Made of Magic Acetate, and then cut out. I die cut some spider webs using a Tim Holtz Sizzix die set from black cardstock and then glued these onto the acetate with liquid adhesive.
After they were dry, I cut the excess parts of the die off using scissors. I then colored the sections of visible acetate with green and orange alcohol ink markers. Once ready, I glued these to their corresponding pieces of the window frame and sash for both windows.
I used black poster board on the door, door trim under the windows and under the bay window. You want to add these now before gluing these pieces into place or screwing the hinges into place. When gluing the windows with acetate and the trim for the inside around the window in place, you want to make sure that you have all your siding and wall paper in place.
Flooring & Wallpapering

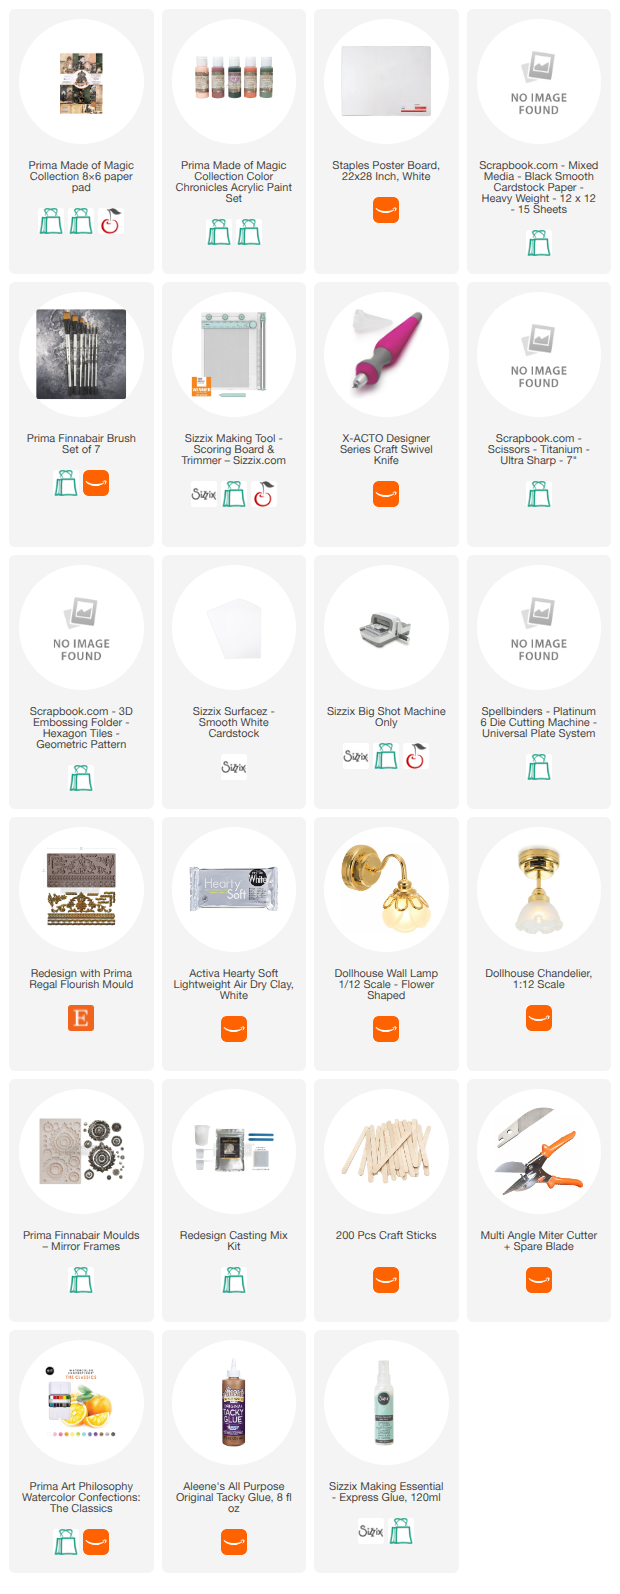
I used the templates of the walls that I traced as the base for the wallpaper and painted walls. I cut the templates out and glued Made of Magic 6x8 Paper directly to the template. I then used Tacky Glue to adhere this template directly to the walls.
I added floorboards and wainscoting using a thick black cardstock. The tin ceiling tiles is just white cardstock embossed with a Spellbinders embossing folder. I cut it to fit a template and glued the template in place.
The crown moulding is made using the Regal Flourish Redesign Mould and air dry clay. I glued the moulds in using Tacky Glue.
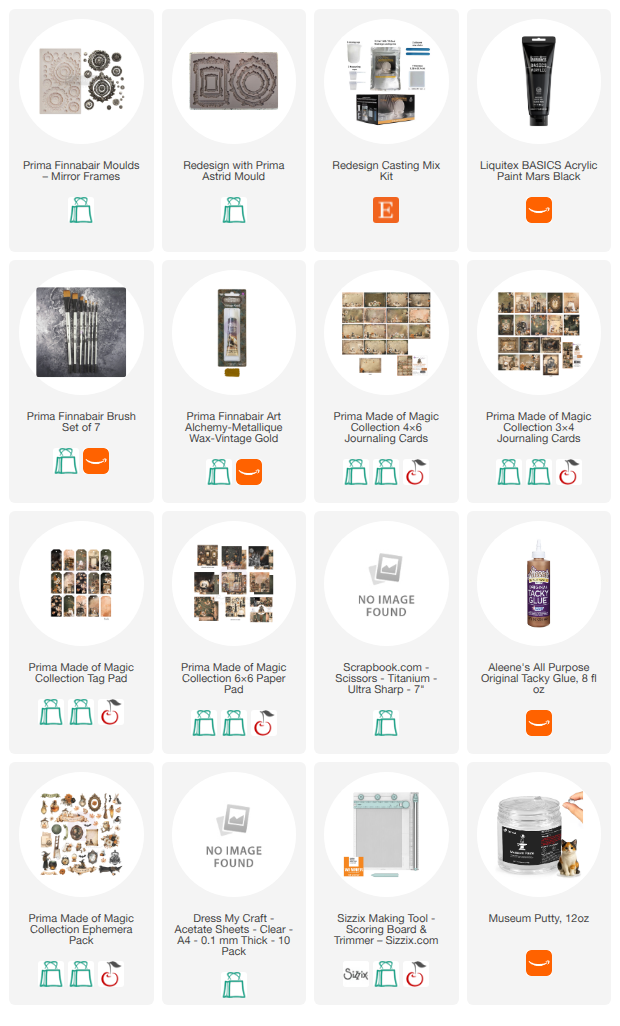
The ceiling medallion around the ceiling light is a Mirror Frames mould cast with Redesign's Casting Mix and glued to the ceiling.

The flooring for both levels are made to look like wood floors. I used a miter cutter to cut the rounded ends off popsicle sticks and then glued them using Tacky Glue onto the floor templates I created. Make sure you stagger your popsicle sticks so it looks more realistic! Once the glue was dry, I stained the popsicle stick floors with a brown watercolor. Once this was dry, I glued the floor template with popsicle sticks in place. It's important that in this dollhouse model, you want to get your flooring glued in before you put the roof on.
Outdoor Moulds, Ephemera & Foliage

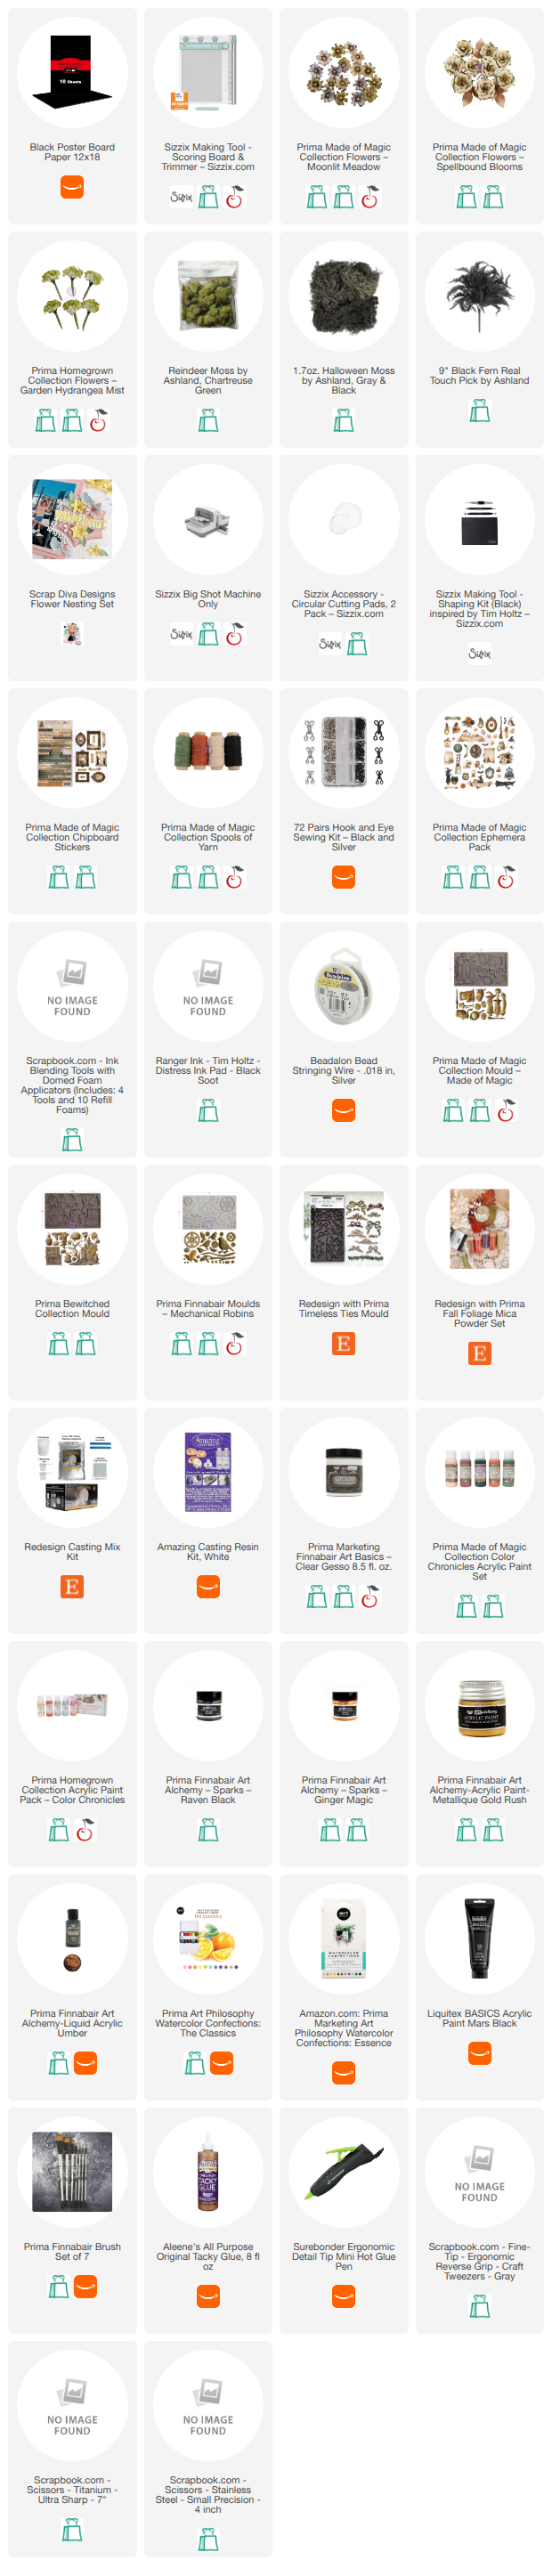
I used several moulds to decorate the outside of the house. First was the Timeless Ties mould. I added a bit of some of the Fall Foliage mica powder to the moulds I wanted to cast and brushed the mica powder to cover the inside of the mould in a thin coat. Then I cast these using the Alumilite Amazing Casting Resin in White.I did the same with the leaf moulds using the Bewitched mould and two colors of mica powder.
I painted the bat from Bewitched and the wands, brooms, number and banner using the Finnabair acrylic paints below after casting these with Alumilite and priming them with Finn's Clear Gesso and black acrylic.
- Bat: Raven Black Sparks
- Wands: Ginger Magic Sparks
- Banner and Number: Ginger Magic Sparks
- Brooms: bristles are Ginger Magic Sparks and handle was primed with a cream chalk paint then gone over with Umber Liquid Acrylic

I used black poster board on the door, door trim under the windows and under the bay window--gluing these on when doing the acetate for the windows.
The vine along the chimney is a combination of ferns cut from a pick from Michaels along with Moonlit Meadow and Spellbound Blooms flowers from Made of Magic. I also tucked in some die cut and shaped leaves using the Made of Magic Tag Pad & 6x8 Paper Pad, Scrap Diva Design's Flower metal die and the Sizzix Shaping Kit.
I also added some moss to the chimney and roof. This helped to hide any gaps where the chimney met the roofline and served to make it look old and mossy. The leaves are from the Made of Magic Ephemera pack and I gently shaped these like I did the die cut leaves.
I painted the owl mould from Made of Magic using black acrylic, Made of Magic acrylics and Art Philosophy watercolors. I used Alumilite white resin to cast him so he would stand the test of time. Because it was resin, I primed it with clear gesso first. I did the same for the brach mould from Finn's Mechanical Robins mould, but I painted this using only watercolors.

The little bats flying above the house are from the ephemera pack. I picked out 6 and then inked the backs of them with Black Soot Distress Ink. I used some really thin jewelry wire, cutting 3 small lengths and giving them a cute spiral by winding a bit of the wire around a paintbrush handle. Then I glued the wire to the back of one bat and sandwiched it with another bat on top, making them double-sided. I then created a small loop of wire at the bottom of each bat and use this loop to glue them to the roofline among the flowers and moss.
The window boxes are from the dollhouse kit and I painted them using Made of Magic acrylic paint. The boxes were glued on with Tacky Glue, which I also used to add the moss and the little flowers from Prima's Homegrown collection.
Fireplace & Cauldron Mould

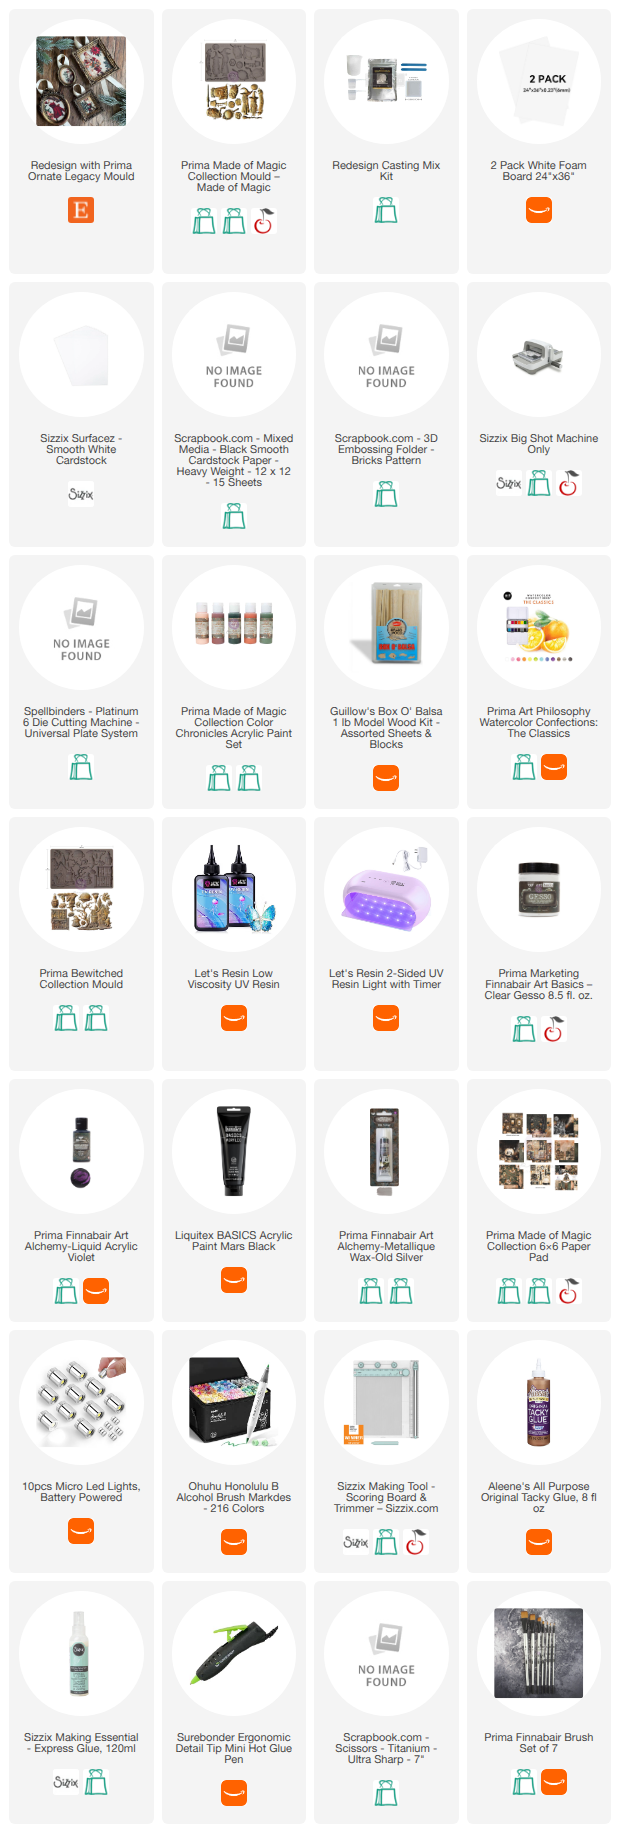
The fireplace is built from foam board, balsa wood, white cardstock, embossed black cardstock and a mould. I started by casting the larger square frame from the Ornate Legacy Mould and two wands from the Made of Magic Mould using Redesign's Casting Mix.
Pro Tip: Use jewelry wire for strengthening the delicate wand moulds. Let the casting mix set up for about 5 minutes before adding it to the mould--you want it to embed in the casting mix, but not sink to the bottom of the mould. Let your moulds set up overnight, until they are no longer cool to the touch--it will be safe to demould at this point. Be patient and peel the mould away from the edges of the cast slightly before pushing up on the bottom of the mould to finish popping the cast out.
I built the size of the fireplace based off this mould and cut foam board to match those specs, gluing it all together with Tacky Glue. I added white cardstock, gluing it to the front of the fireplace and then folding along the corners, gluing the sides and cutting any excess off.
The inside of the fireplace is covered in black cardstock that I embossed with a brick pattern embossing folder. I dry brushed the embossed paper with a Made of Magic Paint. I cut these to fit the back and sides of the inside of the fireplace, as well as the bottom and glued them into place with Tacky Glue
The mantle is a piece of balsa wood that I stained with a brown watercolor. I glued it on with Tacky Glue.

The cauldron is is from the Bewitched Mould, cast in UV resin. You'll need to do this resin in thin layers, curing each layer with a UV light to get it to work since this isn't a clear mould. You can also use clear epoxy resin if you want. Once cast, prime it with clear gesso then paint the bottom of the cauldron with black acrylic. Highlight the texture on the cauldron with Finn's Old Silver Wax. Then paint the bubbles with Finn's Violet Liquid Acrylic.
Create a tiny box with and open top using some Made of Magic paper and glue it to the back of the cauldron. You want it to be big enough to fit a micro LED light. Color the light with an orange alcohol ink marker to make it more of a warm light if needed.
Don't glue the cauldron in your fireplace, this will allow you to remove it to easily turn the battery operated light off and on. I also did not glue the fireplace to the wall, in case I ever need to repair something.
Potions, Cabinet & Workbench

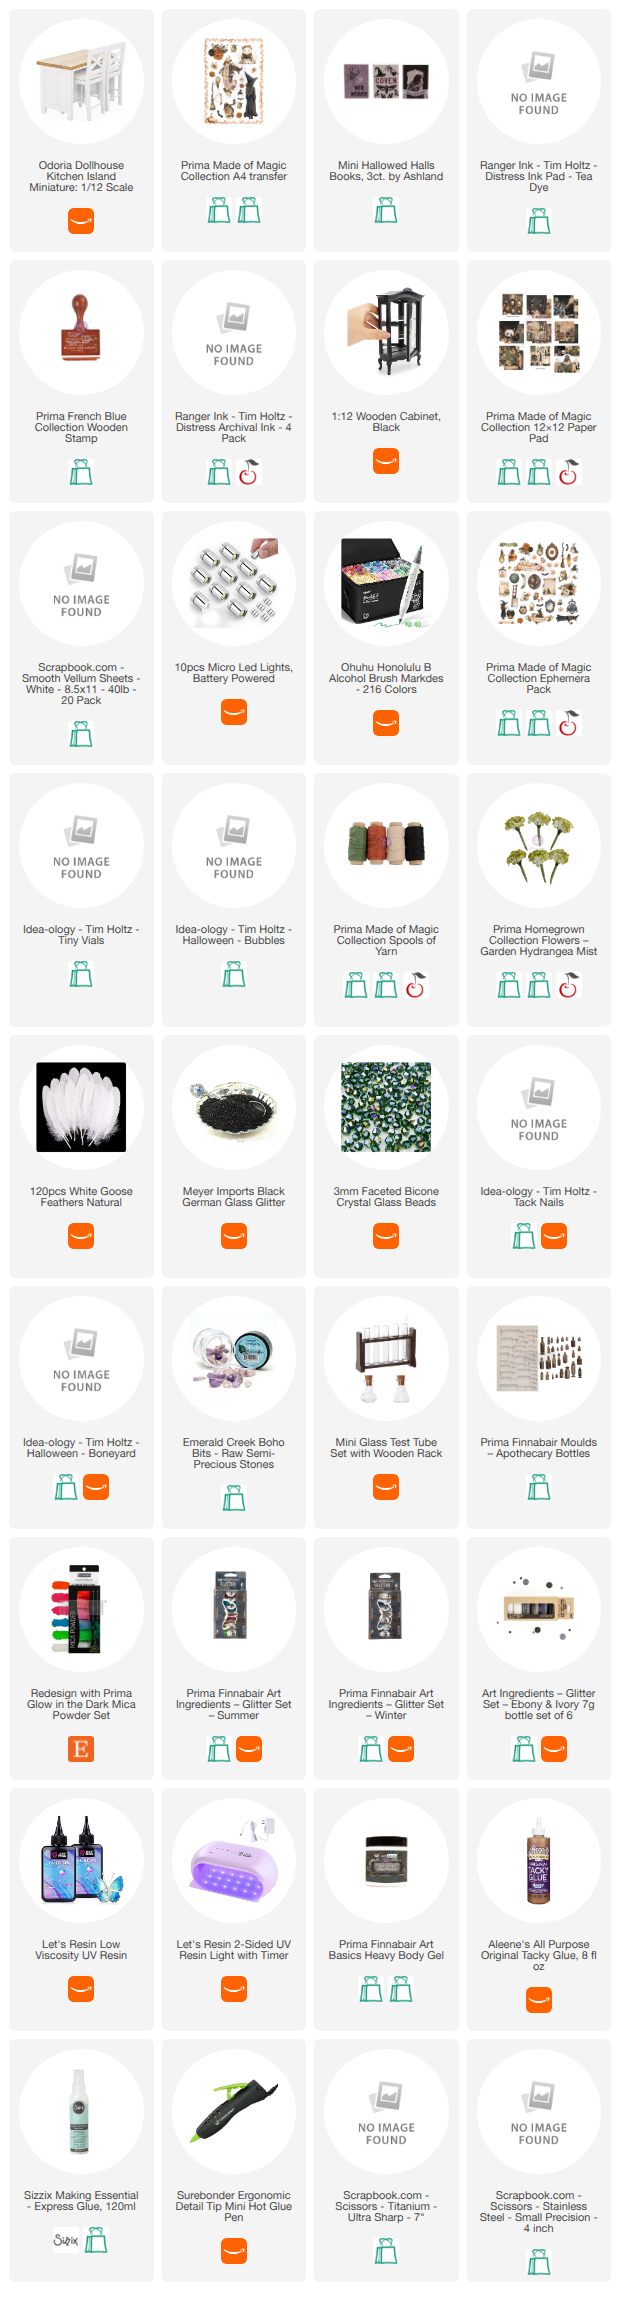
Since the first level of this house's focus is on the potions side of the Made of Magic collection, I wanted to have a potions cabinet, a workbench and tons of potion bottles. Let's start with the moulded potion bottles. I used Finnabair's Apothecary Bottles Mould, UV resin, Finnabair glitter sets and Redesign's Glow in the Dark Mica Powder to make these. And I definitely recommend using UV resin and not epoxy for this.

Again, since this is not a clear mould, you'll have to work in sections, but this works to our advantage. We want the bottles to have a clear "glass" layer on the outside and then the liquid "contents" on the inside. So do thin layers of Low Viscosity UV resin, curing each layer, until you get about half the mould filled with clear resin. Then add another layer of UV resin and your mix in--I scooped a small bit of mica powder or sprinkled in a little glitter into each bottle then used a toothpick to stir it in. Cure this with the UV light and then do more layers of clear resin on the back until the mould is full.
Make 2 of each, matching the color of the mix in for the bottle as we will be gluing these back-to-back. Once you have matching sets, use a small drop of High Viscosity UV resin on the back of one bottle and press its match to it to make a 3D potion bottle. Cure each one with your UV light.

For the other potion bottles and test tubes, these are glass ones. I added a bit of mica powder or glitter to the potion bottles and test tubes then add some Low Viscosity UV resin. (I used a pipette to get the resin into the test tubes and tossed this pipette in the trash when I was done.) Stir with a toothpick and then cure these under the UV light.
For the workbench, I wanted a spell book. So I took one of the mini books I bought at Michaels that has real pages and opens and opened it to about the center. I flattened it in that position under something heavy for about 15 minutes. Once it was staying open to the center, I inked up the pages it was open to and a few others with Distress Ink in Tea Dye. I then used Prima's French Blue Stamp to add a bit of script to the book, apply ink to the part I wanted and pressing it onto the two open pages. I dog eared some of the pages to make it look well-used.

Some of the glass potion bottles I filled with other things, like glitter glass, rocks, beads, feathers, flowers and tack nails. And one of the potion bottles got a "glass" topper instead of the cork it came with. I added a Tim Holtz Bubble to the top using High Viscosity UV Resin, curing it with the UV light. Some of the bottles also got some of the Spools of Yarn around the neck of the bottle. Not all of the bottles I made went into the potion cabinet or work bench.
Before adding bottles and other little things to the cabinet, chairs and kitchen island turned work bench, I wanted to make them a little more witchy. I applied some of the leaves from one of the Made of Magic Rub On Transfers, cutting the leaf vine to fit the sides of the island and cabinet. Peel off the backing, and place it down. I used a popsicle stick that had the rounded end cut off to rub the transfer onto the furniture. Peel the transfer sheet off and that's it! I added a bat to the front of the cabinet as well.
Then you can add things to your furniture pieces. I glued all of the bottles and other little bits and bobs in the potions cabinet using Finnabair's Heavy Body Gel. For the desk, I used hot glue, simply for the quick dry time so I could keep moving with adding things. On table of the work bench, I added some ephemera from Made of Magic using some repositionable adhesive, then added the 3D items with hot glue (except for the spell book, which I didn't glue down at all. To the shelves of the workbench I added scrolls and books that I made. The kitty was fussy cut from the Made of Magic papers. (I think the 12x12 if I remember correctly, but at this point, I've done some much I can't really remember--maybe it's in one of the reels, lol!) It was added using a tiny little L shape piece of acetate to get him to stand up (see my floating ghostie below for this acetate stand tutorial).
3D Cauldron

The 3D cauldron is from Tim Holtz's Idea-ology Halloween line. I used one I bought from a previous year, but now he has one with cute little feet on it, which I've linked below. The little micro LED lights I've listed below are the perfect size for fitting inside the cauldron. We just need to make a removable bubbly top so we can access the light inside to turn it off and on. Start by flipping the cauldron upside down on a piece of acetate. Trace it with a wax pencil and then cut the circle you traced out. Make sure it fits nicely on the cauldron before moving on.
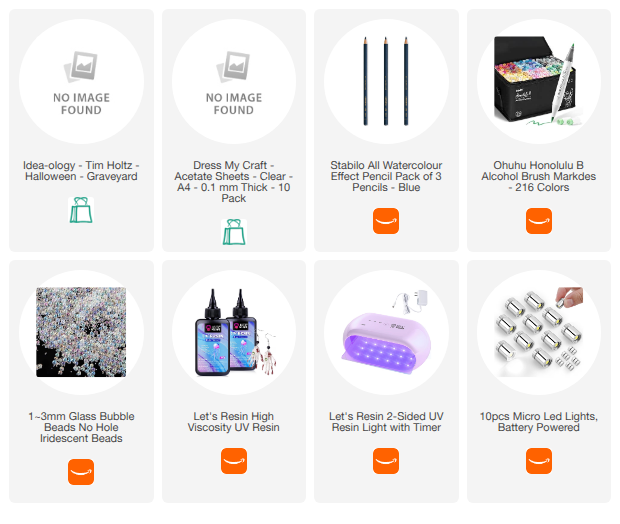
Color the acetate with a green alcohol ink marker (or purple or whatever color you want your bubbly potion to be). After the this dries, you can move forward with the bubbles. It's important that you use High Viscosity UV resin for this--this is a thicker UV resin that will hold its surface tension (i.e. it doesn't spread on its own). Add some resin to the acetate circle and then sprinkle some small iridescent bubbles on top. Cure this under the UV light. Continuing adding layers of resin and bubbles until you are happy with the shape of your bubbly top.
I ended up adding a small L-shaped piece of acetate to the underside of this bubbly top, just so the top wouldn't go flying off when moving the house. I glued it in place with tacky glue.
Books, Scrolls, Bookshelf & Box of Books

Let's start with the scrolls. I cut strips from the Made of Magic Tag Pad that were 1 inch wide. Cut each strip from this tag pad in half so you get 4 strips from each tag. Roll the scroll around a paintbrush handle or pencil--one that isn't graduated. This will help get that curve going. You also want to roll so that the back side of the tag is what shows on the outside of the roll. I did pick one that was nice on both sides and created an "open scroll of the table of the work bench, rolling it on both sides and leaving it flat in the middle. Roll the scroll tightly with your fingers and use liquid glue it in place. Tie some of the Made of Magic Spools of Yarn around the scrolls.
Since all these books will be closed, we just need some white foam board and some paper from the Made of Magic pads. Use a ruler and a craft knife to cut out little rectangles. Mine were just under an inch tall--how big or small your books are depend on if you want to make them to 1 inch scale or the size of the spaces in the furniture you want to fill up.
Then cut strips of paper from Made of Magic that are slightly taller than your foam cuts (for me, that was 1 inch tall strips). Length doesn't matter. Using Tacky Glue, apply adhesive to one side of a foam rectangle and place it down on the back side of a strip, leaving a small space between the edge of the foam and the edge of the paper on 3 sides. I did this for a couple of foam rectangles and strips, then went back to my first strip, adding glue to the other side of the foam rectangle and then gently folded the paper around and on top of the freshly applied glue to create the binding and other cover of the book. Remember, you want the binding to be rounded, so don't pull it too tight around.

After holding it in place for a few seconds, use a pair of scissors to trim off the excess paper. Keep using your paper until you run out and make a ton of books! To add a little detail to the binding, use a Uchida DecoColor marker in silver and gold to add lines at the top and bottom for a small bit of metallic.
The bookshelf that I made was created using offcuts from my dollhouse. The pieces come in sheets of wood and you punch the shapes out. There were some leftover pieces perfect for making a little bookshelf. I used the miter cutter to trim the pieces to size to fit along the wall next to the fireplace and glued them together with Tacky Glue. Once dry, I painted it with Made of Magic acrylic paint.
After the paint was dry, I added books, scrolls and a leftover moulded potion bottle to the bookshelf. On top I added more books, a glass bottle with real feathers (that I cut from a large feather with scissors), a pot of flowers, and a kitty on a moon that I bought from Michaels. While I glued everything in place in and on the bookshelf, I did not glue the bookshelf in the house--I didn't glue any of my furniture in.
In the upstairs in the little nook at the center, I created a stacked set of boxes with books in the open box on top. The boxes are created from brown cardstock. I used my Sizzix Scoring Board and Trimmer to trim the pieces of cardstock to size and then scored them. You want to make sure that you have a little 1/4 inch tab on one side to glue the 4 sides of the box together. Cut the box bottom and lid flaps apart with scissors and glue your box together. You might need to trim the bottom and top flaps a little so they aren't as wide as the box itself--it will make it easier to overlap them for gluing closed or stuffing inside the box. I stuffed the 4 lid pieces into the top box so that I could add books inside.

I glued the books that went inside the box together, but didn't glue them into the box. I then added some books on top, as well as the lamp mould from Made of Magic. Like the moulded potion bottles, this was also created using UV Resin, glow in the dark mica, clear gesso, black acrylic paint and wax. I glued the lamp to the large box and added some labels I fussy cut from Made of Magic papers to the boxes.
Desk, Bed, Trunk, Mirror & Nightstand

The desk I had is from the dollar store several years ago, so I put one that is similar (and dare I say cuter) from Amazon. The chair I did by on Amazon and placed that below. Both are unfinished, and so I painted these with Made of Magic Paint.I added Made of Magic Transfers to the desk top and to the trunk.
The desk got some of my handmade books along with a raven on a skull and pile of books from Michaels. I also added a cute little pumpkin teapot from Michaels. The 3D crystal ball and witch hat I go into detail about below. The seat of the chair got some of the books I made.
The bed is from Amazon and I got it because it reminds me of spider webs--apparently it's designed after a child's bed from IKEA! I covered the mattress that came with it in plain white cotton fabric, gluing to to the underside with Tacky Glue.
Now, there are much better tutorials for dollhouse bedding online than I can give. I will just say that the trick many miniaturists use to rumple bedding, fold it over and just generally make it look weighty and realistic is aluminum foil. Sandwich some foil between your layers of bedding and then you can rumple up or fold over your bedding and it will hold its shape! I made my bedding using the plain cotton fabric as well as the embroidered fabric from Prima's Miel collection. I added some black lace for detail.

The regular pillow is filled with rice, to make it look like it has weight. And the bolster pillow is stuffed with rice and a bit of batting. I tied some black velvet ribbon around the ends of the bolster pillow. I also made a gauzy blanket that reminds me of ghosts using some pre-crinkled white chiffon ribbon that was 3 inches wide. I simply added a little black lace on either end and draped it over the bed.
The trunk is filled with folded and glued pieces of fabric (both the ones used for the bedding) and another "blanket" that I draped out of the trunk.
The scrying mirror is made using the Made of Magic Mould and UV resin. I've talked about doing it in thin layers for the potion bottles and such, so see those notes above. I didn't do the handle of the mirror however so that it would just look like a large wall mirror. But after I was done making the mould, I primed the frame with clear gesso and then painted it with black acrylic paint. I added a bit of Finnabair's gold wax to the highlights of the mould. Then I applied Gliding Glue to the back of the mirror. Once dry, it will still be tacky. I found a large piece of Finnabair Silver Metallic Flakes that would cover the entire back of the mirror and placed it on the glue. Rub it to adhere and then brush the excess off.
The nightstand is made from some circle offcuts from the dollhouse kit (the piece that came out from inside circle window frames). I used 2--one larger, one smaller. I traced the larger one onto a piece of Made of Magic paper and cut it out. Glue it to the top of the larger circle then glue a strip of paper around the edge of this circle to create a clean edge for the nightstand.
Add the smaller circle underneath and then glue on the taller of the Candle Stands from Tim Holtz to that, creating a circular nightstand. I added some books, a pumpkin mug from Michaels and a battery operated light to it. Then add a few books and scrolls on top of and under the bed to finish off this end of the room!
Artwork & Floating Ghost

The artwork on the first level made use of small frame moulds. I cast these using Redesign's Casting Mix. Once set, you can trace these out onto Made of Magic paper--I used journaling notecards and I think maybe the tag pad for these. Cut these out and set these aside.
Paint your frame moulds with black acrylic paint and then apply Finn's Gold Wax to the highlights. Glue the frame to the art you cut out using Tacky Glue. I glued these pieces of artwork directly to the walls with Tacky Glue.

The artwork in the upper level is fussy cut and one is from the Made of Magic Ephemera pack. I used a swivel craft knife to cut some artwork out from the bonus sheet in the 6x6 Made of Magic paper pad. I also glued these to the angled wall in the upstairs with Tacky Glue.
The ghostie is also from the Made of Magic Ephemera pack. I simply glued a piece of acetate to the back and then bent it into an L shape so I could attach it to the floor. I cut off the excess acetate and then held the ghost in place with a bit of clear museum putty on the acetate, pressing it into the floor. This will leave a little mark on the floor if you used watercolors like I did, but this is an old cottage for a witch, so who cares, right?
Baskets, Crate, Flowerpots & Drying Rack

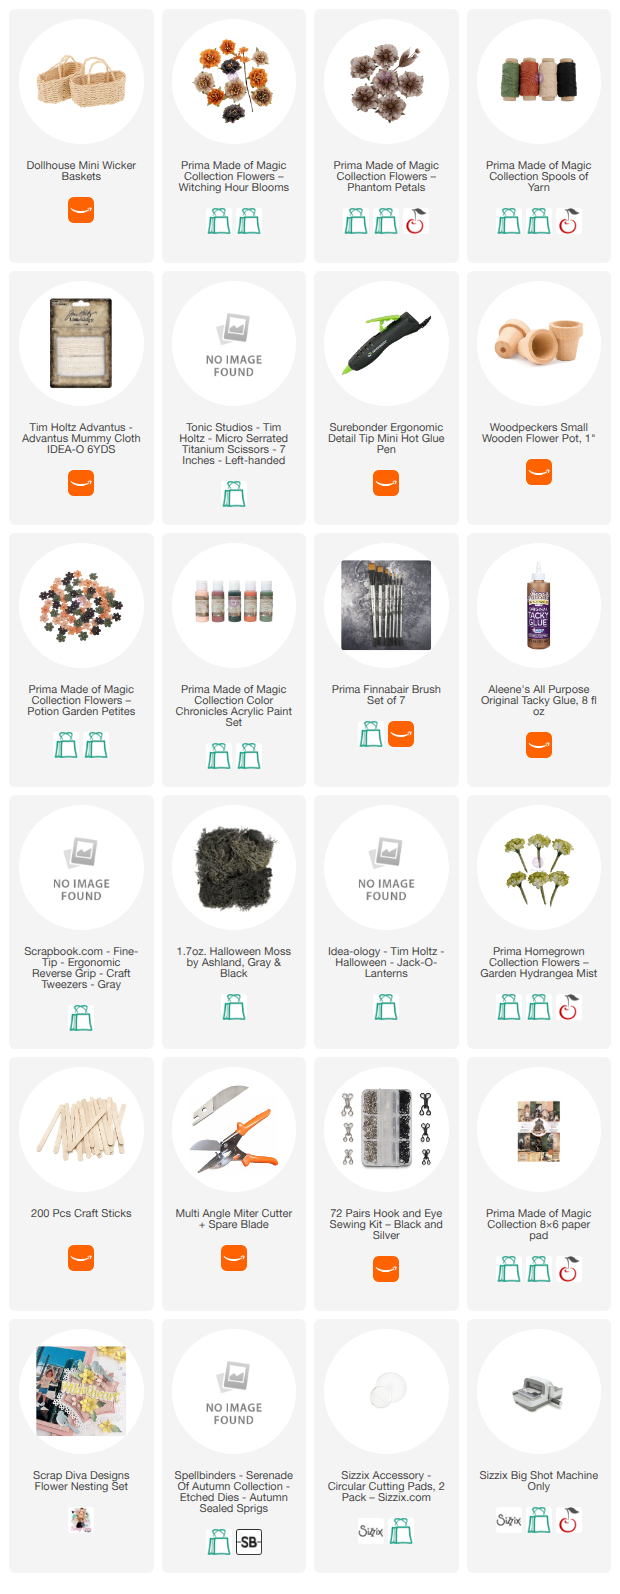
The baskets I decorated with a tiny blow of Made of Magic Spools of Yarn that I glued on with a tiny dot of hot glue. Then I filled the baskets with Mummy Cloth (just aged cheesecloth cut into strips). One basket got a bouquet of stemmed flowers from the Made of Magic collection. I trimmed off the excess wire (hang on to these excess pieces) and then hot glued a bit of mummy cloth around the stems. I added a bottle of rock chips to this basket.The second basket got books and a potion bottle.
The pots are little 1 inch unfinished wood pots that I painted with Made of Magic Acrylic Paint. I then added some Spools of Yarn around them for a bit of decoration. I filled them with moss and then made some stemmed flowers by using the Potion Garden Petites flowers and some extra wire stems. I hot glued a flower onto either side of stem, bent it in half, then glued the flowers into the pots.

I created a crate for one of the pots to go into. This was just made of cut popsicle sticks. I left it unstained and then also added a book to the crate with the pot.
Another pot is one of the Tim Holtz Jack-o-lanterns. I added moss and then glued some of the Homegrown Hydrangea Garden Mist flowers into it.

The last floral thing I created for this house was a little drying rack for flowers and herbs. I cut a piece of popsicle stick down to fit the wall I wanted it on and then painted it with Made of Magic Paint. I added some tiny hooks to it with glue. The flowers are from Prima's Homegrown collection. The leaves are die cut from Made of Magic paper. I cut them up and glued them together. All 3 bunches got Made of Magic Spools of Yarn wrapped around them then hung on a hook. I glued this rack directly to the wall.
Witch Hat, Birdcage & 3D Crystal Ball

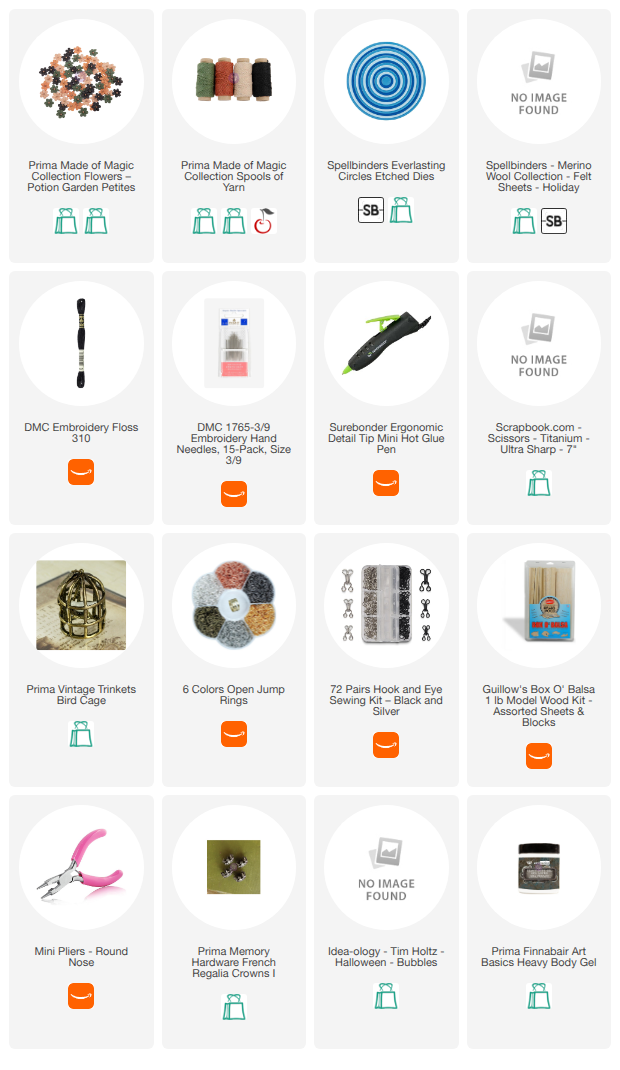
The birdcage is from Prima and I simply made a short chain to hang it from using jump rings and some pliers. To hang it, I glued a hook to a small piece of balsa wood then glued this balsa wood piece to the inside top of the roofline, hiding the balsa wood strip. Attach the chain to the birdcage then hang it from the hook.

The Crystal Ball is a Memory Hardware crown from Prima turned upside down. I used Finnabair's Heavy Body Gel to adhere a Tim Holtz Bubble that fit to the bottom inside of the crown. This went on the upstairs desk.

The witch hat is made from Merino Wool Felt. I die cut a circle with a hole in the center for the brim using some nesting circle dies. Then I created a little triangle pattern for the cone of the hat, cutting the felt out from the pattern.
Roll the cone up and glue the edges together with hot glue or you can sew it with embroidery floss. I went with the glue route just because I was on a deadline. Shove this cone through the hole in the center of the brim and then make some little cuts along the bottom of the cone. Glue these tabs to the bottom of the brim. My felt blended well here, so I didn't worry about having a second brim to sandwich these tabs in, but you can do that if you want.
To make the had flop over and stay, I used some long running stitches of black embroidery floss along the back side of the hat. Start near the brim on the inside and work your way up and then back down the hat with long stitches. Pull the floss until the hat forms the shape you want and then tie off the floss to hold it in place.
Add some Spools of Yarn around the base of the hat and a little flower with hot glue. I placed this over one of the knobs on the top of the chair upstairs--and it stayed nicely, no glue needed!
Window Seat Bench & Knickknacks

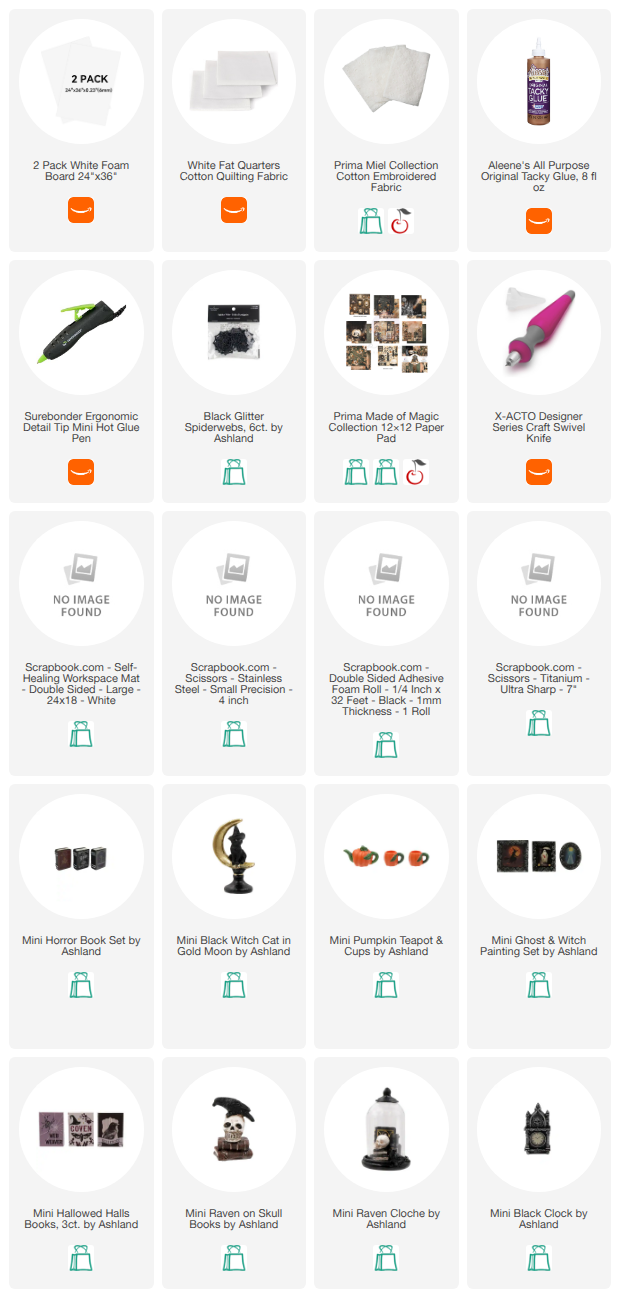
Before I get into the final thing I made for this house, I just wanted to mention that if you are looking for any of the little miniature knickknacks I bought from Michaels, I have them in the shopping list below.
Now, let's talk about the bench seat area. I used the pattern of this window seat area to cut a piece of foam board. Cut off 1/4 inch on one long side and one short side. We want room to add padding! Add a layer of quilting batting to the top of the foam board that fits the entire top, plus covers the front long edge of the seat. Use Tacky Glue to glue this in place. Then cut a second layer of batting that is slightly smaller than the top and glue it on top of the first layer of batting.
Cover the seat with plain cotton fabric. Cut a rectangle of fabric that will fit the seat and will fold over to the underside for gluing in place with Tacky Glue. To keep the corners from bulking up too much, cut a little square off at each corner or cut the corners off at an angle. Either way works. Fold and Glue the tabs into place starting with the two long sides, then the two short sides. Repeat this process for the embroidered fabric.
I wanted to make a little pillow for this seat but ran out of time, so I'll make that later. But I did add some books to the nook below the seat, as well as on top of the seat. I also added a pumpkin mug from Michaels. I also added a fussy cut crystal ball from Made of Magic in between the windows. I used some 1mm thick foam adhesive to make it feel more "3D."
at the top of the bay window on the inside was the perfect place for some little glittery spider webs that I also bought from Michaels. I thought they look like a valance and hot glued one to each of the semicircular pieces atop the bay window seat area.
Final Thoughts

And that's it, friends! Two and a half months of work and this little witchy potion cottage is done! I hope you enjoyed seeing photos of this project and seeing some reels showing the process of this massive (and slightly insane) project. Remember, I'll keep adding reels here as Prima and I publish them, so bookmark this blog if you want to come back to it later to see everything in one place!
Let me know in the comments what you think of this project. I know, I was absolutely crazy, but hey, I got it done--not in time for the release, but in time to share it long before Halloween! And if there is something I didn't cover that you want to know about, feel free to ask in the comments as well! I'll do my best to answer questions and give more insight. Until next time, happy crafting!
Adrienne


0 comments
I'd love to hear your thoughts!