
SBC Fest Laura Graff Class: 3 Cards, from Easy to Interactive
It's time for some more SBC Fest Spring 2026 inspiration and this time, I have a trio of cards for you featuring a soft color palette, butterflies, fun interactive elements and more.

Hi, crafty friend, I'm back with more SBC Fest inspo featuring 3 cards I created off of Laura Graff's class. She created a set of cards using a stunning kit containing some new papers, rub on transfers and dies from Scrapbook.com that has all the spring vibes. I also purchased the Nano Spinners add on because I'm obsessed with interactive cards.
In Laura's class, she created a fun fold card with spinning butterflies (using the Nano Spinners), a shaker card and a more simple card with a large rub on transfer motif. For my cards, I used some different sentiments on some of them, changed up the inside on the fun fold spinner card, swapped out the shaker element for a gatefold card style, and then pretty much kept the rub on transfer card the same, with some small additions.

I've got all of the supplies you need to recreate my versions of these cards listed below, so let's get right into this tutorial!
Jump to a Section

Quick and Easy Rub On Transfer Card
This card is pretty simple and quick. I didn't change much, other than adding a few of the mini gold hearts from the sheet of transfers around the floral wreath.

I added some of the Pinkfresh Sparkling Champagne Pearls to this card and switched out the mirror cardstock from Scrapbook.com for the Sizzix Gold Opulent cardstock.

I've shared Laura's class below so that you can see the difference between our cards and get her full tutorial.
Gatefold Card

This is the card where I swapped out the shaker element for creating a gatefold card. I kept many of the same elements, except I used different papers from the patterned paper in the class kit, and I swapped out the Mirror cardstock from SBC for Sizzix Gold Opulent cardstock instead. I also used a die cut sentiment instead of a rub on transfer--but I did include these!
Here's my tutorial:
- Trim an A2 card base (5 1/2 x 8 1/8 inches).
- Instead of scoring at 4 1/4 inches for a side fold card, score in at 2 1/8 inches on each side of the card to create the two folds.
- Trim some patterned paper to fit each of the front fold pieces--I kept a 1/8 inch white border around all of the sides, so each of my pieces measures 5 1/4 x 1 7/8 inches.
- Use dotted roller adhesive to attach these panels to the front of your card.

- Die cut the label (largest die piece from the kit) once from a solid color in the patterned paper pad in the class kit.
- Then cut the label frame (smaller die) once from mirror gold cardstock, once from the tan in the patterned paper pad, and one more time from a third color in the patterned paper pad. Glue the gold frame with liquid adhesive to the tan layer to create dimension.
- Glue the layered gold frame label layer to the larger die cut, then insert the inner off cut from the third color inside the gold frame.
- Flip this label over and add roller adhesive to the right side only. Flip it back over and then center the label on your card and press it on. This should glue it to the left flap on your gatefold card.
- Optional: If you don't like the pattern on the back of the label, you can cut another of the largest label die from white cardstock or a pattern you love and glue it to the back of the label and inside the card flap.

- Die cut the "hello" from gold cardstock once and from the tan solid in the patterned paper pad twice. Glue these layers together with liquid adhesive so the gold is on top. Glue the hello to the center of the label.
- Die cut the larger butterfly and its layer to create a white and gold butterfly and a pink and gold butterfly, both with white bodies. Glue the gold layer to the center of the larger layer, then the body on top. Once dry, you can gently bend the gold wings up a bit for dimension.
- Die cut two of the leaf sprigs from one of the solids in the patterned paper pad. Glue them to the bottom left corner of the label--I used a combination of liquid adhesive and foam adhesive. Ensure your die cuts aren't hanging over the edge too much so they don't get damaged when your recipient opens their card!

- Add the butterflies using foam adhesive (1 and 2 mm) to pop them up a. bit.
- Glue on some pearls for a bit more bling.
- On the inside of the right flap of your card, apply a few of the butterflies from the rub on transfer set in the class kit.
I've shared Laura's tutorial for her shaker card version below (starting at just the right timecode for you)!
Butterfly Spinner Card


I also used the pearl and mirror cardstocks from Sizzix's Opulent Rose Gold cardstock pack for some of the butterfly layers and the larger of the two labels I die cut.
And instead of stamping and die cutting the "Thinking of You" sentiment from the stamp and die set in this kit, I opted for the "Happy Birthday" and stamped it directly on to the smaller of the two labels using a Catherine Pooler ink.

On the inside, I added my white label to the back of the one on the front--I just didn't have the heart to cover that pretty floral paper I used from the pad in the kit! On this label, I stamped one of the other sentiments near the top of the label, then added some die cut flowers and leaf sprig from the die set in the kit. I used liquid adhesive for all of this so it wouldn't add bulk to the inside of my card.

On the right inside of the card, I added a butterfly cut from Opulent Rose Gold cardstocks and a bit of the white cardstock I used for the base.

Here is Laura's tutorial so you can see the differences:
I hope you enjoyed a look at my versions of the Laura Graff's cards and that you feel inspired to try your hand at any one of these cards. Until next time, happy crafting!
Adrienne
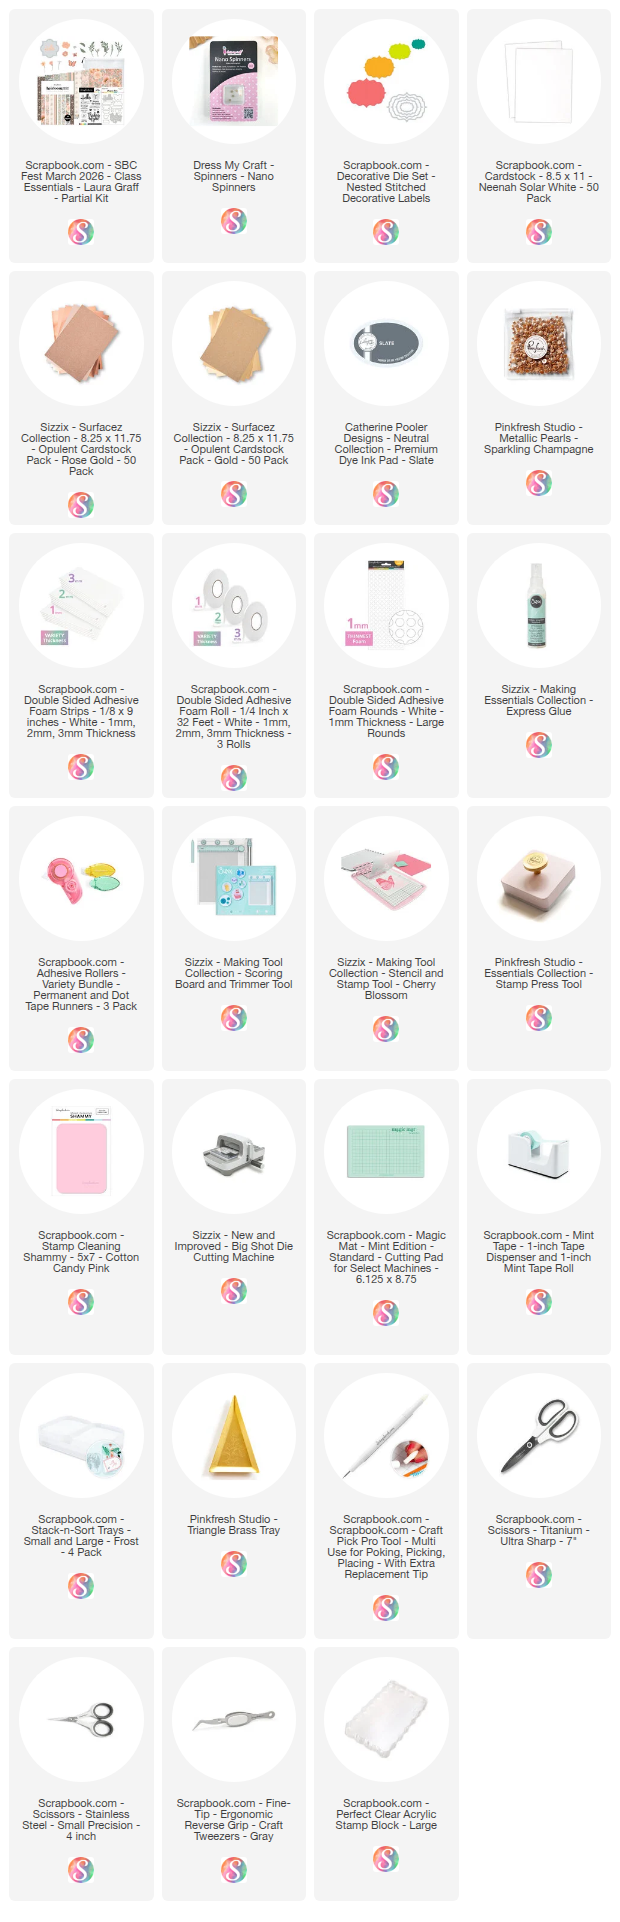
Shop the Supplies:
Scrapbook.com, A Cherry On Top, Sizzix, Prima Marketing, Spellbinders, Scrap Diva Designs, Etsy & Amazon
I am an affiliate with multiple companies. When you shop the links below, I receive a small commission from the affiliate, at no additional cost to you. This helps me balance the costs of the time and love I put into my projects and blog so I can continue to share my ideas with you for FREE. If you shop the links, thank you! I greatly appreciate it.
Below are products that I used for this project.


2 comments
hi. I have just found your site. Loved you cards, they are beautiful. Thanks for sharing. God bless
ReplyDeleteThank you and glad you found me!
DeleteI'd love to hear your thoughts!