
DIY Diorama Easter Eggs Home Decor Tutorial
These Easter Eggs make a statement. Here’s how to create these little DIY holiday decor pieces for your home.

Hi, crafty friend! When I was a little girl, sometimes my mom and I would go to this little local baking supply store called the Kandy Kastle. One of the things I always enjoyed looking at in the owner’s display cases at that shop were the little sugared diorama eggs. They fascinated me, with their intricate 3D elements inside and the piped royal frosting around the outside.

It’s with those eggs in mind that I decided to create my own version—just in something that is more durable than sugar and royal icing! I found some paper mâché diorama eggs with wooden candlestick stands on Amazon and set to work on these pretty little pastel confections.
I’ve got all the supplies I used for this project below, so let’s get into this tutorial!

The first thing you want to do is cast the larger frame from the Sweet Spring collection with quick cure resin. This resin is ready to de-mould in 10 minutes and is still pliable. As soon as you’ve de-moulded a frame, use some low-tack craft tape to hold the mould in place on your egg. This will help it keep the shape of the egg as it fully cures and hardens. Do this with each egg you create and set these aside for about an hour to fully cure.

It’s easier to work inside the eggs without the frames on. So once the resin is fully cured, you can remove the tape and the frames and set the frames aside. Before you get them confused, use a permanent marker to write a letter A on the bottom of the first egg and then an A on the back of the frame you took off of it. Then label the next set with the letter B and so on. This will help you know which frame goes with which egg since these eggs aren’t perfect in shape.

Let’s start by painting the inside of each egg blue. I mixed up some Finnabair White Gesso with the Atoll Blue Liquid Acrylic. This creates a custom chalk like paint that borders on satin finish. Paint the inside of an egg, and then before the paint is dry, sprinkle some iridescent glitter onto the paint.

While the paint on the insides of the eggs dries, I picked out the pieces of ephemera I wanted in each egg. I chose some from the Sweet Spring collection—a duck, a bunny and a fox. I cut a small strip of paper that fit the width of the back of the ephemera and glued it to the backs with liquid adhesive, letting part of the strip hang down below the bottom of the ephemera. Bend the strip at the bottom of the ephemera into an L shape and cut any excess of that bottom tab off—you want it long enough to glue in side the egg, but not so long that it causes issues.

After the eggs are dry, attach the ephemera to the bottom of each egg with a dab of hot glue. Then fill in the space around the ephemera with some moss, using more hot glue to attach it. Take some of the butterfly ephemera from the Sweet Spring collection and bend the wings up gently. Add a small dot of hot glue to the body and glue it to the sky area on the back of the inside of the eggs. I added 2 to each egg. Then add some of the tiny flowers from the Sweet Spring collection to the moss using a small dab of hot glue.

Now that the inside of the eggs are done, lets turn to the outside and the stands. We are going to mix up some more custom batches of chalk like paint. Mix White Gesso with some other colors of Liquid Acrylics from Finnabair—I used Powder Pink, Lavender and True Yellow. Start by mixing one color up and painting around the opening of the egg. Then using Finn’s Heavy Body Gel and a few dabs of hot glue, attach the coordinating resin frame to the egg.

After a few minutes, you should be safe to start painting the egg and the resin frame with the custom gesso paint mixture. Also paint the wooden stand for that egg with the same paint color. I did at least 2 coats on each egg and wooden stand.

After the eggs are painted with a pastel color, dry brush the egg, frame and wooden stand with plain white gesso. This will highlight texture and add interest. After I was done with the painting, I moved on to adding a little bling to each egg. I used liquid glue to adhere some small diamond chain around the inside edge of each frame.

Pop some slightly larger flowers from the Sweet Spring and Among the Wildflower collections onto the frame using hot glue and Heavy Body Gel (I put a small dab of gel on one side of the back of the flower, and a dab of hot glue on the other side). The finishing touch is adding some gems to the frame in a coordinating color. I like to use a dab of liquid adhesive to give them long-lasting hold in my dry climate.

To finish off the wooden stands, tie a bow of white chiffon ribbon near the top. Add a small dab of hot glue under the knot of the bow to help keep it in place. Then hot glued a flower to the center of the bow, coordinating the color of the flower and stand.

The final step is to attach the egg to its stand. Again, use a combination of Heavy Body Gel and hot glue, applying it to the top of the wooden stand. Press the egg on top and set these aside to cure for an hour before moving them.
And that’s it! It looks complicated, but the process is actually quite easy. They do take a little time with all the painting, but it’s totally worth it to have these sweet little shabby chic diorama eggs in the end. Until next time, happy crafting!
Adrienne
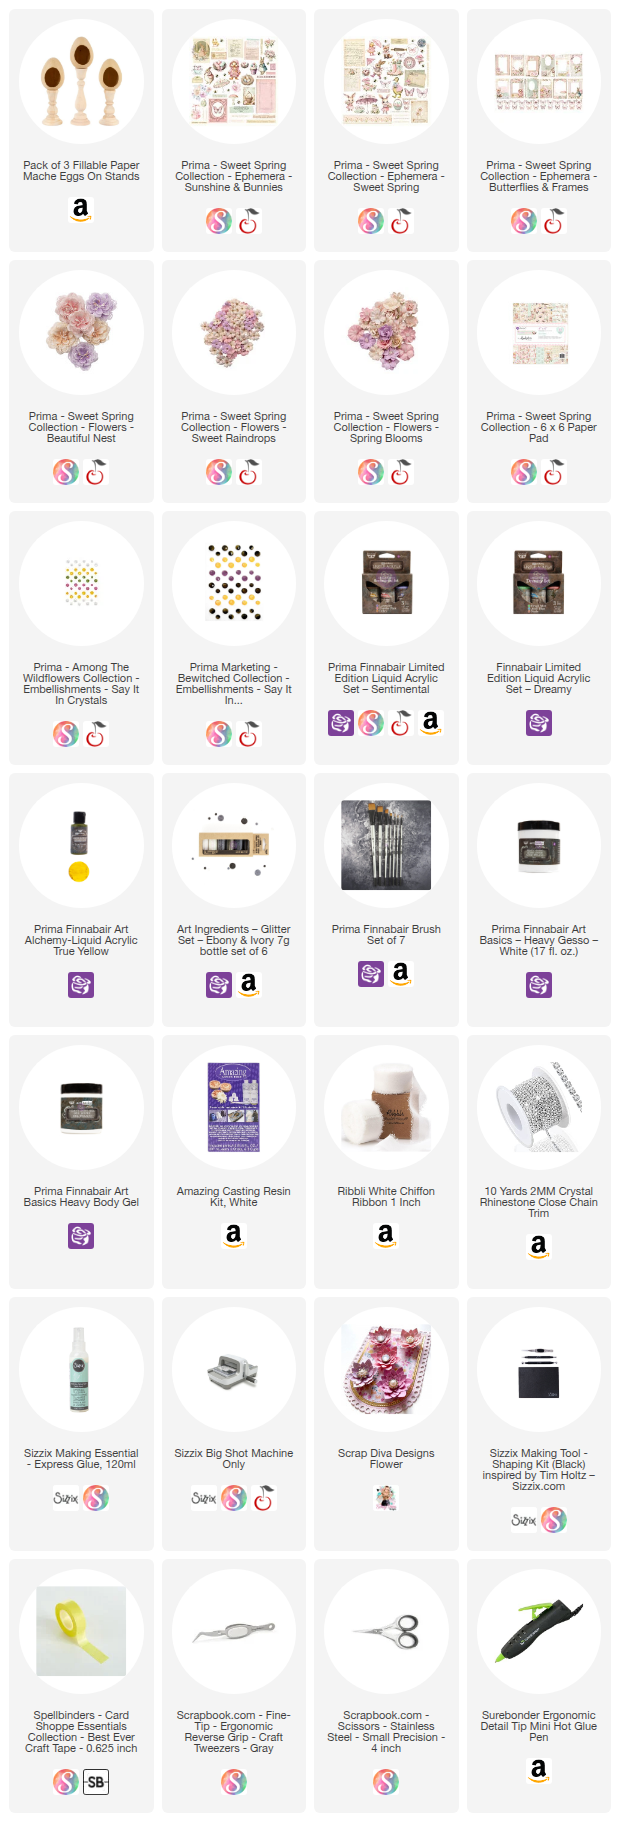
Shop the Supplies:
Scrapbook.com, A Cherry On Top, Sizzix, Prima Marketing, Spellbinders, Scrap Diva Designs, Etsy & Amazon
I am an affiliate with multiple companies. When you shop the links below, I receive a small commission from the affiliate, at no additional cost to you. This helps me balance the costs of the time and love I put into my projects and blog so I can continue to share my ideas with you for FREE. If you shop the links, thank you! I greatly appreciate it.
Below are products that I used for this project.


0 comments
I'd love to hear your thoughts!