
How to Create DIY Watercolor Ephemera with Stamps
Custom watercolor ephemera is easy with these Sizzix Willow Wolfe stamps. You can add these to home decor projects, cards, scrapbook layouts and more!

Hi, crafty friend! Today we are talking DIY watercolor ephemera. What I love about making my own ephemeral pieces, is that I get to choose the color palette I want. And with stamps that you can mix and match, you have nearly endless versions of ephemera pieces you can make.

Willow Wolfe is the newest licensed designer with Sizzix. She is a watercolor artist known for making watercolor techniques accessible to every level of artist and newbies alike. So I won't wax poetic too much on watercolor techniques in this post because Willow is the consummate pro on how to watercolor and I recommend her classes if you want to expand your watercoloring knowledge or learn as a newbie to the art form.

But what I will talk about today is just how easy it is to watercolor with her new line from Sizzix. There's no need to be able to draw well to create gorgeous pieces of art using her stamps. She also has some stencils that you can pair with the stamps to really expand your techniques with her products.
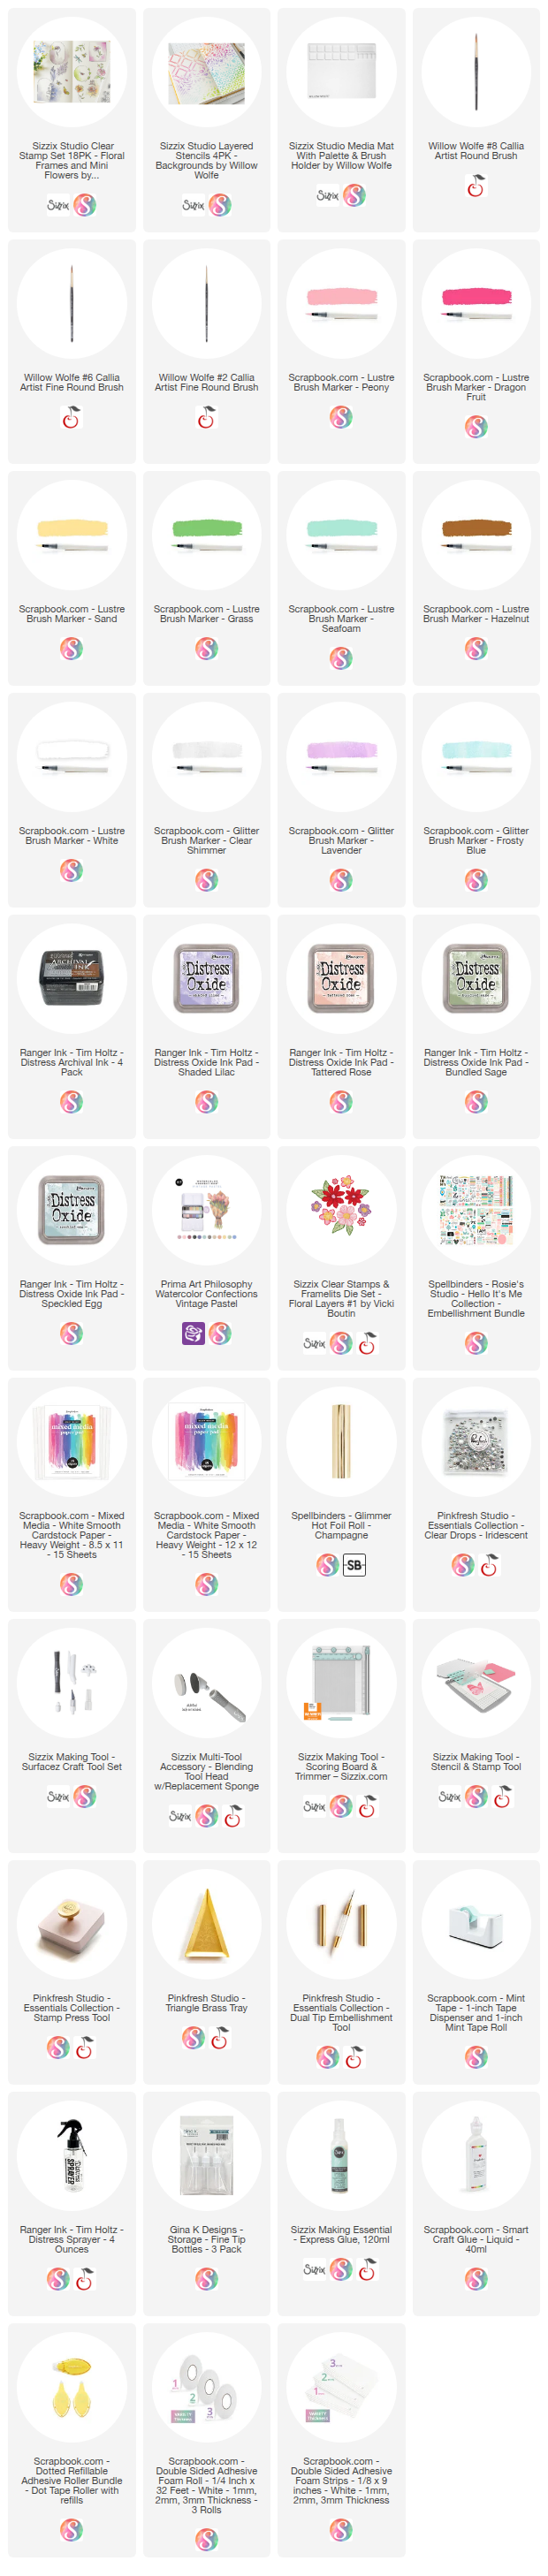
You can shop the products I used to create this project at the bottom of this post!

I love adding ephemera to scrapbook layouts, so for this project, I decided to create a layout using a photo of my Oma (grandmother) as a child in Austria. Since the photo was black and white, I could really choose the color palette I wanted to use.
To create your ephemera, simply choose one of the smaller scale stamp sets--like the Floral Frames and Mini Flowers stamp set, and stamp out your images with archival ink. This set in particular allows you to mix and match a bit by adding flowers or insects inside the frames.

If you want a bit of a white halo on your ephemera like I have, and you don't want the white halo to have any excess bit of stamped floral stem that may otherwise extend past the frame edge, just use a bit of mint tape or other low tack craft tape to mask off the areas below your frame.

The Sizzix Registration Tool allows you to easily stamp and re-stamp the same image if needed. Sometimes you don't get a good impression on the first press and rather than trying to line it all up by eyeballing it, this tool has a hinged lid and a sticky grid that helps keep everything in exactly the same place, even if you need to ink and press a single stamp multiple times.

The other key is to use a very heavy weight smooth cardstock. Smooth cardstocks will help you get a clean stamped image and the heavy weight will be able to withstand wet mediums.

There are a bunch of different mediums that you can color your stamps with. You can of course use watercolors, but I also suggest trying inks or reinkers, watercolor pencils, colorful powders or sprays, and brush markers.

I used the Scrapbook.com Lustre and Glitter Brush markers to color my stamped images with. You can add water to these to make them lighter or mix and match them to create custom colors. Pro Tip: Try adding plain water to the area you want to paint on your image, add color to your brush, then tap the brush in the wetness on your stamped image. Don't be afraid to help the color move a little bit if needed. This will create a nice wicking action.

Watercoloring is all about starting with the lightest shade and moving to darker shades of the same color. In other words, layer your color! That's how you create deeper, more vibrant areas of shading in watercolor. Be sure to let your medium dry fully in between layers.

After you've colored your stamped images the way you want and they have dried fully, try adding additional layers of interest by splattering with an opaque acrylic paint or adding a hint of metallic with foil that is adhered on with a glue that dries tacky. I used Scrapbook.com's Smart Glue in a bottle with a thin metal tip, applying it along the frame edge. Once dry, I pressed some Spellbinders foil into that glue. The tackiness of the glue grips the foil and when you pull up on the foil sheet, you get a lovely line of metallic left on your ephemera!

Then all that is left to do is to cut your ephemera out and add it to your project. I used a pair of scissors and the blade on my Sizzix Making Tool to cut my ephemera pieces out. I added some stenciling to a 12x12 piece of white cardstock using the Backgrounds Stencil from Willow Wolfe and then layered on my ephemera, photo and a few die cut flowers using a Sizzix die onto the page to create my layout.

I hope you enjoyed this look into how to create your own watercolor ephemera. Be sure to check out Willow's website for everything you need to know about how to watercolor from a real pro, and until next time, happy crafting!
Adrienne
Shop the Supplies:
Scrapbook.com, A Cherry On Top, Sizzix, Prima Marketing, Spellbinders, Etsy & Amazon
I am an affiliate with multiple companies. When you shop the links below, I receive a small commission from the affiliate, at no additional cost to you. This helps me balance the costs of the time and love I put into my projects and blog so I can continue to share my ideas with you for FREE. If you shop the links, thank you! I greatly appreciate it.
Below are products that I used for this project.


0 comments
I'd love to hear your thoughts!