Quick and Easy Rainy Day Card Tutorial
Have a friend that needs a hug? Make this quick and easy card to bring a little sunshine to a rainy day.
Hey, crafty friend! You just never know when someone is going to need a paper hug. This card is so quick and easy to make and only requires a handful of supplies.
Let's get right into this tutorial! (You can shop all of the supplies used to make this card at the bottom of this post!)
- Die cut a piece of the White Mixed Media Cardstock using 2 of the Nested Stitched Cloud dies.
- Using the Domed Foam Blender, apply two shades of grey Distress Oxide Inks to the clouds. Then tap a water filled brush over the clouds to oxidize them.
- Cut a piece of the 6x8 Ombre (deep purple to blue) to 4 x 5.25 inches.
- Using the Snowflake Glitter Pops of Color, create raindrops the bottom 2/3 or the Ombre cardstock. (You can use a pice of Mint Tape to help mark where you want to stop.)
- To make raindrops turn the cardstock upside down, then hold the Pops bottle at a 45 degree angle. Gently press the Pops bottle to create a drop and pull it toward you as release pressure on the bottle. If your raindrop isn't perfect, don't worry--no raindrop is "perfect" in nature!
- Set your Ombre cardstock with the raindrops aside until it dries.
- Once dry, glue the Ombre cardstock with the raindrops to a piece of A2 Black Mixed Media Cardstock with dotted adhesive.
- Use 2mm thick foam adhesive to glue the larger cloud to your card.
- Use 1mm and 3mm thick foam adhesive to adhere the smaller cloud to your card.
- Using your Misti and a stamp press tool, stamp out the "Sending You a Hug" from the Joyful Wishes stamp set using Distress Archival Ink in Black Soot onto a piece of White Mixed Media Cardstock.
- Trim the stamped sentiment down and use 1mm thick foam adhesive to place it on your card.
- Pop on a few of the Pinkfresh Studio Stargazer Jewels using Artis Glue and the Craft Pick Pro Tool.
All that is left to do is place this card front onto a card base and it's ready to send to someone in need of a hug! Want to support a good cause and send cards to those in need of a paper hug? Check out Cards for Kindness, a foundation started by Scrapbook.com in 2020 that supplies cards to charities and non-profits who send cards to those in need of a lift. Just create at least 10 cards, fill out the form, follow the instructions and send your box of cards in and Cards for Kindness does the rest!
Until next time, happy crafting!
Adrienne
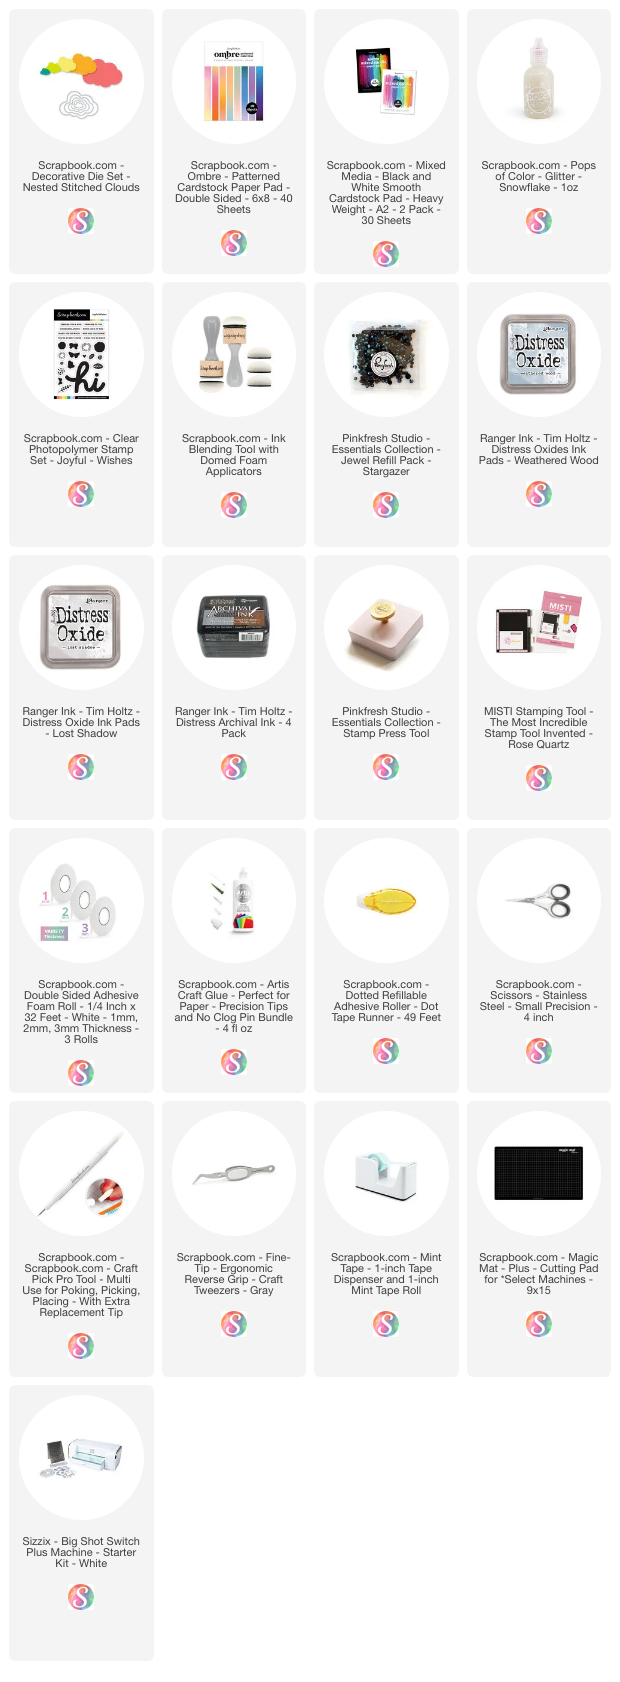
Shop the Supplies:
Scrapbook.com
I am an affiliate with Scrapbook.com. When you shop the links below, I receive a small commission from the affiliate, at no additional cost to you. This helps me balance the costs of the time and love I put into my projects and blog so I can continue to share my ideas with you for FREE. If you shop the links, thank you! I greatly appreciate it.
Below are products that I used for this project.


0 comments
I'd love to hear your thoughts!