
Tim Holtz and Sizzix just released a new Vault collection and these tiny dies and embossing folders are perfect for mini projects!

Hey, crafty friend! I'm so excited to share this set of mini ATCs with you using Vault Floristry Side Order and Vault Noteworthy. In this post, I'm going to share how I get the mini clipboard super sturdy and how I create dimension for the clip part. (You can also shop all the supplies used at the bottom of this post!)

So let's start with the base--the rounded rectangle piece that makes up the board of the clipboard. I used 3 layers of cardstock for this--but one of the layers isn't just any cardstock, it's a heavy mixed media cardstock from Scrapbook.com sandwiched between two layers of Sizzix Surfacez cardstock from the Spiced set.

So I cut 2 of the brown Revealz and 1 of the black Mixed Media Cardstock. (This die is small enough to fit in your Sizzix Sidekick!) I used the Sizzix Sanding block on the Revealz to distress the edges and show the lighter color core. Then I used Sizzix Express Glue to glue all 3 layers together, placing the black in between the 2 brown pieces.

For the clip part, I die cut 2 of the top layer and 1 of the bottom layer from the Sizzix Silver Opulent Brushed Metal cardstock.

I glued the two top layers of the clip back-to-back with Express Glue and glued the bottom layer to the clip board base. Before we can glue the top layer of the clip on, we have to create the rest of the elements.

Next I die cut the paper out from some teal in the Revealz Spiced cardstock then ran it through the embossing folder that comes in the Floristry Side-Order set.

Then I die cut out several flowers and greenery from the Floristry set using more Revealz Spiced cardstock.

Next I distressed the embossed paper, flowers and greenery with a Sanding Block. I glued the layers of the flowers together with Express Glue. I also die cut out some of the Noteworthy tiny labels and torn bits of paper from a piece of paper from Scrapbook.com's 6x8 Vintage Patterned Paper Pad.

To assemble everything on the clipboard, I add the teal embossed paper. I added 1mm thick foam to the bottom of the paper and Express Glue at the top, making sure the top would sit just under where the clip would hit, and angling the teal paper slightly.

Then I glued the top layer of the clip on by adding a strip of 3 mm thick foam to the center of the clip and Express Glue along the bottom edge. I pressed the clip into place, holding the bottom of the clip down until the Express Glue set. This is what creates the look of a 3D clip just like on an actual clipboard!

All that is left is to layer on some of the flowers and labels using both foam adhesive and Express glue! For a little bit of shimmer, I popped on some Butterscotch Glitter Drops, which have a dark amber-orange color that reminds me of deep hued vintage amber jewelry.
And that's it! I think these are perfect for adding onto mini slimline cards or clipping onto a small gift. If you want, you can add a note to the back on some white paper or use the labels to create a little "To/From" note for a gift. I can't wait to see what you all create with these 2 fun Vault die sets, and until next time, happy crafting!
Adrienne
Shop the Supplies:
Scrapbook.com, A Cherry On Top, & Sizzix
I am an affiliate with multiple companies. When you shop the links below, I receive a small commission from the affiliate, at no additional cost to you. This helps me balance the costs of the time and love I put into my projects and blog so I can continue to share my ideas with you for FREE. If you shop the links, thank you! I greatly appreciate it.
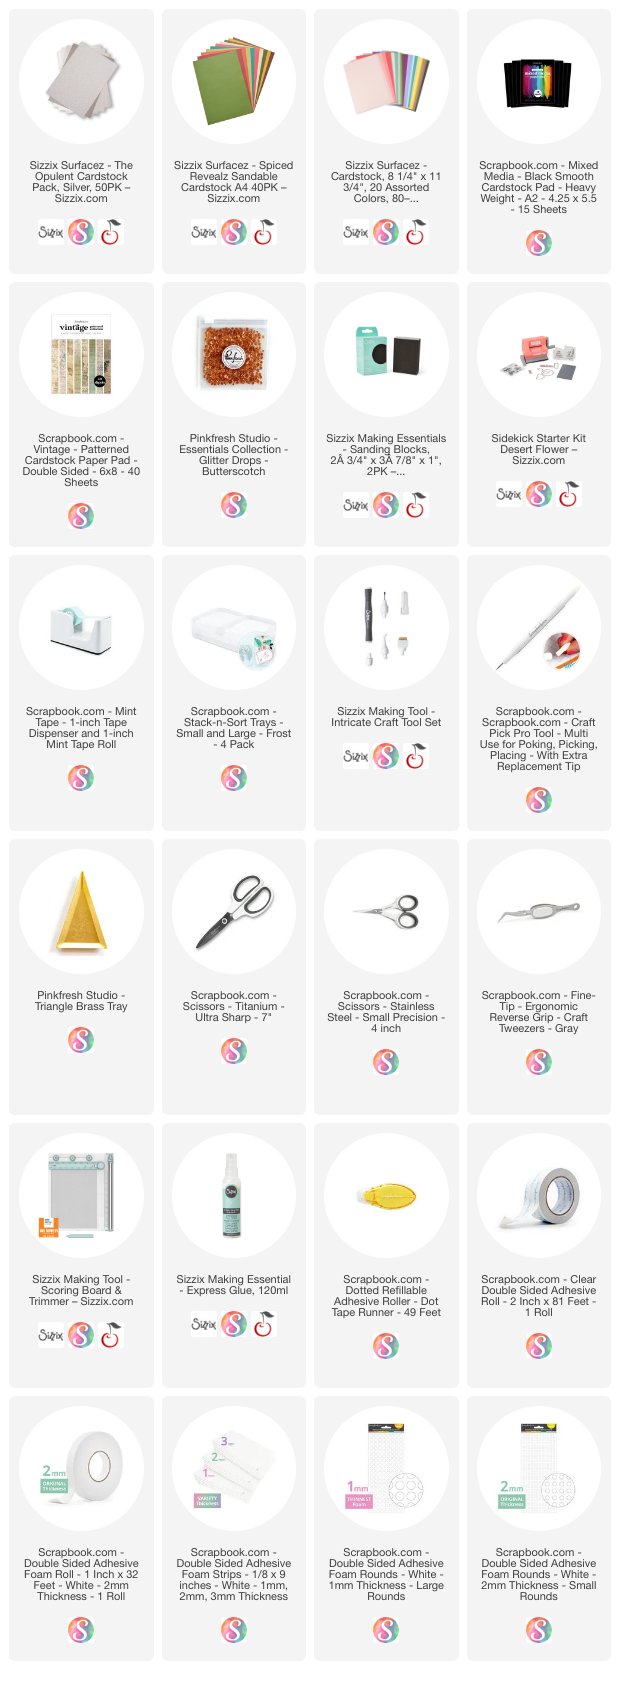
Below are products that I used for this project.


0 comments
I'd love to hear your thoughts!