Magic Spell Collection Mixed Media Inspiration: DIY Moon Dreamcatcher
As soon as I saw the new Magic Spell collection from Prima Marketing, I knew I had to create a crescent moon dreamcatcher!
Hello, crafty friends! The new Magic Spell collection designed by Frank Garcia was recently released and I'm in love with it! The color way is so pretty and the elements and paper flowers are so stunning.
I decided I just had to create a pretty dreamcatcher type project for this collection. So let's get into my tutorial on how I created this beauty.
I used an 8 inch crescent moon metal hoop that you can get in the macrame section of your local craft store or on Amazon. I wrapped some light purple twine around the moon hoop, knotting it where needed to hold it in place. I went with a bit of a haphazard look, just letting the twine go naturally where it wanted.
Then I looped some pink, black and gray yarn around the bottom of the moon shape to create a nice hanging drape of textile. I set this aside to begin working on my moulds!
I used the Redesign with Prima Kacha Majestic Flourish mould and Finnabair's Nocturnal mould. I painted all of the moulds with the Wild Iris Impasto paint then highlighted the texture with the Turquoise Satin Opal Magic Wax.
I added a couple of the pink and black flowers from the Bewitching set to the side and bottom of the moon. These flowers serve to hold up the large Kacha mould. I used hot glue to adhere the flowers and leaves, adding some lace and ephemera. I also tucked in a crystal point charm from my own stash and some of the stemmed flowers in the 31st Night flower set. Pro Tip: Bend the skeleton hand at the knuckles for a more realistic look.
Then I glue the large Kacha mould down with more hot glue. I add a couple of the purple and pinky-purple flowers from the Magic Spell set. One of the circular black pieces of ephemera was backed with some thick cardstock for more stability, then glued down to the purple flowers.
On top of this, I added the wings from the Nocturnal mould one of large flowers from the Moonlight set. Then I added a chipboard sticker, glitter and pearls. The finishing touches were a tulle bow and a batwing Haberdashery charm at the top as well as some Say It In Crystals!
I hope that you love this project and that it inspires you to create something mystical and witchy this Spooky Season. Until next time, happy crafting!
Adrienne
Shop the Supplies:
Scrapbook.com, A Cherry On Top, Spellbinders, Sizzix & Amazon
I am an affiliate with multiple companies. When you shop the links below, I receive a small commission from the affiliate, at no additional cost to you. This helps me balance the costs of the time and love I put into my projects and blog so I can continue to share my ideas with you for FREE. If you shop the links, thank you! I greatly appreciate it.
You can also use the code adrienne15 for 15% off your order on the Prima Marketing Retail site.
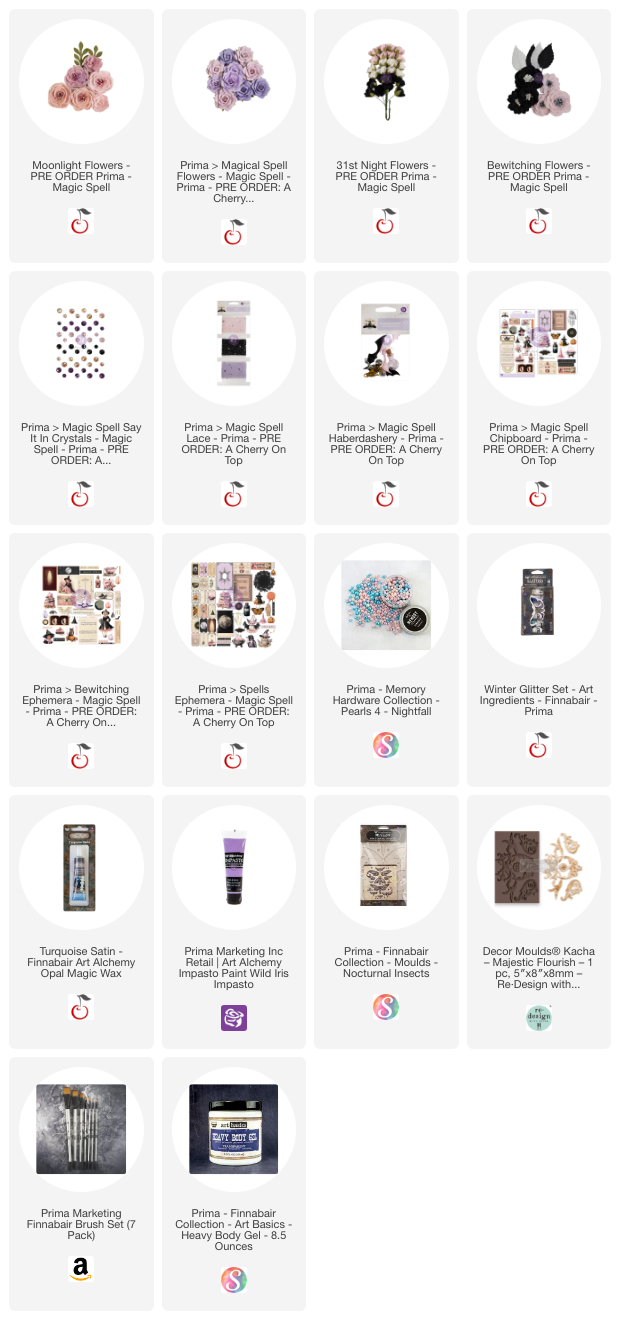
Below are products that I used for this project.


0 comments
I'd love to hear your thoughts!