12 Days of Sizzix: DIY Christmas Gift Boxes and Tags
It's day 6 of the 12 Days of Sizzix and the theme is gift boxes and tags. These sweet little boxes are easy to make and can be decorated with pretty flowers, ribbon and of course, stamped and die cut icons from Sizzix!
Hello, crafty friends, and welcome back for another day of the 12 Days of Sizzix! I'm excited to share these sweet little gift boxes made using the Catherine Pooler Sizzix Hanging Ornament Box. (You can find a full list of linked supplies at the bottom of this blog post.)
Before getting into the tutorial, I just want to remind you to create your own projects for the 12 Days of Sizzix event and to share those projects on the corresponding day themes for your chance to be featured and to win prizes! So make sure you head over to the Sizzix Instagram profile to learn how--plus check out all the inspiration that has been shared so far!
Okay, let's get into this tutorial! First, die cut the box lid and side piece twice each from some Sizzix Smooth White Cardstock. Then cut the lid twice from some patterned paper (I used the Sizzix Festive Patterned Paper). So why do this? The Smooth White Cardstock is thicker than the patterned paper, so it will stand up better to being handled.
To assemble the box, fold on the crease lines on the white cardstock die cuts, add glue to the tabs and adhere the pieces together. Remember to leave one set of the final tabs unglued so you can open and close your box! Then cut the tabs off the patterned paper lids, add adhesive to the back and glue them to the top and bottom of your box.
Die cut one of the box lid layers from some more of the smooth white cardstock. Spritz the white cardstock with water, place it in the Sizzix 49 & Market Pines Embossing Folder, and run it through your Sizzix die cut machine. Add foam adhesive to the back of this embossed die cut and place it on the top of your gift box.
Next, get out your Stencil and Stamp Tool and load it with some more Smooth White Cardstock. Stamp out some of the Sizzix 49 & Market Pencil Line Holly outline stamps with embossing ink. Cover with black embossing powder and heat emboss the powder with your Sizzix Heat Tool. Using Distress Inks in red and green plus a water brush, watercolor your stamped and embossed outline images. Remember to start with a lighter wash of color then build up intensity through layers, letting your ink dry between layers.
After your watercolored stamp images are dry, splatter them with a white paint (I used the Scrapbook.com Lustre Brush). After that dries, use the coordinating Framelits in the set to die cut the stamped holly out. Then glue 2 of the stamped and die cut images to your box with Express Glue.
Tie a ribbon around the center of your box to help keep it closed, adding a tag created with your Scoring Board and Trimmer Tool. I also added a jingle bell with the tag! Then I popped on a Prima Marketing flower using some heavy body gel for one more touch, making sure the gel doesn't touch the ribbon.
And that's it! I hope that you love this project--these little boxes are perfect for holding jewelry, cash and other small gifts. You can use them for Christmas and of course any other gift giving celebration. Until next time, happy crafting!
Adrienne
Shop the Supplies:
Scrapbook.com, A Cherry On Top, Spellbinders, Sizzix & Amazon
I am an affiliate with multiple companies. When you shop the links below, I receive a small commission from the affiliate, at no additional cost to you. This helps me balance the costs of the time and love I put into my projects and blog so I can continue to share my ideas with you for FREE. If you shop the links, thank you! I greatly appreciate it.
You can also use the code adrienne15 for 15% off your order on the Prima Marketing Retail site.
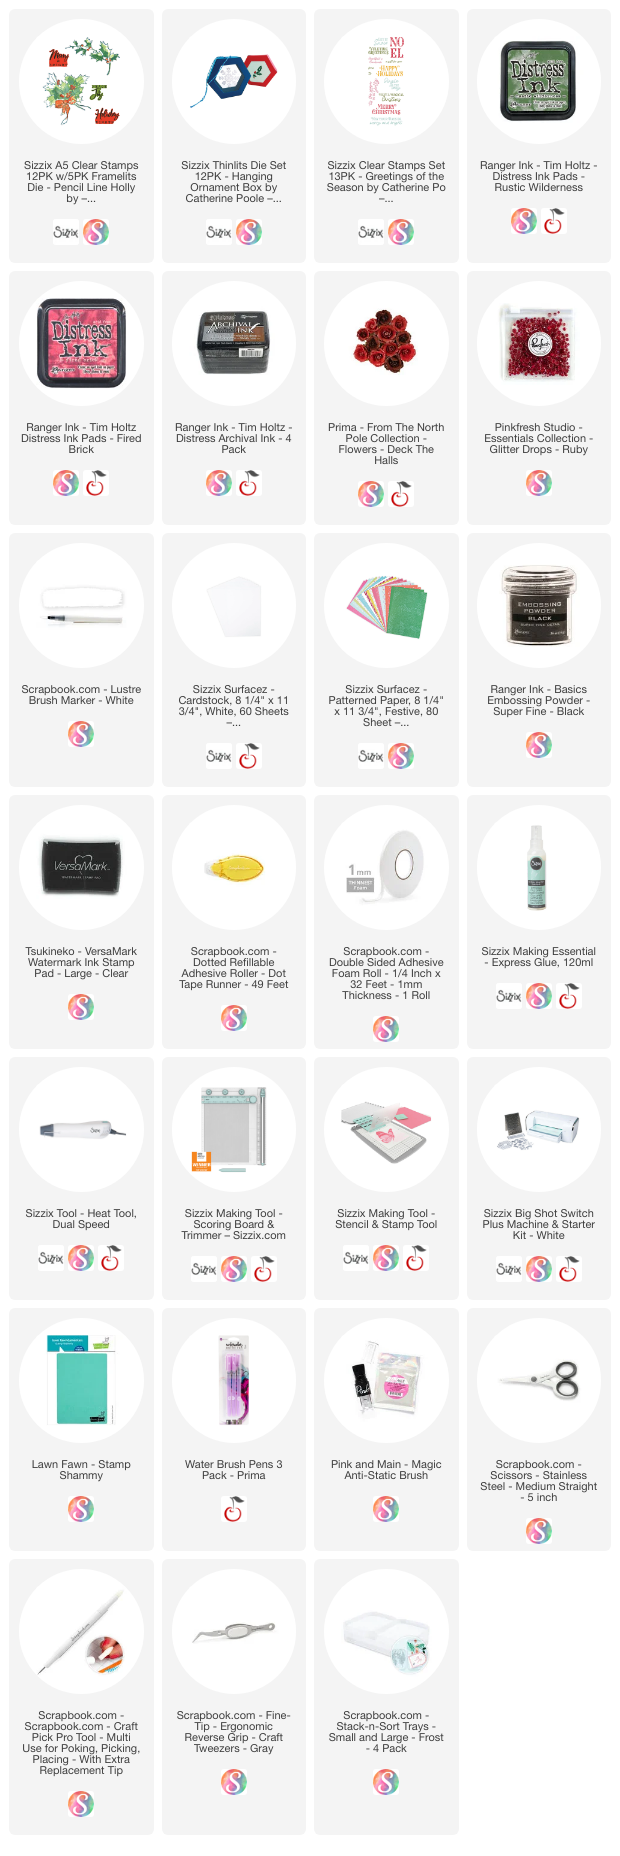
Below are products that I used for this project.


.jpg)


0 comments
I'd love to hear your thoughts!