The French Twist embossing folder from Sizzix provides the perfect opportunity to create an interactive pocket design!
Hey, crafty friends! One thing that I love about the French Twist embossing folder designed by Stacey Park for Sizzix is that it is perfect for creating with year-round. But since I'm in a Christmas in July mood, today I'm turning this embossing folder into an interactive Christmas card!
I start out by embossing a piece of Sizzix cardstock with the French Twist embossing folder. It's a 3D folder, so don't forget to spritz your cardstock with some water before sending it through your machine. (P.S. The Sizzix Big Shot Switch is amazing with 3D embossing folders, so if you don't have one, I highly recommend it so you can get through all that Christmas card making with ease, especially if you have a chronic pain condition like me.)
I then trimmed the embossed image to an A2 card size then fussy cut the large blank/flat area off, leaving the twist and the small bottom right triangle of flat cardstock.
You can use liquid or double-sided adhesive to glue your embossed and fussy cut cardstock onto a matching A2 panel, but decided to sew mine on to give it a little something extra.
Next I cut a piece of cardstock to fit inside my pocket. Depending on your sewing or adhesive, your little insert will vary in size. I just kept trimming off small amounts until it slid in and out easily--luckily I only had to trim it down once!
I added a stamped and embossed sentiment to the bottom right of this insert using my Stencil and Stamp Tool and Ranger's Super Fine Silver Embossing Powder. I slipped this inside and then set to work cutting some embellishments.
I used the bottom layer of the poinsettia from Tim Holtz's Seasonal Sketch die set. I poked some holes in both layers of the flower and embroidered it using some DMC embroidery floss.
I also die cut the bow and one of the sprigs from the Festive Banners die. I glued the flower and sprig dies onto the insert (keeping it in the pocket while doing so for placement), the added the bow to the center of the French Twist pattern on the embossed pocket layer.
Finally, I added a few gems and some Sizzix sequins to add a hint of sparkle! I hope that you enjoyed this quick and easy tutorial. I can't wait to see what types of cards you create using this technique! Until next time, happy crafting!
Adrienne
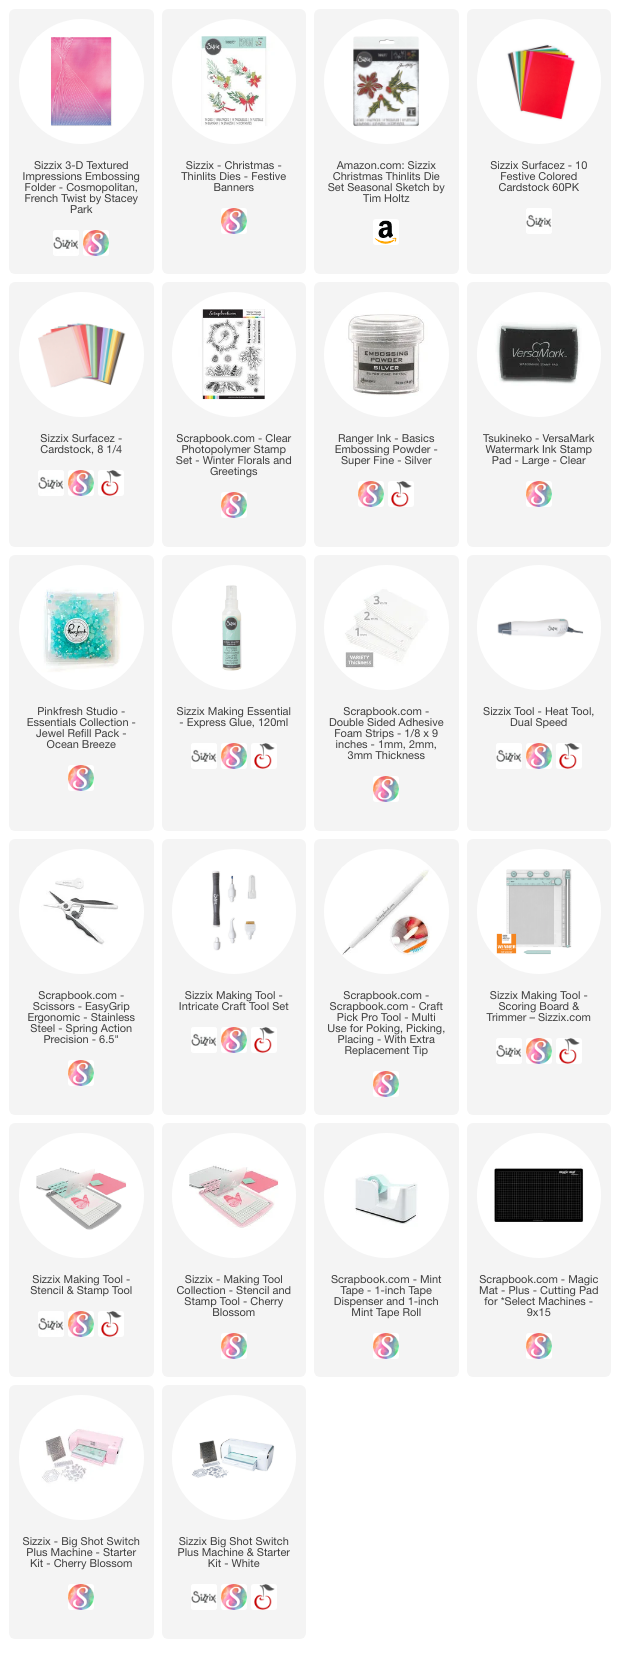
Shop the Supplies:
Scrapbook.com, A Cherry On Top, Sizzix & Amazon
I am an affiliate with multiple companies. When you shop the links below, I receive a small commission from the affiliate, at no additional cost to you. This helps me balance the costs of the time and love I put into my projects and blog so I can continue to share my ideas with you for FREE. If you shop the links, thank you! I greatly appreciate it.
Below are products that I used for this project.


0 comments
I'd love to hear your thoughts!