
3 Easy Mixed Media Techniques with Sizzix
These 3 quick and easy mixed media techniques are perfect for cards, tags, scrapbook layouts and more!

Hey, crafty friends! Today I wanted to share 3 super easy mixed media techniques that are perfect for beginners and pros alike, no matter the type of craft you like to create. I'm demonstrating these techniques on 3 cards using some of the 2024 Stacey Park Sizzix holiday collection.

I've got a full video tutorial for you guys over on my YouTube channel, but I'll bullet point some of the steps for each card and technique below. Plus, I have a full list of products used below as well.
Warm Wishes Card
Let's get sparkly with this iridescent flakey holo background--and all you need is the Sizzix Prism Paste and white cardstock to make your own glossy and glittery background!

- Cut a piece of smooth white cardstock to 4 x 5.75 inches.
- Apply Prism Paste with the long palette knife from the Sizzix Effectz Multi-Tool set to the piece of smooth white cardstock then set aside to dry.
- Apply double sided adhesive to some navy blue cardstock and die cut the Christmas Star Bright Thinlit.
- Die cut the small star center from light blue cardstock.
- Cut a piece of navy blue cardstock to 5 x 7 inches.
- Cut a piece of light blue cardstock to 4.5 x 6.25 inches.
- Stamp out a sentiment and trim into a banner.
- Assemble the card.

Christmas Cheer Card
Skip the white ink and use white paint to highlight your embossed designs. So grab some Sizzix Creamy Matte White Paint and a brayer for this technique. It creates a snowy, dappled look to your card!

- Cut a pice of Tim Holtz red Kraftstock to 4.25 x 5.5 inches.
- Mist with water and emboss it using the Golden Rings 3D embossing folder; pat off excess water with a towel or paper towel.
- Place a small daub of the Creamy White Matte Acrylic Paint to your Multimedia Mat.
- Using the Sizzix Effectz Multi-Tool, load up the brayer with the white paint, then apply over the highlights of the embossed cardstock; set aside to dry.
- Die cut the Tim Holtz Colorize Yuletide wreath die (using only the first layer of the berries) and assemble.
- Apply Liquid Gloss to the berries; lightly drop the die cut on the surface to level your gloss if needed.
- Stamp a sentiment and trim into a banner.
- Trim the embossed red cardstock down to 4 x 5.25 inches and assemble the card onto a white card base.

Merry and Light Card
Take your Sizzix Dimensional Paste to the next level with a touch of iridescent glitter for a snowy look, adding that extra bit of magic to your cards!

- Trim a pice of smooth white cardstock to 5 x 7 inches.
- Using the Sizzix Stencil and Stamp Tool and the blending head attachment for the Sizzix Multi-Tool, apply ink through the Happy Holidays stencil, leaving the top layer of the star on stencil layer 3 and the leaves of stencil layer 4 for the paste; mask off different parts as needed with Mint Tape.
- Using the long palette knife on the Sizzix Effectz Multi-Tool, apply the Dimensional Paste through stencil layer 4 first.
- Then being careful, apply Dimensional Paste through the top layer of the star on stencil layer 3.
- Peel the stenciled background from the Sticky Grid and sprinkle on some iridescent glitter before your paste dries, tap off the excess, and set aside to dry.
- Once the paste is dry, use a brush to swipe any excess glitter off that didn't come off in the tapping process.
- Then stamp a sentiment on.
- Trim down the stenciled image to 4.75 by 6.75 inches to center the image.
- Trim a piece of green cardstock to 5 x 7 inches and adhere the stenciled image to it.

And that's it, friends. I hope that you enjoyed these 3 easy mixed media techniques and that you try them out on your next card, layout, tag or mixed media project--and when you share online, be sure to tag me because I love to see your creations! Until next time, happy crafting!
Adrienne
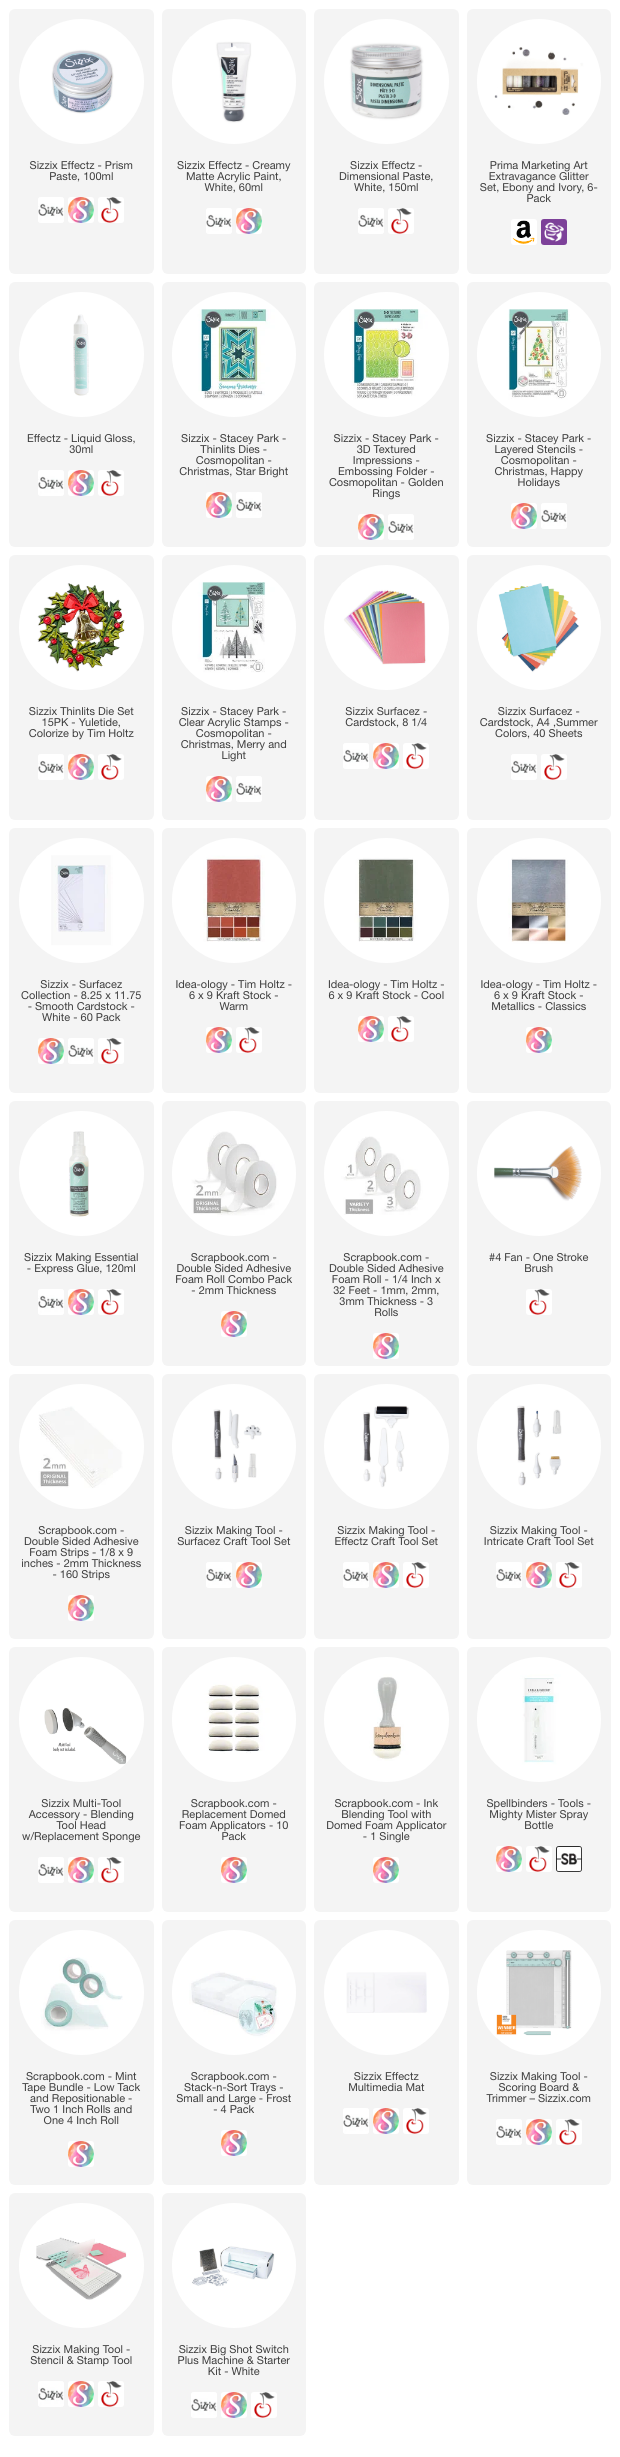
Shop the Supplies
Scrapbook.com, A Cherry On Top, Spellbinders, Sizzix & Amazon
I am an affiliate with multiple companies. When you shop the links below, I receive a small commission from the affiliate, at no additional cost to you. This helps me balance the costs of the time and love I put into my projects and blog so I can continue to share my ideas with you for FREE. If you shop the links, thank you! I greatly appreciate it.
Or you can use code adrienne15 for 15% off your order on the Prima Marketing retail site.
Below are products that I used for this project.


0 comments
I'd love to hear your thoughts!