
Stitching with the New Vicki Boutin Sizzix Collection
Adding texture to your die cuts is easy--all you need is a tapestry needle and some embroidery floss!

Hi, crafty friend! I love to add stitching to die cuts--even if those die cuts don't automatically punch the stitching holes for me.

I've been showcasing the versatility of the Vicki Boutin Sizzix collection. Previously I've shared a die cut only project, a stamping only project, and a stamp and die cut project. Today, it's all about adding stitching to the die cuts in this collection!

I chose the Floral Layers 1 Stamp and Framelit set for this project. The larger flowers and the leaves are perfect for adding stitching to. So let's get into this tutorial! And as always, you can find all of the supplies I used listed below.

Start by die cutting the flowers and leaves you want to use. I used the Thinlits in this set and several sets of Sizzix cardstock. I die cut a variety of flower sizes knowing that I wouldn't stitch on all of the dies. This mix of stitched and non-stitched die cuts will add additional interest to your project.

Make sure you cut two layers for each leaf and flower you want that you will be stitching. This second layer will be glued to the back of the stitched element and sandwich your stitching in to protect it.

Next, use a Distress Ink shade that is a bit darker than your cardstock color and a small brush or foam to add shading to your die cuts. I added coloring to the centers of the flowers and parts of the leaves.
Cut our punch out some cardstock to fit behind the center hole of your flowers if needed. Set these aside--we'll add these after punching holes for stitching as it's easier to punch through a single layer of cardstock that it is two layers.

On the larger flowers and leaves, use your Sizzix die pick or an awl to pierce holes in your larger flowers and leaves. Below is my guide to where to pierce holes and where to added stitched lines. Place a foam mat under your die cut that you can pierce into. I recommend the Wr R Makers foam mat--I have the old pink one but they have an updated aqua hued one that is made for piercing.

Cut a length of coordinating 6 strand embroidery floss. Split the floss into half to create two sets of 3 strands. Take one of the 3 strands of embroidery floss and thread it through a tapestry needle.
I've color matched several Sizzix cardstock sets to DMC embroidery floss and you can download my free color match guide!

Tie a knot at the bottom and enter in through one of the holes on the backside of your die. Stitch between the holes to add your texture to your die cuts (you should have embroidery floss showing where the black lines are on my guide above). Once you've done a few rounds of stitching, you'll find ways to use up the least amount of floss on the backside going between holes.
Glue the backs for the flowers that require covering the center hole and re-pierce any holes that need it after your glue has dried.

Use foam to glue the backing layers onto your stitched flowers and leaves. I used liquid glue in the center of the largest flower and pushed the center together with some shaping tools--this adheres the center together fully and adds a little extra life to your flowers! Add a little liquid glue to the bottom corner of your leaves and pinch them together as well for a more life like look.

I also shaped the gold flower centers for the larger flowers with shaping tools and glued those onto the centers of the flowers.
To recreate the rest of this layout, die cut several of the Double Edgers dies and ink the edges. Layer them together with foam adhesive and liquid glue. Die cut the "hello" from the Vicki Script 1 Thinlits set from mirror gold cardstock and vellum.

Add some stenciling to your white background cardstock for your scrapbook page using the hearts stencil in the Buildables Backgrounds 1 stencil set. I used a bit of one of the inks I used on the pink flowers and my Sizzix Making Tool with the blending head and a foam applicator for this.

Matte your photo with one of the cardstocks you used to cut flowers and shape any other flowers you want to give a little life to. Then layer all of your elements on using liquid and foam adhesive. I also added a cardstock sentiment ephemera piece below the title.

Pop some gems on using liquid adhesive. For the clear gems, I used the Sizzix Liquid Gloss as my adhesive. I used them in the negative spots and in the centers of some of the flowers.
And that's it! I hope that you enjoyed this fun stitching tutorial. Make sure to check out my other tutorials from the past 2 months sharing ways to stretch your stash and get more out of your stamp and die sets. Until next time, happy crafting!
Adrienne
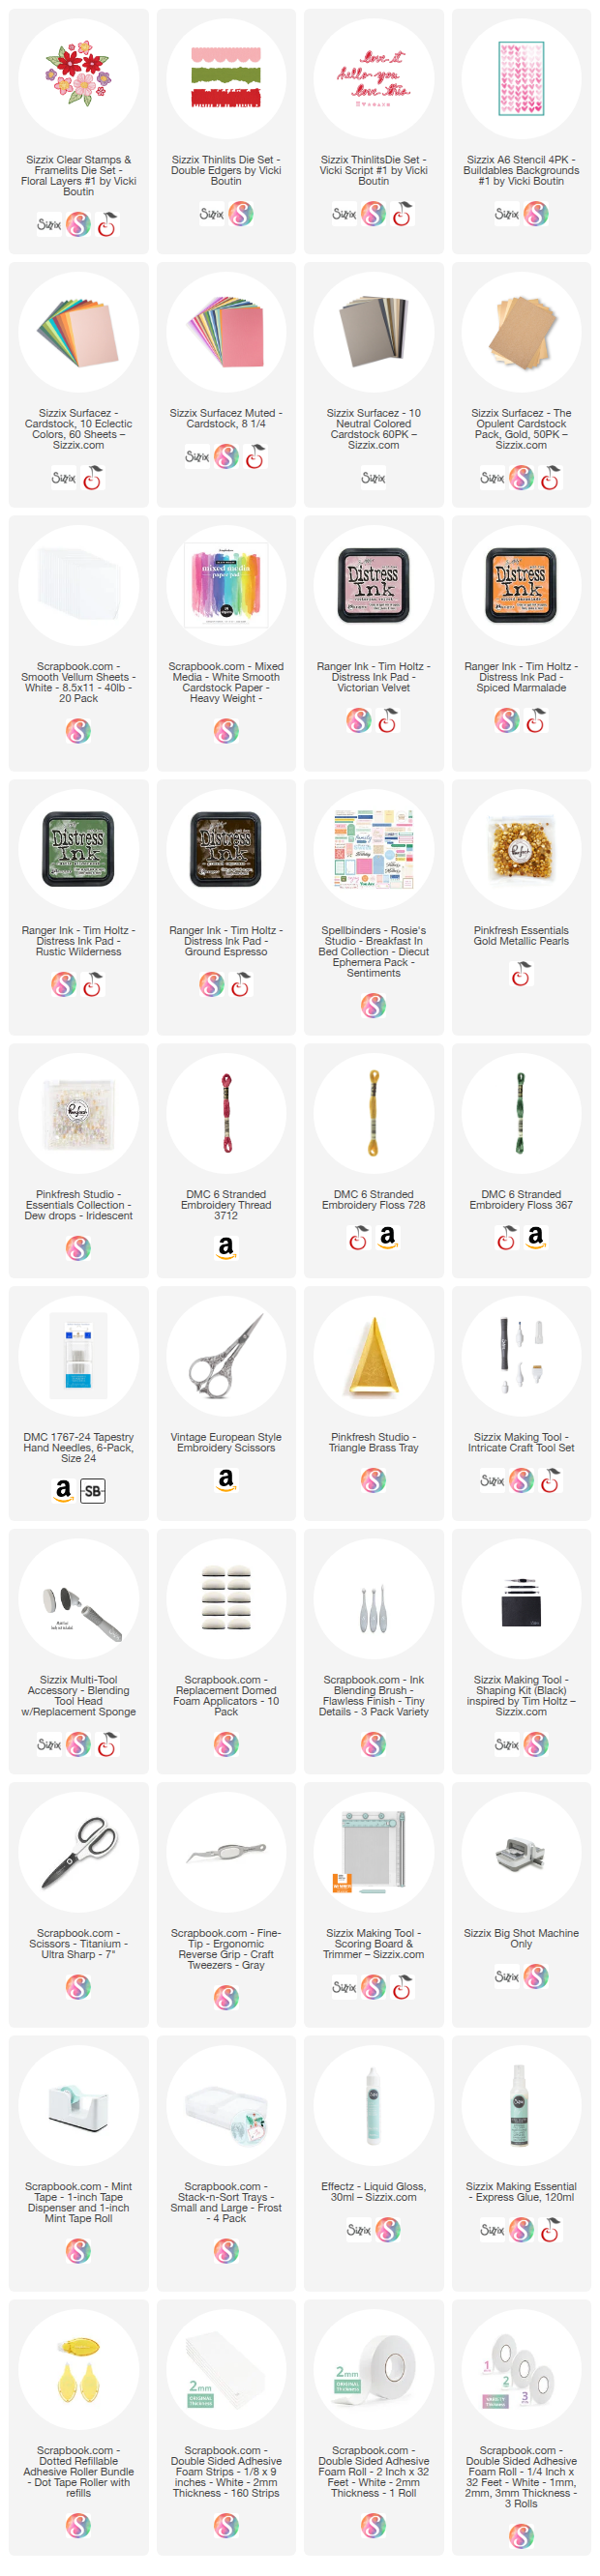
Shop the Supplies:
Scrapbook.com, A Cherry On Top, Sizzix, Prima Marketing, Spellbinders, Etsy & Amazon
I am an affiliate with multiple companies. When you shop the links below, I receive a small commission from the affiliate, at no additional cost to you. This helps me balance the costs of the time and love I put into my projects and blog so I can continue to share my ideas with you for FREE. If you shop the links, thank you! I greatly appreciate it.
Below are products that I used for this project.


0 comments
I'd love to hear your thoughts!