
Easy Mix and Match Prima Marketing Fabric Pillow Box Art
Mixing and matching collections is the perfect way to use up little bits that you have left over. I mixed and matched several Prima collections for this tufted pillow box made from an empty brie box--and I've got the tutorial for you!

Hi, crafty friend! Let's turn a couple empty brie boxes into some tufted pillow boxes that you can decorate with Prima flowers, moulds and more.

As I mentioned above, I mixed and matched elements I had left over from several Prima Marketing collections. I also paired them with a Finnabair mould and art mediums for a fun little textile based mixed media project. While you can totally mix and match what you have on hand, if you absolutely love something I used, I've got all of the supplies listed below for you. Now, let's get into the tutorial!

For this project, you'll need a round brie box with a lid--or two if you want to make two of these like I did. Take the bottom of the box and rip the side/edge off and toss it--all you'll have left is the circular bottom of the box.

Trace the lid of the box on some patterned paper and cut it out with scissors. Then trim some strips of paper to fid the inside and outside of the side/edge of the lid of the box.

Place the circular bottom of the box on some embroidered fabric and cut it so that there is between a half inch to an inch of fabric around the entire circle. Keeping the circle of the box in place, snip the excess part of the fabric into half inch tabs. Don't cut all the way up to the box, leave at least 1/8 of an inch uncut around the edge of the circular box piece.

Add some hot glue to the box piece and press a handful of polyester batting into it. Add the embroidered fabric over the batting and flip the piece over. Hot glue a few of the tabs in place, then glue a few on the opposite side of the circle.
Then work your way around, glueing the rest of the tabs. You should end up with a nice little circular pillow that fits inside the lid of the brie box (just don't glue it inside the box yet).

Use Finnabair's Soft Matte Gel to adhere the paper strips and circle to the lid of the brie box. The circular piece of paper should be glued to the outside of the box. Then punch a small hole on the top and bottom of the side/edge of the box so that both are directly across from one another.

Add a charm to a silk tassel and then push the loop of the tassel through the bottom hole in the lid. Use a dot of hot glue to hold it in place. Then add a loop of ribbon to the top hole as a hanger. I added a little wooden bead to the ribbon as well.

Glue the pillow piece inside the box and set the box aside while we work on the mould.

I cast a couple of Finnabair's Steampunk Beetles in white resin. You can also use the Redesign with Prima Casting Mix if you like. If you used resin, be sure to prime your mould first. Then paint your mould with some Art Philosophy watercolors to match the flowers you've chosen. To give the beetles a shimmery appearance, I covered them with Finn's Celestial Wax using a dabbing brush.

Now is the easy part--adding the flowers and embellishments to the box! I layered on purple and peach flowers in a half moon shape. On top I added a beetle then tucked a sentiment sticker toward the bottom of the flower cluster. I also tucked in some sisal fibers into the flowers. Around the outside edge of the box, I hot glued on a pearl trim.

The finishing touches included dry brushing the flowers and mould with Finn's White Gesso, adding a bit of iridescent glitter and a few gems.
I hope you enjoyed this fun little tutorial and that it inspires you to mix and match leftover pieces from various collections to create something new and beautiful. Until next time, happy crafting!
Adrienne
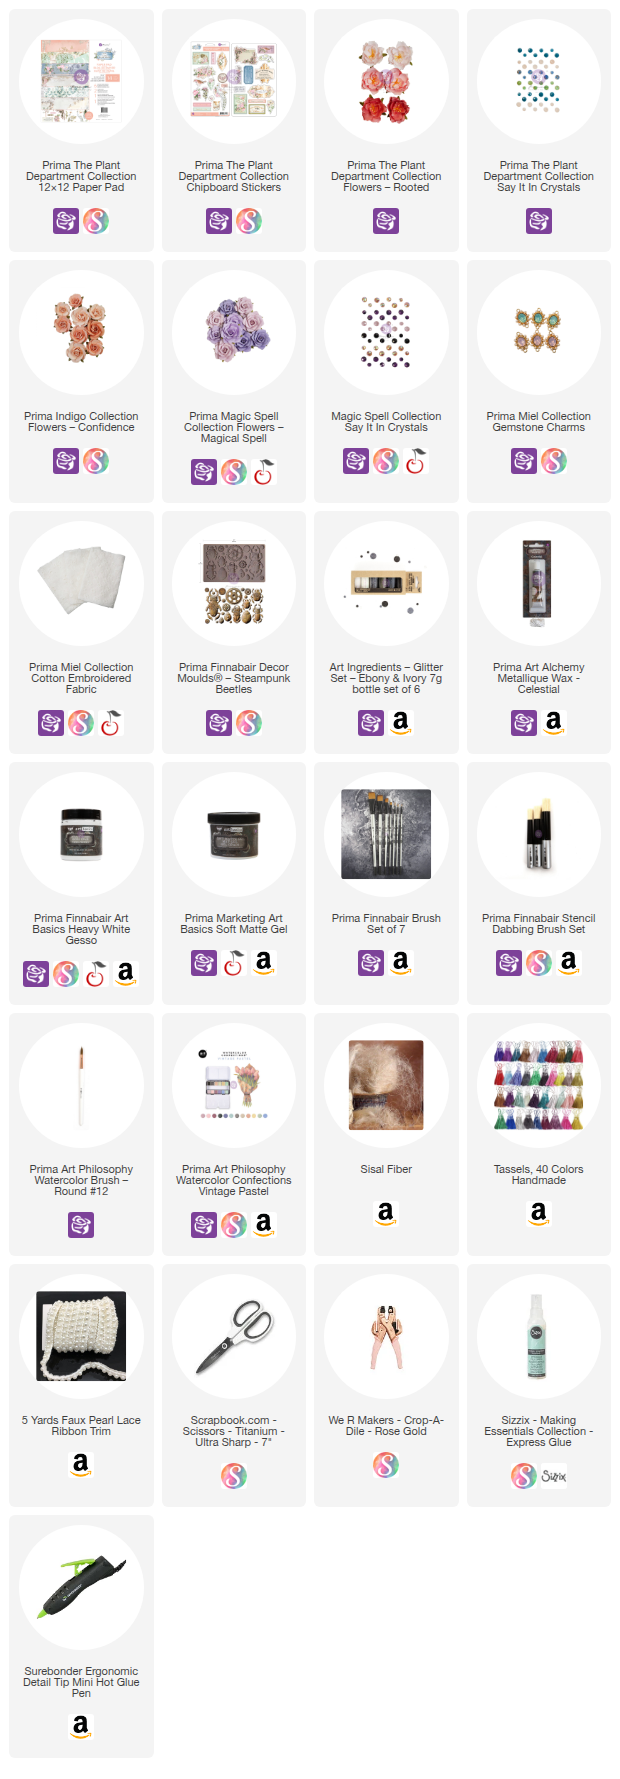
Shop the Supplies:
Scrapbook.com, A Cherry On Top, Sizzix, Prima Marketing, Spellbinders, Etsy & Amazon
I am an affiliate with multiple companies. When you shop the links below, I receive a small commission from the affiliate, at no additional cost to you. This helps me balance the costs of the time and love I put into my projects and blog so I can continue to share my ideas with you for FREE. If you shop the links, thank you! I greatly appreciate it.
Below are products that I used for this project.


0 comments
I'd love to hear your thoughts!