
Floral Jellyfish Embroidery Stitching Guide
Let's talk fiber art and get into a little embroidery with this sweet floral jellyfish project.

Hey, crafty friend! I know I'm known for paper crafting and mixed media, but I've really loved getting into embroidery. In fact, I love using my Sizzix stencils and stamps to help me create embroidery patterns and mixed media embroidery for previous projects. But, this lovely pattern is one that I purchased off Etsy!

This won't be a full blown tutorial, so if you are just getting into embroidery like I am, I highly recommend checking out tutorial videos on YouTube! It's where I've learned a lot of the different stitches.

Now this is only my fourth embroidery project. It's a huge improvement since my first one, but of course, I still see some things that need improving, so don't judge too hard if you are more of an expert embroiderer!

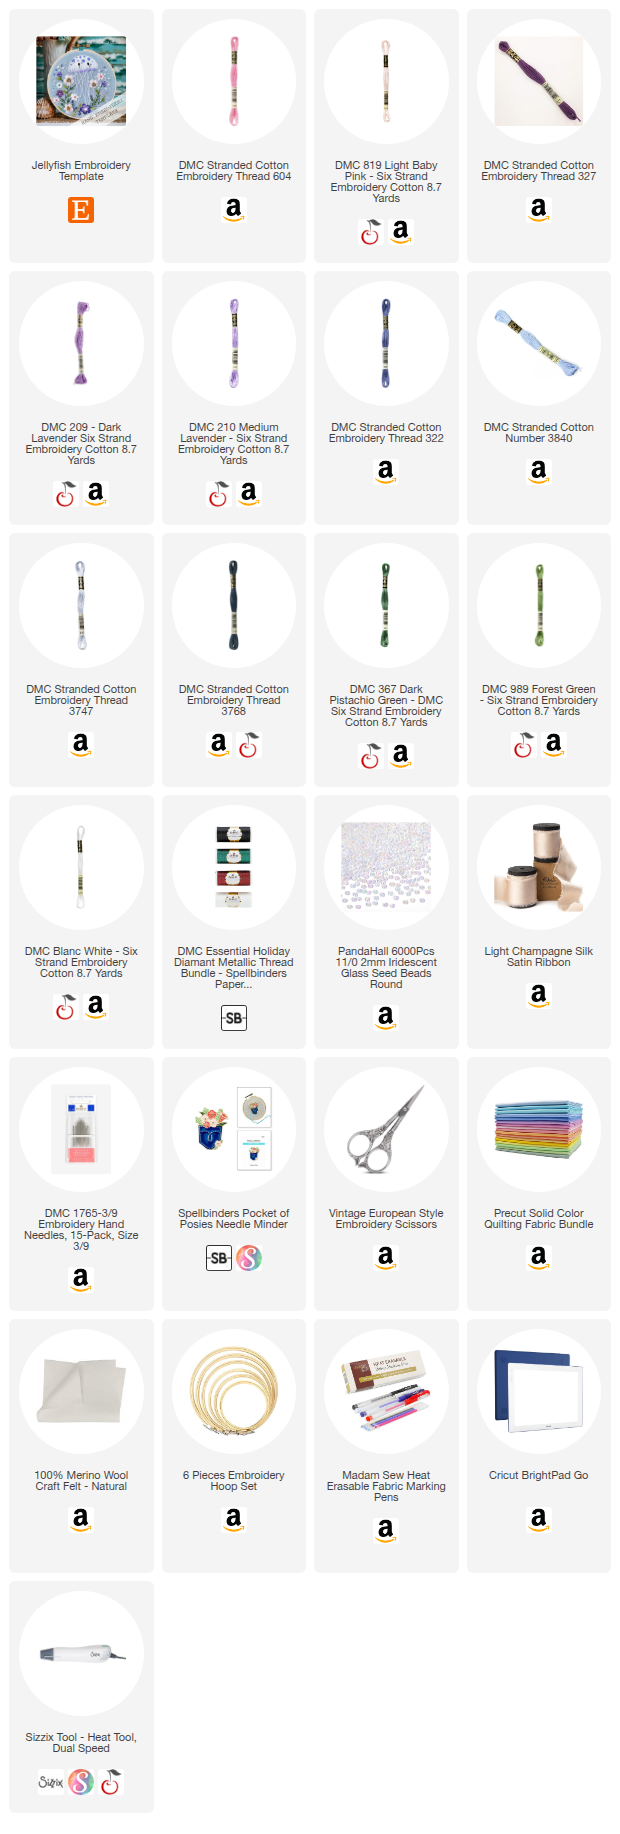
I used my Cricut light pad to trace this pattern out onto some blue fabric using heat erasable pens. Then I placed this in my 8 inch hoop and got to work! I've got all of the DMC floss colors that I used as well as the pattern and other supplies below for you to shop.

But here's a little break down of the stitches I used (I used 3 strands of embroidery floss unless otherwise noted):

- Jellyfish Top: satin stitch using 3747 and wagon wheel rose using 3840
- Jellyfish Tentacles: stem stitch using 2 strands of 3747 plus Diamant D5200 for a sparkly touch
- Pink Flowers: satin stitch using 819 and 604 with French knot centers 327
- Purple Flowers Satin Stitch: satin stitch using 210 and 207 with French knot centers 3747
- Purple Flowers Wagon Wheel: wagon wheel using 209 with French knot centers using 322, or 210 with French knot centers using 3747
- Small Blue Flowers: satin stitch using 3768 (2 strands) and French knot center using 209 (2 strands)
- Leaves and Stems: stem stitch and lazy daisy using 989 and 367 with French knot berries using 3768
- Mini Daisies: lazy daisy using blanc (2 strands) with French knot centers on daisies using 604 (2 strands0
- Bubbles: satin stitch and French knot using blanc
- Iridescent Beads: added using Diamant D5200

After I was done stitching, I used a quick blast of my Sizzix Heat Tool to erase the heat erasable pen marks. I traced out a wool felt circle using the hoop. I tightened the fabric in the hoop then trimmed off the excess fabric and hot glued it to the backside of the hoop. I added the felt to the backside to protect my stitches and finish it off nicely. Finally, I finished it off with a little bit of silk satin ribbon (I cut a length then cut it in half for a ribbon that wasn't as wide, and frayed the cut edges).

And that's it! I hope you love seeing my journey into this new art form, and until next time, happy crafting!
Adrienne
Shop the Supplies:
Scrapbook.com, A Cherry On Top, Spellbinders, Sizzix, Etsy & Amazon
I am an affiliate with multiple companies. When you shop the links below, I receive a small commission from the affiliate, at no additional cost to you. This helps me balance the costs of the time and love I put into my projects and blog so I can continue to share my ideas with you for FREE. If you shop the links, thank you! I greatly appreciate it.
Below are products that I used for this project.


0 comments
I'd love to hear your thoughts!