
It's my goal to learn how to embroider and so I challenged myself to use some Sizzix stamps for my first fabric embroidery project!

Hello, crafty friend! Many of you know I'm on the Sizzix Creative Design Team and I was speaking with my DT coordinator, Alexis, about my goals of learning how to do embroidery. She was excited about my goal and wondered if using Sizzix stamps would be a great way to start an embroidery project. So I agreed I'd try it out and this is my first project using this technique!

When I saw the latest licensed Catherine Pooler designs for Sizzix, I knew the little bunny stamps would look adorable stitched. This is my very first embroidery on fabric project (that is more than a few French knots), so my stitching isn't perfect--in fact it's pretty messy on the back and not all my satin stitches are straight, but I'm pretty pleased with how this first project turned out. And I can indeed say, yes, using my Sizzix Stencil and Stamp Tool and my stamps are perfect for starting a project like this! (You can shop the full supply list for this project at the bottom of this post.)
So let's get into the tutorial!

I started out with a pice of white cotton fabric that was ironed and cut to fit a 7 inch embroidery hoop with excess fabric. You always want to leave excess because you'll need to pull your fabric taught here and there as you work as pushing a need through the fabric over and over will loosen it from the hoop. I left my fabric a bit on the long side and probably could have cut it down more, but you can't add fabric back on, so better safe than sorry for my first project!

Before loading the fabric into the hoop, I placed it onto the Sticky Grid in my Stencil and Stamp tool and smoothed it down. I used the hoop over the top of the fabric to help me place and space the stamps out well. Using the Bunny Bits and Blooms stamp set, I stamped out the bunny, bunny head and terracotta pot, some leaves and a heart. I used Tim Holtz's Distress Archival Ink in Hickory Smoke for these. It's a nice light grey that won't show too badly if something peeks out from the embroidery floss, but still deep enough to see easily on white fabric while working. Then I stamped a sentiment in the Evergreen Bough Distress Archival Ink.

I loaded the stamped fabric into my hoop and set about stitching. I will say that watching some videos on YouTube that shows basic embroidery stitches for beginners definitely helped! This is a great way to learn how to do the stitches. Some are easier than others but the nice thing is that you can easily take a stitch out and redo it if you don't like it, except for the French knot (so practice that one a few times on a scrap piece of fabric first). For this project I used:
- Satin
- Long and Short
- Straight (that is tacked into a curve with some additional stitches)
- Lazy Daisy
- Fishbone
- French knot

I used DMC standard cotton 6-thread embroidery floss for this project. And for this entire project, I split the 6 thread floss into 3 threads and used this 3 threaded strand to stitch with. This is what most embroiderers do, unless they are looking for something a bit thicker and plush.

The colors I used were all ones that I've already color matched to my Sizzix cardstock. That way, if I decided to add some die cuts, I could color-coordinate it. (I did add a handful of die cut stems at the end). You can get my Sizzix Cardstock and DMC Floss Color Match Guide for FREE--just let me know which Sizzix products are your favorite (no emails or names are collected), and then you can download my guide!

The colors of DMC floss I used were:
- 153 Pink Lilac (light purple flower)
- 210 Parma Violet (dark purple flower)
- 225 Cherry Blossom (bunny cheeks and ears)
- 310 Black (bunny eyes)
- 367 Laurel (flower and leaf stems)
- 422 Light Oak (bunny body)
- 739 Dune (bunny body details)
- 922 Terracotta (bottom of the pot)
- 966 Pearlescent Soft Green (leaves)
- 3078 Buttermilk (yellow flower and flower center)
- 3833 Strawberry Sorbet (heart and flower)
- 3853 Copper (top of pot and flower centers)
I stitched out the stamped images, minus the sentiment, which I left unstitched. After stitching the bunnies, terracotta pot, heart and leaves from those stamped images, I added a few lazy daisy flowers. This is a pretty simple one to hand-draw, so I used a pencil to just sketch the petals out (little teardrops that meet in the center), ensuring I did an odd number of petals for each flower. To do the stems for the flowers on the right, I did a straight stitch then curved it with a few stitches that tack the stitch into place.

To finish off the project I re-centered my project in the hoop and tightened it back up. I trimmed off the excess fabric then glued the fabric to the back side of the hoop after notching some cuts in the fabric to help the fabric lay nicely along the curve of the hoop. Then to add more of a floral touch, I hot glued some lace, Prima flowers and a few die cut stems from the Sprinkled with Love die to the top of the hoop. Then I tied a chiffon ribbon to the top!

I'll be gifting my niece this project for Easter and I just love the idea that she may have this hanging on her bedroom wall for years to come. And I definitely plan to keep up this new crafty hobby (I know my Oma would be so proud of me). I definitely know there is room for improvement and I'd like to get the stitches so you can't see the ink at all (you can definitely see it when you look close), but that just takes some practice. I hope this tutorial and idea inspires you to try using your stamps to create an embroidery project of your own, or to even just take up the art of embroidery!
Until next time, happy crafting!
Adrienne
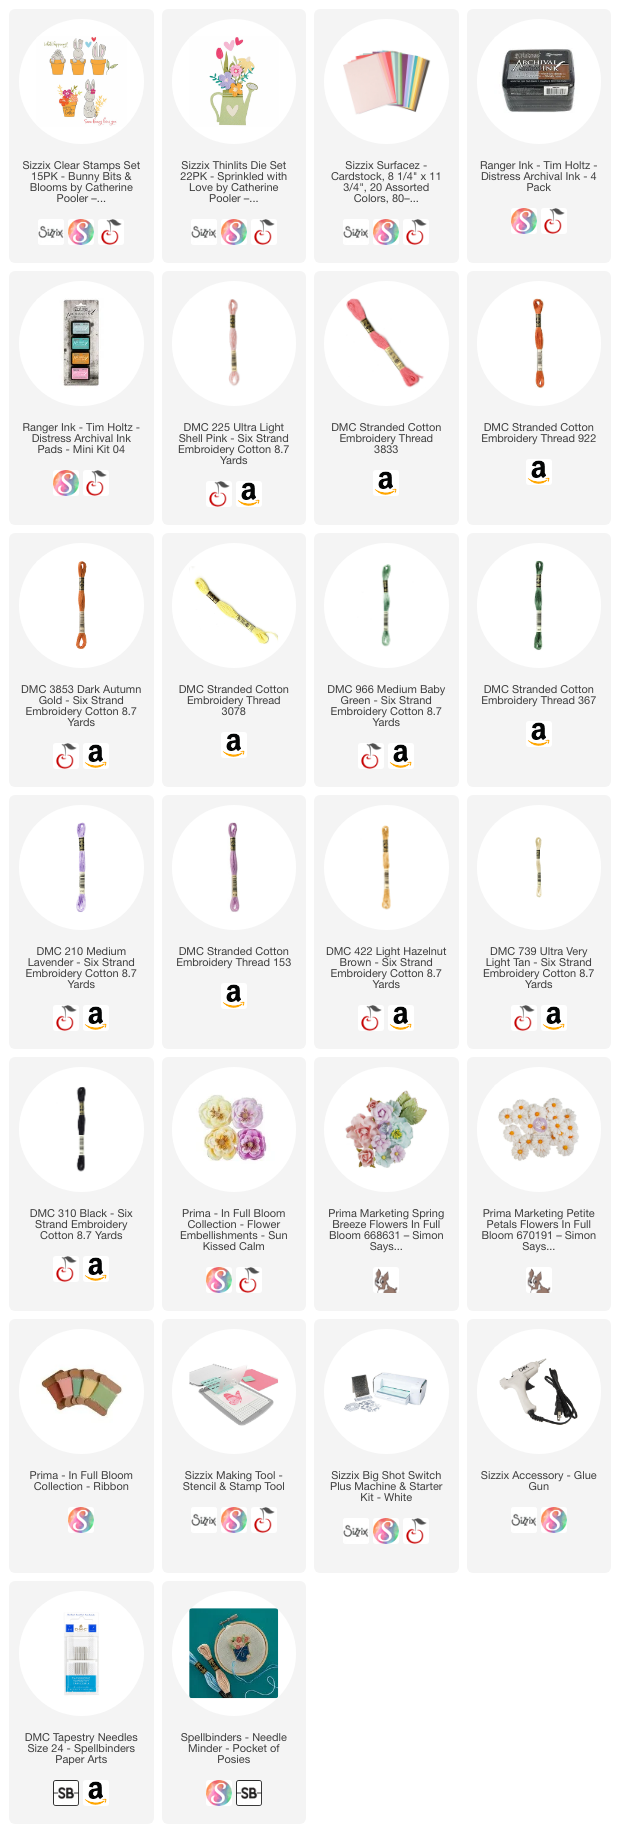
Shop the Supplies:
Scrapbook.com, A Cherry On Top, Spellbinders, Sizzix & Amazon
I am an affiliate with multiple companies. When you shop the links below, I receive a small commission from the affiliate, at no additional cost to you. This helps me balance the costs of the time and love I put into my projects and blog so I can continue to share my ideas with you for FREE. If you shop the links, thank you! I greatly appreciate it.
You can also use the code adrienne15 for 15% off your order on the Prima Marketing Retail site.
Below are products that I used for this project.


0 comments
I'd love to hear your thoughts!