
How to Cover a Chipboard Mini Album with Fabric and Create a Binding
Ever wondered how to put together those chipboard albums with a binding? Have you ever thought about covering a mini album in fabric? With this tutorial, you don't need to know how to sew and you can use any chipboard album base you want!

Hey, crafty friend! Earlier this month I shared this mini album featuring the Sizzix January release from licensed designer, Catherine Pooler. This spring inspired collection is full of fun elements and I just love the adorable watering can and tulips from the Sprinkled with Love die!

But because I was sick with pneumonia for over a month, I wasn't able to edit the tutorial videos right away. But today is the day for the part one of that tutorial!
This is a pretty involved project, so I’m breaking the tutorial down into two parts. This first video tutorial goes over how to cover a chipboard mini album base with fabric, as well as how to create a binding and waterfall mechanism for your mini album.

I’ll be releasing part two next month, which will go over how I decorated and layered a bunch of the elements inside the mini album, as well as how I decorated the cover. Be sure to subscribe to my YouTube channel and turn on notifications so you get notified as soon as I upload part 2!

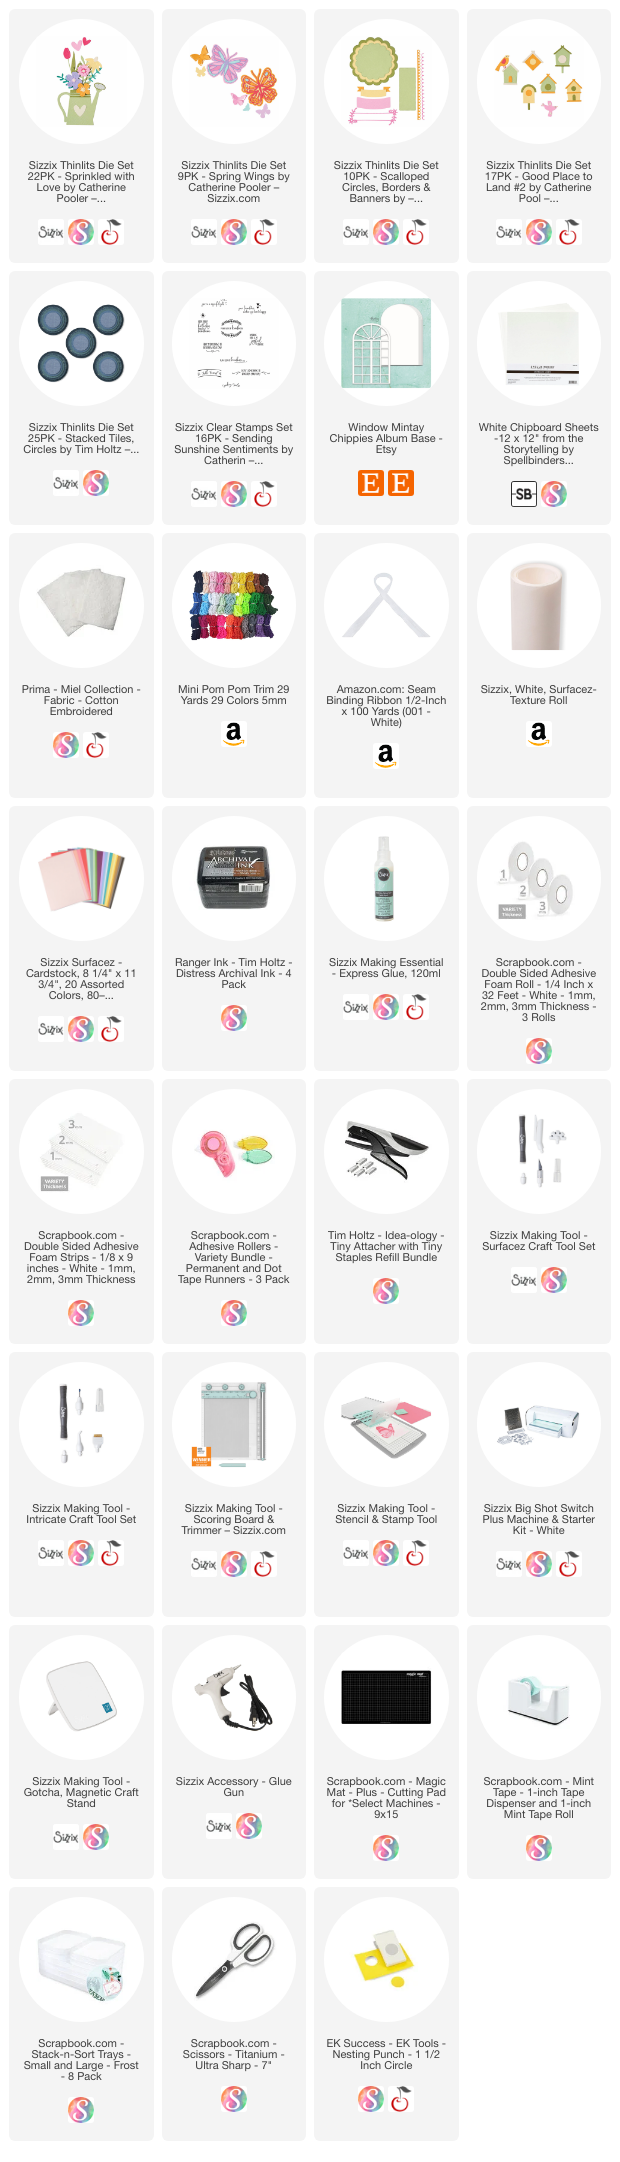
Also, be sure to shop all the essential supplies below that you'll need to create your own version of this mini album! Other supplies you'll need include your favorite spring inspired paper collection, paper flowers, and chipboard embellishments.

If you want to check out more photos of the inside of this mini album, head over to my Scrapbook.com gallery post to check them out. In the meantime, I hope you enjoy part 1 of this mini album tutorial, and until next time, happy crafting!
Adrienne
Shop the Supplies:
Scrapbook.com, A Cherry On Top, Spellbinders, Sizzix & Amazon
I am an affiliate with multiple companies. When you shop the links below, I receive a small commission from the affiliate, at no additional cost to you. This helps me balance the costs of the time and love I put into my projects and blog so I can continue to share my ideas with you for FREE. If you shop the links, thank you! I greatly appreciate it.
Below are products that I used for this project.


0 comments
I'd love to hear your thoughts!