
Card front and sentiment set dies can be used for seasonal and year-round cardmaking! See how to add negatives back into your geometric card front Thinlits for a colorful and fun background, plus how to pair it with other dies in your stash for an incredible handmade card!

Hey, crafty friend! One of the things that I love about geometric card fronts and beautiful sentiments sets is that they can be used for so many types of cards and projects! For this card, I wanted to share how a gorgeous, yet intricate card front style die can become a wonderful background for your other dies, including sentiments!

Sizzix and Stacey Park just released another great set of stamps, Thinlits and more, and while this collection leans toward the holiday seasonal, the Wrappings & Trim Front Thinlit and the Take Two's Wish Sentiment Thinlit sets are perfect for year-round makes! The geometric style of the background and the holiday and birthday sentiments help stretch your crafty supplies even more.
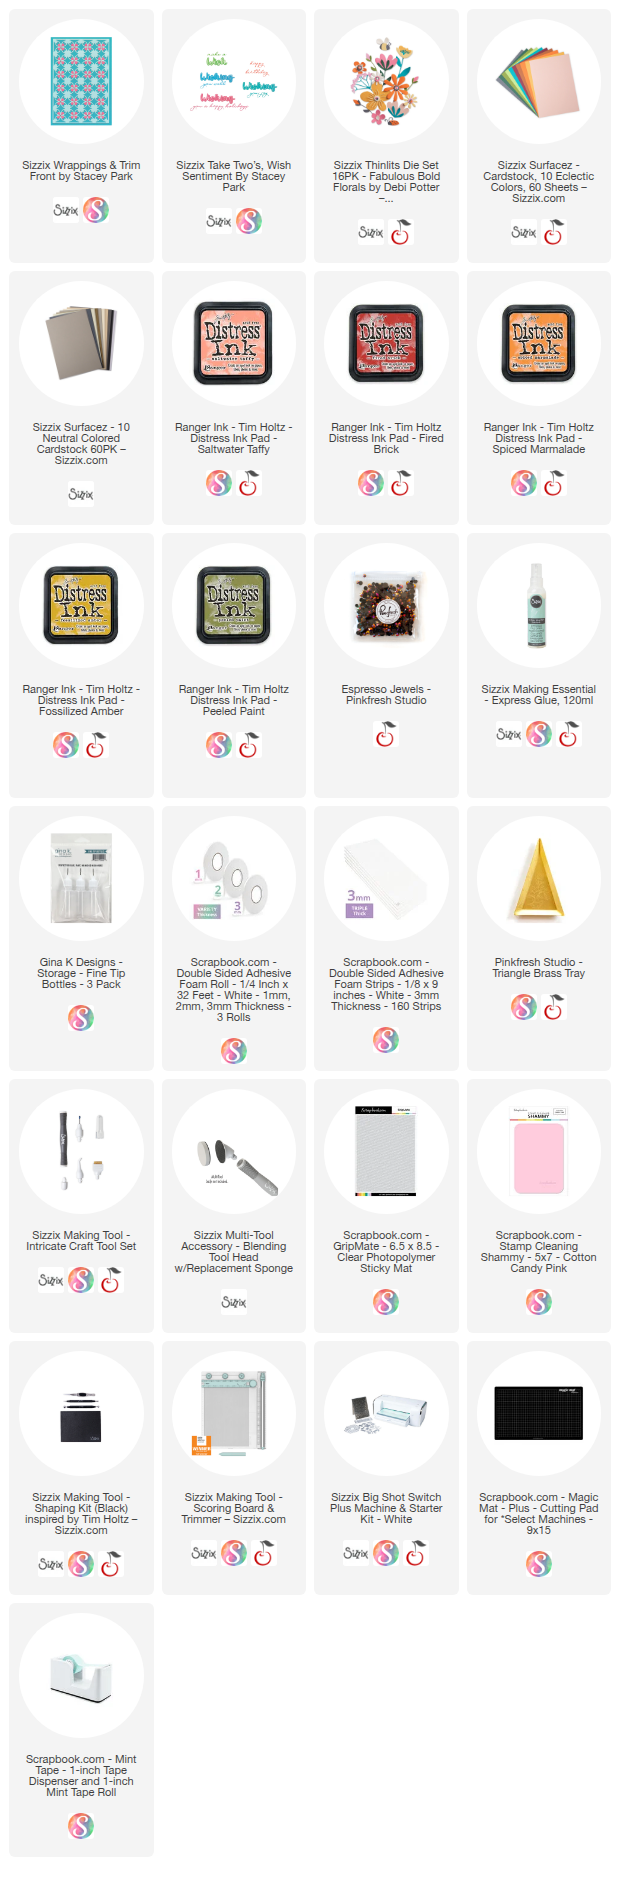
You can shop all the the supplies used for this project below!

I've paired both of these dies with the Sizzix Fabulous Bold Flora Thinlit and Eclectic Surfacez to create a floral harvest-hued birthday card. So let's get right into this easy tutorial!
Start by trimming a piece of the Faded Shell (peach) cardstock from the Eclectic Surfacez pack to an A2 card size (5.5 x 4.25 inches). Then die cut the geometric die from the Wrappings & Trim Thinlit set from both the Blue Lagoon (teal) and Brandy Snap (rust) cardstocks.

Poke all the offcuts/negatives from the Blue Lagoon cardstock cut. Then keep the negatives from the inside of the flower shape from the Brandy Snap cardstock--you can discard the diamond and half diamond shapes or bag them up for another project.

ProTips: To cut intricate dies like the Wrappings & Trimmings Thinlit easily, use the Chrome Base Plate. To keep all the offcuts/negatives from getting lost, place them into a Scrapbook.com Stack and Sort Tray.
Cut the strip die that has the little flower tip shapes from the Cherry Brandy (red) cardstock several times (2-3).

To assemble the background, start by gluing the Blue Lagoon piece to the Faded Shell card base using Sizzix Express Glue. If you have chronic pain or small hands, you might find it easier to place your Express Glue in a mini glue bottle--I like the ones with the metal precision tips.
Then add dots of glue to the insides of the flower shape, doing a few dots at a time. Then use the rubber tip on your Sizzix Intricate Multi-Tool to pick up and place the Brandy Snap pieces inside the flower shapes.
Once you have all of the rust colored pieces glued in, do the same for the Cherry Brandy pieces, gluing them to the tips of the flowers. You'll see a slight embossed impression where these need to go. If you've used the Chrome Base Plate, this embossed area may be a little harder to see.

Next, die cut as many of the Fabulous Bold Flora flowers, flower centers and leaves as you want. I cut them from the Cherry Brandy, Papaya, English Mustard, Faded Shell, and Cocktail Olive cardstocks from the Eclectic Surfacez pack.
I used my Scrapbook.com GripMate to hold the die cuts in place while inking them. Use your Sizzix Multi-Tool with the Blending Head attachment with foam inker pad to add Distress Ink to the edges of your die cuts in coordinating colors to create an ombre effect. (You can use the flat foam applicators that come with your Sizzix Blending Head, or you can use the Domed Foam Applicators from Scrapbook.com--both work well!) Glue the layers of your flowers together.

Then die the Happy Birthday script from the Take Two's Wish Sentiment Thinlit set from the dark brown cardstock from the Neutral Surfacez pack. Cut each die 3 times. Glue the layers together to create a sturdy, dimensional die cut.
Cut a piece of vellum to 1.5 inches wide by 6 inches long. Wrap the vellum around the card front and background, then use a scoring tool to create a nice crease on the fold lines you created. Use liquid or roller adhesive to glue the vellum flaps to the back of the card front.

Then use liquid adhesive to glue the Happy Birthday sentiment onto the vellum. Then glue your flowers around your sentiment using both liquid and foam adhesive. The finishing touch is to pop on a few gems!
I think this geometric background die is perfect for year-round makes. Plus, the sentiments die comes with seasonal and birthday sentiments, giving you more bang for your buck. I hope you enjoyed this easy card tutorial and until next time, happy crafting!
Adrienne
Shop the Supplies:
Scrapbook.com, A Cherry On Top, Spellbinders, Sizzix, Etsy & Amazon
I am an affiliate with multiple companies. When you shop the links below, I receive a small commission from the affiliate, at no additional cost to you. This helps me balance the costs of the time and love I put into my projects and blog so I can continue to share my ideas with you for FREE. If you shop the links, thank you! I greatly appreciate it.
Below are products that I used for this project.


0 comments
I'd love to hear your thoughts!