
SBC Fest Laura Evangeline Class Inspired Ombre Halloween Card
Today, we are getting a little batty on the blog with this ombre Distress Oxide Halloween card.

Hello, friends! I'm still feeling inspired by the most recent SBC Fest and absolutely adored Laura Evangeline's class. She is such a gem and brings the fun to her class! Plus, her blending and splatter technique is next-level!

I created this Halloween themed card inspired by her class, which you can still check out over on the SBC Fest main page on Scrapbook.com's website. But let's hit the highlights of her class here and some of the things I did a little differently. (If you love my version, check out my full supply list at the bottom of this blog post!)

Laura trimmed a White Mixed Media panel down by a quarter inch on each side then masked off the sides with the 1" mint tape. This creates a little window in the center. Then she used a blend of three Distress Oxides to create an ombre panel. Her cards are always fun and bright, but I went with my usual pastel palette.

Next she splattered her card panel with Glitter Brushes, Mica Sprays and Lustre Brushes. I saved this step for a little later.

Then she used a stencil to add texture. The mediums here varied--she showed options with Glitter Pops of Color, some with Cloud Whip and others with Simon Hurley Lunar Paste. I used Prima Marketing's Modeling Paste then sprinkled on Tim Holtz Distress Rock Candy Glitter on top.

Then I splattered my backgrounds. This is because the Rock Candy Glitter soaks up color and I wanted the paste and glitter to have that splatter. I used the White Lustre Brush, the Clear Glitter Brush and the Lavender Glitter Brush (the lavender and white is what got soaked up by the Rock Candy Glitter).

I peeled my mint tape off carefully then set my panel aside to dry. While it did, I die cut a vellum circle and some of the Halloween Bats. I placed the bats on the sticky side of some 4" mint tape and ink blended them to match the background then splattered them with the same Glitter and Lustre brushes.

Once everything was dry, I assembled my card. I tied some twine around the inked panel then used 2" wide 2mm foam adhesive to adhere it to another A2 White Mixed Media panel. Then I used foam strips to glue 2 of the bats to the velum and then the vellum to the card background. Then I popped one more bat onto the background and added *all* the sparkly gems from Spellbinders!
I just love how this card turned out and it is such a fun way to create a matted and ink blended card! Make sure that you give Laura Evangeline a follow on Instagram--her feed is so colorful and fun and she is such a bright light in the crafting world--her post captions always make me giggle! Until next time, happy crafting!
Adrienne
Shop the Supplies:
Scrapbook.com, A Cherry On Top, Spellbinders, Sizzix & Amazon
I am an affiliate with multiple companies. When you shop the links below, I receive a small commission from the affiliate, at no additional cost to you. This helps me balance the costs of the time and love I put into my projects and blog so I can continue to share my ideas with you for FREE. If you shop the links, thank you! I greatly appreciate it.
You can also use the code adrienne15 for 15% off your order on the Prima Marketing Retail site.
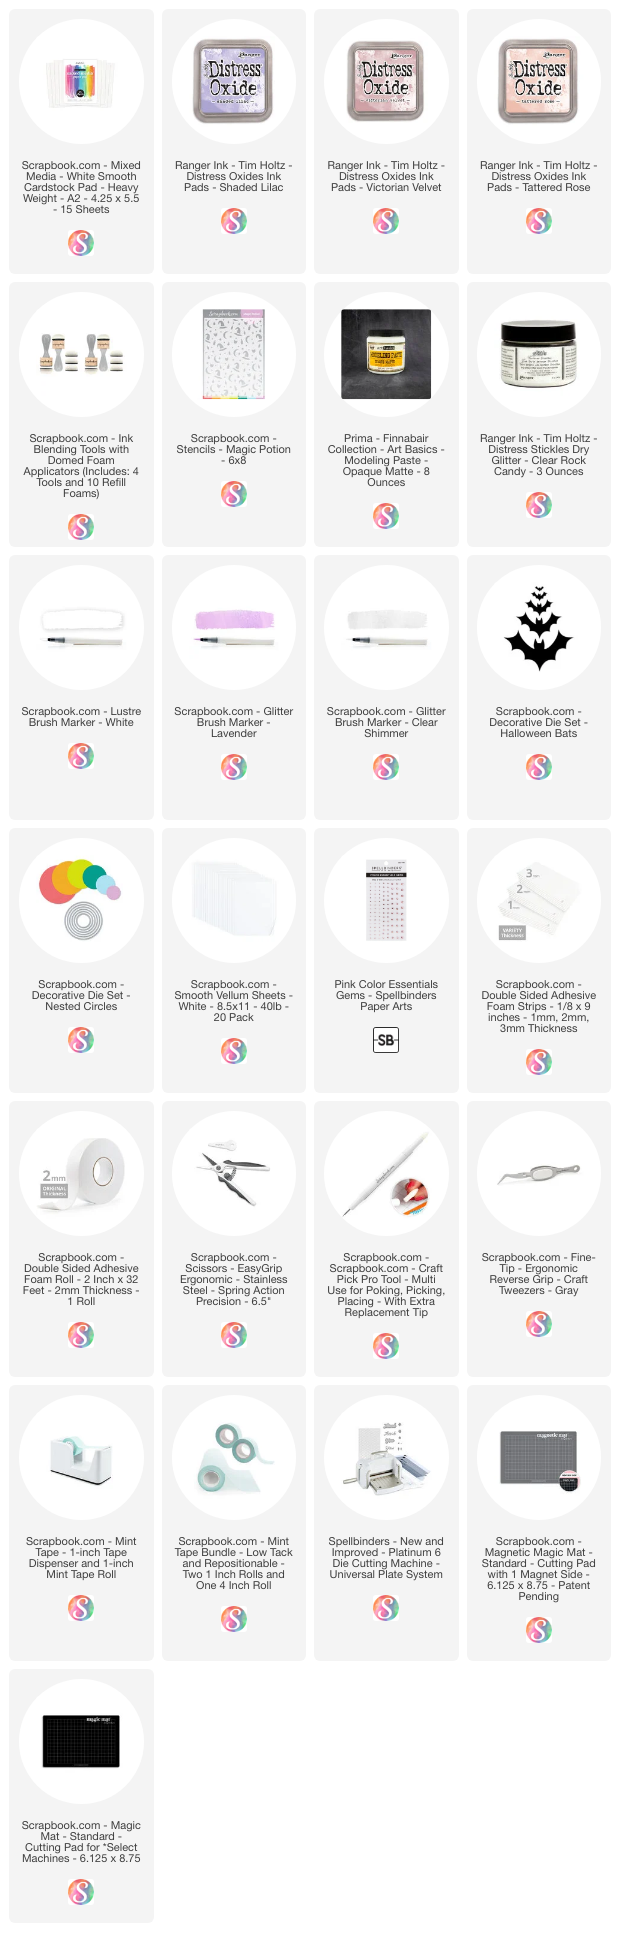
Below are products that I used for this project.


0 comments
I'd love to hear your thoughts!