
It's become my yearly holiday tradition to create an advent calendar! This one doesn't require a special die to create the mini gift bags, so anyone can make these!

Hey, crafty friends! It's day 4 of the 12 Days of Sizzix event and today is all about advent calendars. This event is something you can participate in too, so share your projects on the corresponding day's theme on Instagram and use the hashtag #12DaysofSizzix for your chance to win prizes and be featured! Now, back to this advent calendar I created for today.
.jpg)
If you've been following me for a while, you probably already know that they are one of my favorite things to create. Who doesn't love a good countdown, or in this case, a count up!?

This year's advent is a 12 Days of Christmas advent and each day is a mini gift bag decorated with the Folk Numbers and 12 Days of Christmas stamp and Framelits designed by Catherine Pooler for Sizzix! (I have a full list of linked supplies you can shop at the bottom of this post.)

I've got a full step-by-step tutorial over on my YouTube channel where we create day 7 together. But let's go over a bit of that tutorial here, in case you prefer written tutorials, especially when it comes to exact measurements!
I do recommend watching the video, though, to see how everything is folded and glued together, so make sure you at least watch that part. (I've added chapter timestamps in my description box to make it easy to jump forward to the part you want.)

Jump to a section of this blog:

Creating Your Gift Bag
Let's get into the tutorial! We'll start with cutting, folding and gluing the little gift bag together. I used a 6x8 piece of patterned paper for each mini gift bag, which is pretty much the perfect amount. You'll have a small strip left over. I used my Sizzix Scoring Board and Trimmer tool for this, allowing me to cut and score all on the same tool.

Cutting & Scoring Your Mini Gift Bag:
- Cut a piece of patterned paper to 7.5 inches long by 4 inches high.
- Cut 2 strips from the remaining paper that are 0.5 inches wide by 6 inches long (these are the handles).
- Place your larger patterned paper piece on your scoring board so that the 7.5 inch side is your length and score at these markings:
- 0.5 inches (this creates the tab you will glue to create the body of the bag)
- 1 inch
- 1.5 inches
- 4 inches
- 4.5 inches
- 5 inches
- Then turn your patterned paper 90 degrees so the 4 inch side is now your width, and score at 1 inch (this creates the bottom of the bag).

Folding & Adding Stitching and Trim to Your Mini Gift Bag:
- Fold along all of your crease lines:
- Fold the bottom inch section up.
- Fold the half inch sections inward, like on the side of a real gift bag.
- Fold along the remaining sections to create a rectangle you can glue together.
- Next, cut the tabs free at the bottom:
- On the side with the 3 half-inch tabs, cut the bottom part of the last tab off.
- Then cut the next half-inch section free from the 2.5 inch section.
- Cut the next half inch section free.
- Notch off the corners on the 2 half-inch sections and one of the 2.5 inch sections (this will help you line all your folds up easier when gluing).
- If you are adding some stitching and trim, now is the time to do it! I stitched straight down the middle of the two handles; then stitched the sides and bottom of the 2.5 inch sections; then stitched on trim straight across the top (leave the last half-inch tab free of trim where you'll be gluing your bag together).

Gluing Together Your Mini Gift Bag:
- Glue the half-inch tab to the inside of the last 2.5 inch wide section to create a rectangle.
- Fold the notched 2.5 inch tab inward.
- Add glue to the backs of the 1.5 inch notched tabs and press to the bottom of the bag.
- Grab a handle, holding each end in one hand, then bring your hands together to create an upside down U. This helps curve the handle. I liked to wiggle my hands back and forth a bit to help set that curve in place.
- Add glue to the back of the final 2.5 inch tab and press to the bottom of the bag.
- Add glue to one side of one of the handles and press it to the inside of the bag (I liked to start by gluing this along the half-inch tab on the inside to help me line things up across all of the bags so each handle was a half-inch from the side of the bag); then hold it in place with a mini clothes pin or binder clip until the glue sets.
- Add glue to the other side of the handle and glue it to the inside of the bag; hold in place with a clothes pin or clip.
- Repeat for the other handle.

Creating the Embellishment Cluster
I used the new Catherine Pooler Sizzix Folk Numbers Thinlits, the 12 Days of Christmas Stamp and the coordinating 12 Days of Christmas Framelits to create the embellishments for these mini gift bags. I also used the Stacey Park Sizzix Alena Arched Circles die (the second to smallest die) to cut out a vellum circle to assemble the embellishment cluster on. And I used Catherine Pooler inks so I could create my own custom color cardstock!

Stamping & Die Cutting Your Embellishments:
- Using your Sizzix Stencil and Stamp tool or other favorite stamping platform, stamp out each of the 12 Days on smooth white cardstock using a stamping platform.
- Die cut out each of the 12 Days with the coordinating Framelit die. (Use a little Mint Tape, magnetic platform or magnetic cutting mat to hold your die in place so it doesn't move while going through your machine.)
- Die cut 12 circles from vellum (keep all of your dies organized and safe in some trays until you are ready to assemble).
- Using the same inks you used to stamp out your 12 Days images, swipe the ink pad across a piece of smooth white cardstock to create a custom color cardstock.
- Die cut the Folk Numbers and some of the floral dies from the 12 Days Framelits set from these pieces of custom color cardstock. (Keep your offcuts from the inside of these numbers--you can use them as embellishments!)

Assembling Your Embellishments & Adding them to the Mini Gift Bags:
- Using Sizzix Express Glue or your other favorite liquid glue, adhere a number to a vellum circle. For the single digit numbers, place them either more to the right or the left and center the double digit numbers.
- Place the coordinating day stamped image onto the vellum circle using a bit of foam adhesive.
- Decorate the embellishment cluster with some of the die cut flowers and leaves, or offcuts from the inside of the Folk Numbers, attaching them with liquid glue and/or foam adhesive.
- Add foam adhesive to the back of your vellum circle, hiding the foam behind your number and stamped image, then place it on the front of the mini gift bag.
- Add some sparkly gems to your bag and embellishment cluster (I used Glitter Drops from Pinkfresh Studio).
And that's it! These little gift bags are perfect for holding small treats, gift cards, cash and other small items, like jewelry. You can also use them for advents for any holiday or give gifts in for any celebration. I hope it inspires you to create your own advent for this upcoming holiday season, and until next time, happy crafting!
Adrienne
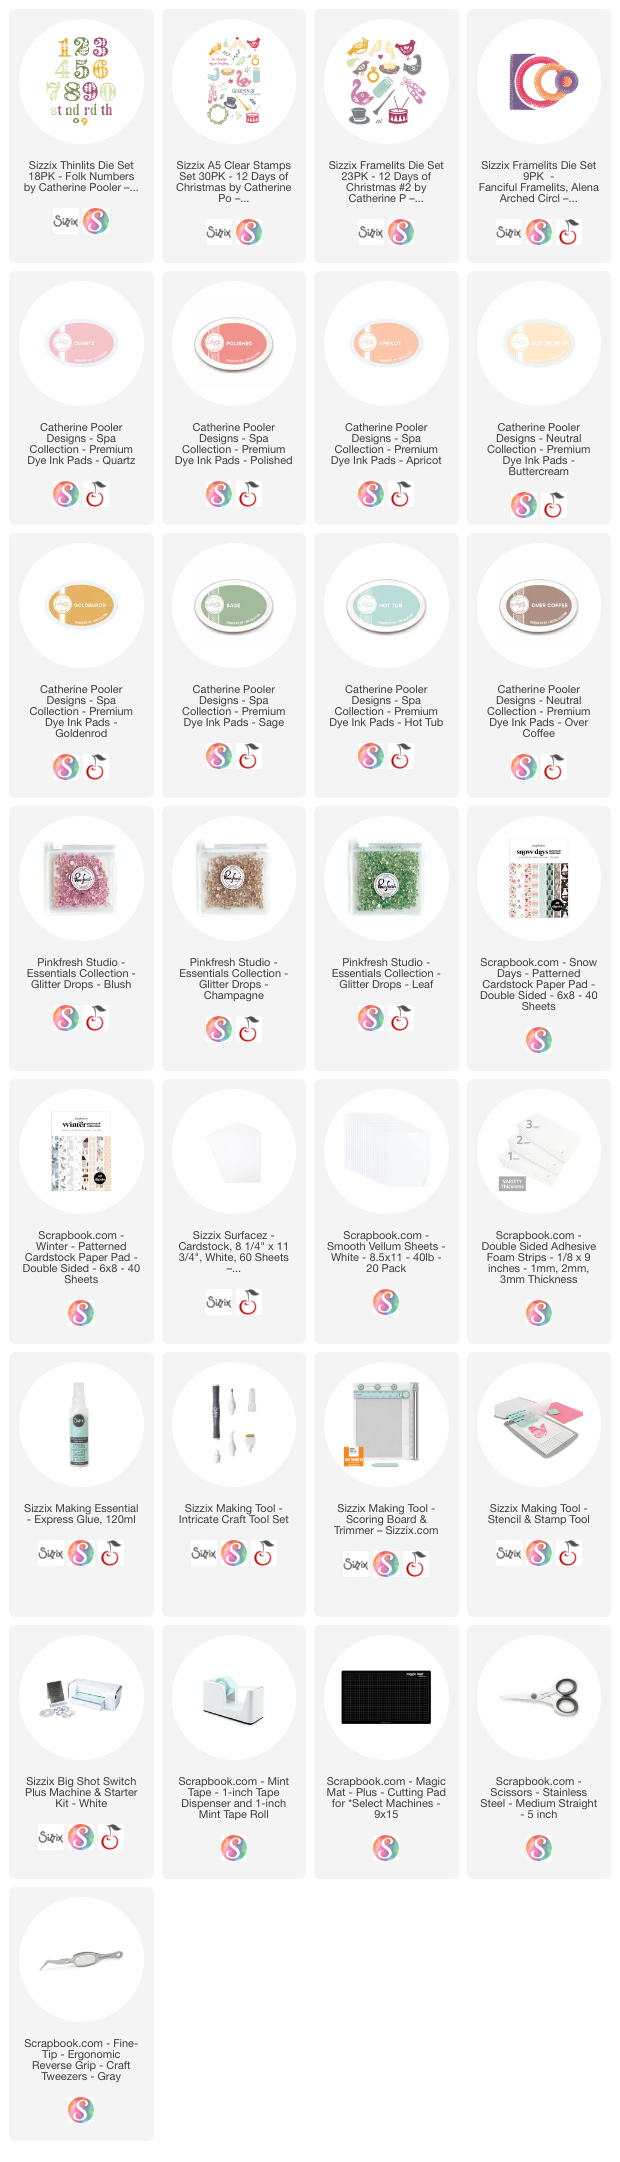
Shop the Supplies:
Scrapbook.com, A Cherry On Top, Spellbinders, Sizzix & Amazon
I am an affiliate with multiple companies. When you shop the links below, I receive a small commission from the affiliate, at no additional cost to you. This helps me balance the costs of the time and love I put into my projects and blog so I can continue to share my ideas with you for FREE. If you shop the links, thank you! I greatly appreciate it.
Below are products that I used for this project.


2 comments
I really love these Adrienne!! I am thinking it would be fun to do some more traditional ones for my son and pop little gifts in for him. Thank you for the inspiration and the bag tutorial. Hugs~
ReplyDeleteThank you! So happy to hear you want to give this idea a go!
DeleteI'd love to hear your thoughts!