
It's day 11 of the 12 Days of Sizzix event and that means it's time for some mantle and wall decor! I used the new Jen Long Winter Wishes die as the star of this festive panel perfect for placing on a mantle.

Hello, crafty friends! I can't believe that the 12 Days of Sizzix is nearly over! The inspiration on Instagram from everyone who has participated has been absolutely incredible! Today, I'm sharing my Winter Wishes panel perfect for placing on a mantle or hanging up on the wall for festive decor.

I've got a YouTube tutorial for this pretty panel live now. I take you from gluing your paper on the wooden Tim Holtz panel to adding a bit of dimension to die cut flowers, plus assembling the Sizzix Jen Long Winter Wishes die. (Don't forget that I have a full linked supply list at the bottom of this blog!)
I do encourage you to check out the video tutorial, but let's hit some of the main points here in the blog, just so I can show off some more photos of the finished project for you!

First, I used the Tim Holtz Idea-ology Vignette Display Panel as my base. I like these wooden boxes for projects like this because they easily stand on their own. (Though if you want to hang this on the wall, you just need a Command Canvas hanger.) This particular panel is meant to have the project or design on the flat side, rather than on the open box side, which is what I did for this make. But just like any of Tim's vignette boxes you can create your project on either side!

This panel is 9x9 inches, so I cut a piece of striped paper from a Prima Marketing Christmas collection then distressed the edges with my Sizzix Surfacez Multi-Tool. I do recommend using an adhesive with low water content to adhere your paper to your surface, such as the Prima Marketing Soft Matte Gel or Tim's Collage Medium. Then use a brayer to press the paper firm to the surface and remove air bubbles.

I always like to add a little texture to my backgrounds with a paste and stencil. I used the Prima Marketing Calculations stencil and the Finnabair White Gold Icing Paste for a little pop of sparkle. I recommend a delicate stencil design that doesn't draw focus from the main design elements of your panel, in this case, the Winter Wishes die at the center. When you use delicate stencils, smooth pastes with no texture or grit will give you the best results, which is why I chose the Icing Paste. It's smooth with a bit of color and sparkle.

I used mostly the new Spiced Revealz cardstock. I added a hint of distressing to the edges of all the die cuts in this project by using a Sizzix Sanding Block on the edges. Now more about the dies themselves!

Adding a hint of dimension to your die cut paper flowers is easy! My 3 tricks for fuller, slightly dimensional flowers includes using foam adhesive, using multiple layers of petals, and adding a hint of shape to the petals with some shaping tools. For the Festive Bouquet die, I added two layers of the base petal layer and used some foam adhesive to adhere those two layers together. I also used the Tim Holtz Shaping tools to curve the petals slightly.

Finally, I assembled the Winter Wishes die cuts, adding all the different layers. To make the sentiment more dimensional, I glued three layers of the sentiment together from the Opulent Gold cardstock. I added a bunch of the little sprigs around the wreath portion of the die. This is where you can get a little creative as you don't have to necessarily match the shapes in the main wreath layer.

I added the Winter Wishes and Festive Bouquet die cuts to the project with foam adhesive. I also tucked in a few sprigs and flowers from Prima Marketing just for even more dimension. Then I finished off by adding some sparkly glitter gems from Pinkfresh Studio!
I hope that you have felt inspired through these 11 days so far of this fun event! There is one more day, and tomorrow it will be Kid's Crafts. Until next time, happy crafting!
Adrienne
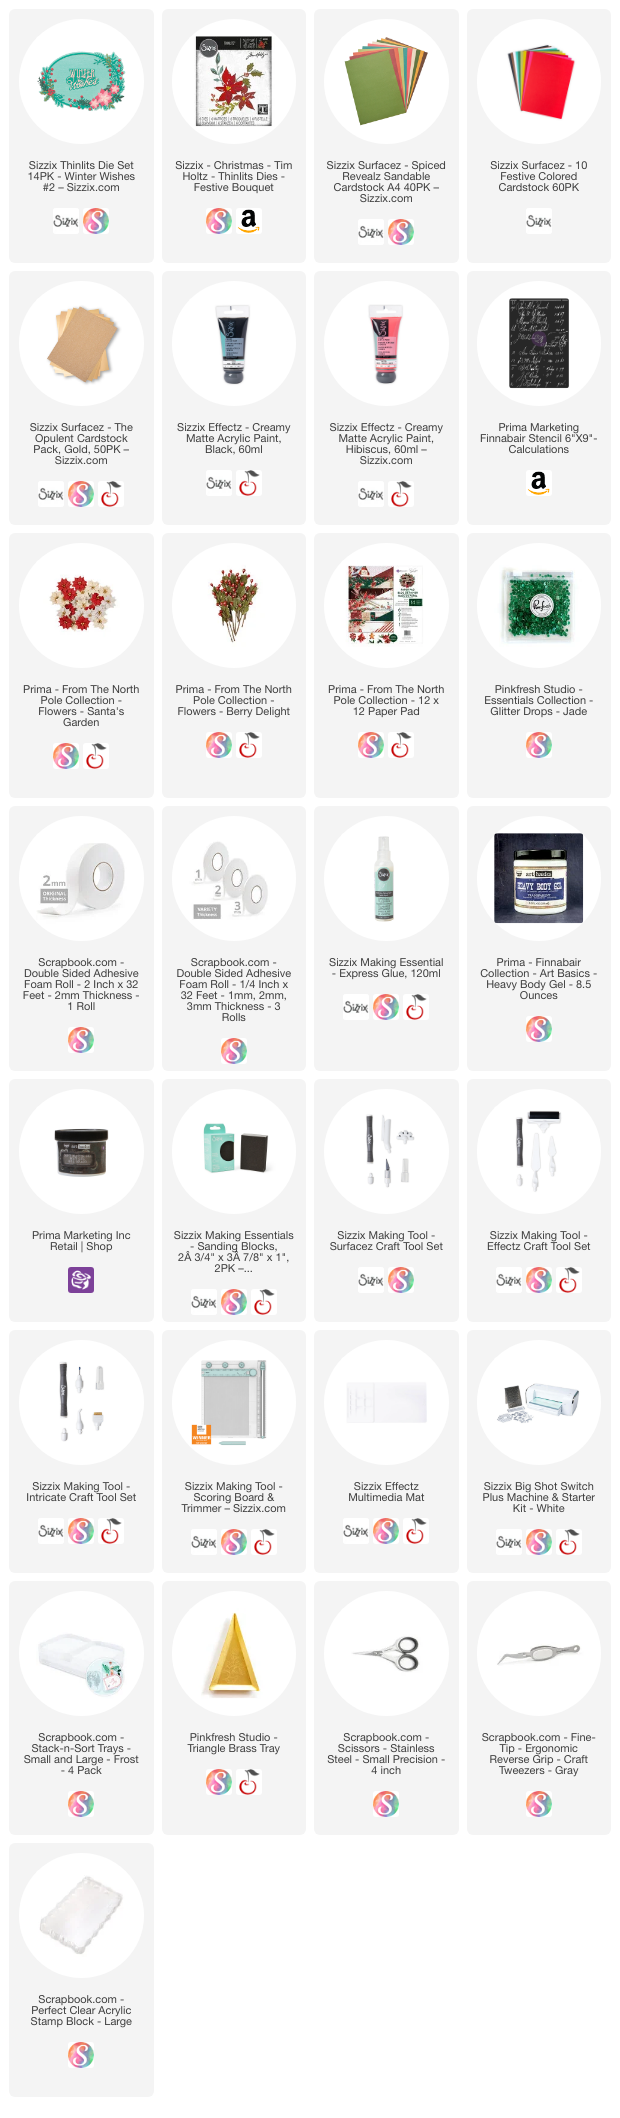
Shop the Supplies:
Scrapbook.com, A Cherry On Top, Spellbinders, Sizzix & Amazon
I am an affiliate with multiple companies. When you shop the links below, I receive a small commission from the affiliate, at no additional cost to you. This helps me balance the costs of the time and love I put into my projects and blog so I can continue to share my ideas with you for FREE. If you shop the links, thank you! I greatly appreciate it.
You can also use the code adrienne15 for 15% off your order on the Prima Marketing Retail site.
Below are products that I used for this project.


0 comments
I'd love to hear your thoughts!