
DIY Crescent Moon Halloween Candy Baskets
This DIY crescent moon shaped candy basket is perfect for giving in boo baskets or gifting to kids this Halloween. All you need is some paper, cardstock and embellishments--plus my free template!

Hi, crafty friend! This week at Prima we are celebrating Halloween with Spooky Magic Week--a week full of inspiration and crafty ideas from the Prima Design Team.

And today I'm sharing this fun candy basket idea. Halloween is all about the candy for the kids, so this is the perfect DIY if you want to give some special candies to a special little someone or you are involved in a neighborhood Boo Basket exchange.

And no need to get specialized dies or an electronic die cut machine for this project! While I do have an svg file you can download for your Silhouette or Cricut, I also have a pdf template of the crescent moon shapes so you can make this basket even if you don't have fancy tools! In fact, I use the print, trace and cut method in the tutorial video below so you can see just how easy it is.

And Prima's Made of Magic collection is the perfect paper collection to help you create this fun little project--the ephemera, tags, paper and flowers bring all the witchy moon vibes--with cute little forest critters and potions!
Jump to a Section

Pieces You'll Need to Make the Basket
First, download my free template file--your choice of svg or pdf file!
- 2 base crescent pieces cut from black cardstock
- 1 black cardstock strip measuring 4x12 inches
- 1 black cardstock rectangle measuring 2x3 inches
- 1 patterned paper strip measuring 2 3/4 x 11 3/4 inches (updated: scored at 3 7/8 and 5 7/8 inches)
- 4 decorative crescent moon pieces cut from patterned paper.
- Optional if you use pom pom trim: cut 2 moon tips using the base pattern from patterned paper

Watch the Tutorial Video
And since I take you through every step from cutting to assembling to decorating, I won't go into a written tutorial. So make sure you watch the video to see how it all comes together.
Note: I say in my voice over that the patterned strip should be scored at 4 1/8 and 6 1/8 inches if you don't have a ruler that moves over like on my scoring board, but I actually meant is should be scored at 3 7/8 and 5 7/8 inches.
Additional Photos


I hope that you enjoyed this fun tutorial and that it inspires you to create a sweet yet spooky 3D project this Halloween season. Until next time, happy Spooky Season crafting!
Adrienne
Shop the Supplies:
Scrapbook.com, A Cherry On Top, Sizzix, Prima Marketing, Spellbinders, Scrap Diva Designs, Etsy & Amazon
I am an affiliate/associate with multiple companies. When you shop the links below, I receive a small commission from the affiliate on qualifying purchases, at no additional cost to you. This helps me balance the costs of the time and love I put into my projects and blog so I can continue to share my ideas with you for FREE. If you shop the links, thank you! I greatly appreciate it.
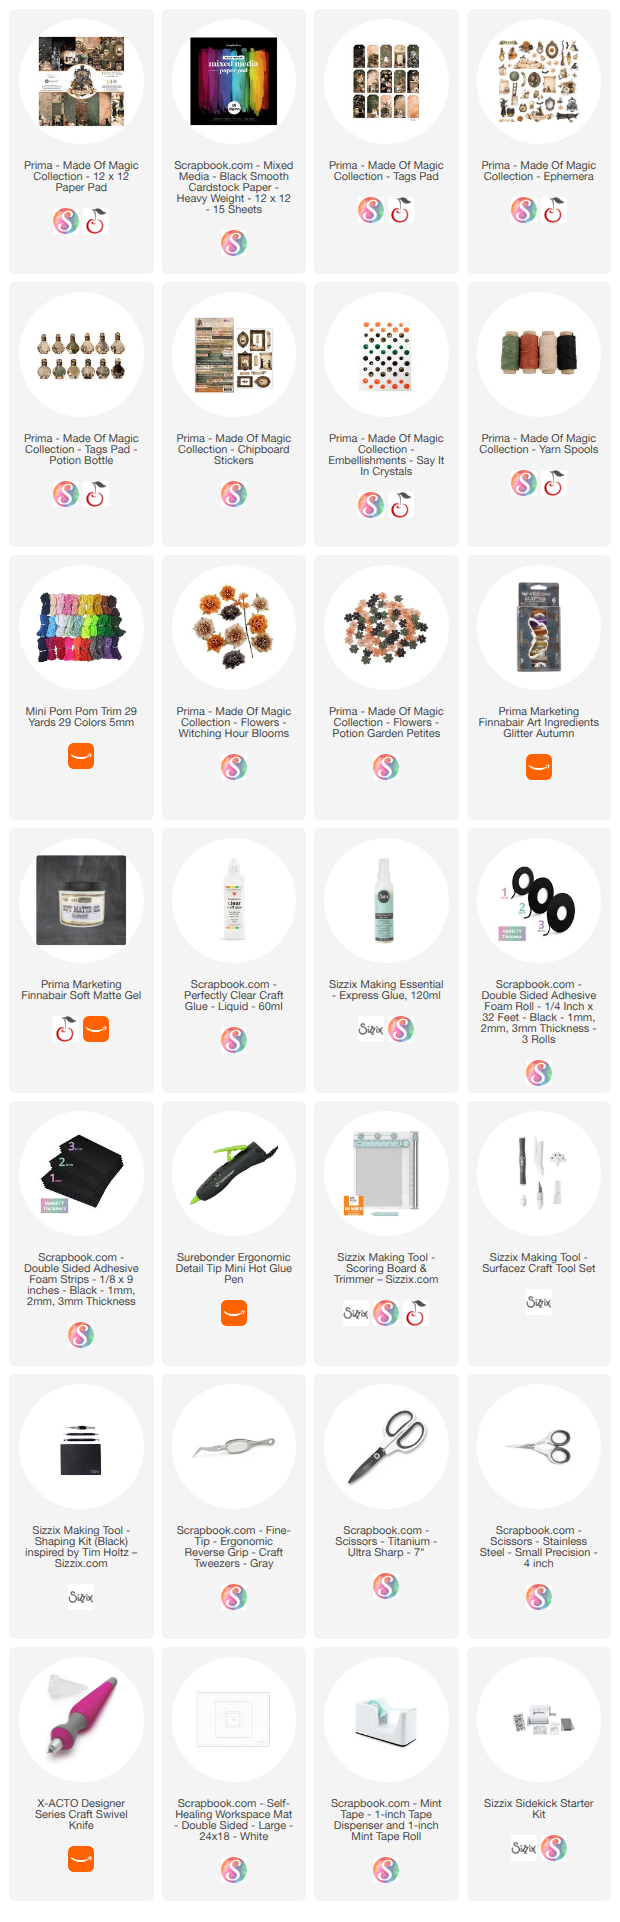
Below are products that I used for this project.


0 comments
I'd love to hear your thoughts!