
The Perfect Handmade Gift: Christmas Stories Bundled Up Winter Bear
Combine Frank Garcia's Christmas Blush with the Spellbinders coordinates to create a sparkling and cozy winter scene perfect for gifting this holiday season.

Hi, crafty friend! Frank's latest collection has new Spellbinders coordinating dies and and embossing folder that will make your holiday makes sparkle and shine.

I combed the Sparkling Trees 3D Embossing Folder & Die with the Bundled Up Winter Bear Etched Metal Die to create a cozy winter scene with hints of sparkle. I built up this scene in an embroidery hoop and it's so much easier than you think. The full supply list is below, so let's get right into this tutorial.

Start by die cutting the tree die that is part of the Sparkling Trees Embossing Folder & Die from white cardstock twice. Mist the die cut with a bit of water and then line it up inside the embossing folder. I held the die cut in place with a tiny bit of craft tape. Run this through your die cut machine to emboss the cardstock.
Die cut the Bundled Up Winter Bear and assemble all the little layers together using liquid adhesive. Add a hint of sparkle to the trees and the bear by applying a clear glue to the die cuts then sprinkling them with some iridescent Finnabair glitter.

Set these die cuts aside and we'll work on building up the snow banks and background inside the embroidery hoop. First start by tracing the outside edge of the embroidery hoop onto a piece of Christmas Blush 8x8 Paper--the mint and white dot pattern so it looks like a snowy sky. Cut this out and then trace it onto a piece of thick white cardstock and glue it to the back of the dot paper. This will help reinforce and strengthen your paper backing.

Then trace the bottom of half the inside of the hoop onto the bow paper from the same paper pad. I traced it three times for three snowbank layers. Tear the top edge with your hands to create a more organic undulating snowbank feel. Set these all aside as we'll glue things together in a moment.
Now let's create the wrap for the embroidery hoop. Using the diagonal stripe paper from the same paper pad, trace the outside and inside edge of the embroidery hoop. Cut this out to create a cover for the frame of the embroidery hoop. Distress the edges with a paper distressing tool, the edge of your scissors or a thread cutter. Glue this frame cover to the front of your embroidery hoop with liquid adhesive.

Use that same paper to cut strips that are the width of the side edge of your hoop and glue the strips together to create one long strip, lining up the pattern. Distress one long edge of this strip with your tool. Then glue the strip to the side of the embroidery hoop, with the distress edge meeting the edge of the frame cover glued to the front of the hoop.

Now let's build up those layers inside the hoop. Glue the dot pattern onto the back of the embroidery hoop frame to create the sky. Then add in the snowbanks using foam adhesive of varying thickness. Keep the foam toward the bottom of the layer so that you have room to layer the die cuts underneath.
To add a bit of sparkle, glue some rhinestone trim around the inside edge of the hoop frame--this makes the embroidery hoop look a bit like an ornament with a concave element for a scene inside it. I used liquid glue for this.

Let's add elements to the scene. Start with the trees, tucking them behind the front 2 layers of snow. Then select the houses from the Paper Stickers Sheet. Add some 1mm thick foam adhesive to the back of it then place it behind the last snowbank between the trees.

Then add the Bundled Up Bear on top of the first snowbank. Add a snowman from one of the Christmas Blush ephemera packs behind the first snowbank in front of a tree opposite of the Bear. Then add some of the stars from the ephemera pack to the sky.

And because no Prima project is complete without flower, add a cluster of pink flowers to one side of the frame of your hoop, under the snowman. I also added some die cut leaves from some of the pink paper from Christmas Blush and a candy cane and sentiment ephemera piece.

Add some of the Spellbinders Pink Gems to your project and a silk bow to the top of the hoop and this project is ready for gifting to someone special this holiday season! Until next time, happy crafting!
Adrienne
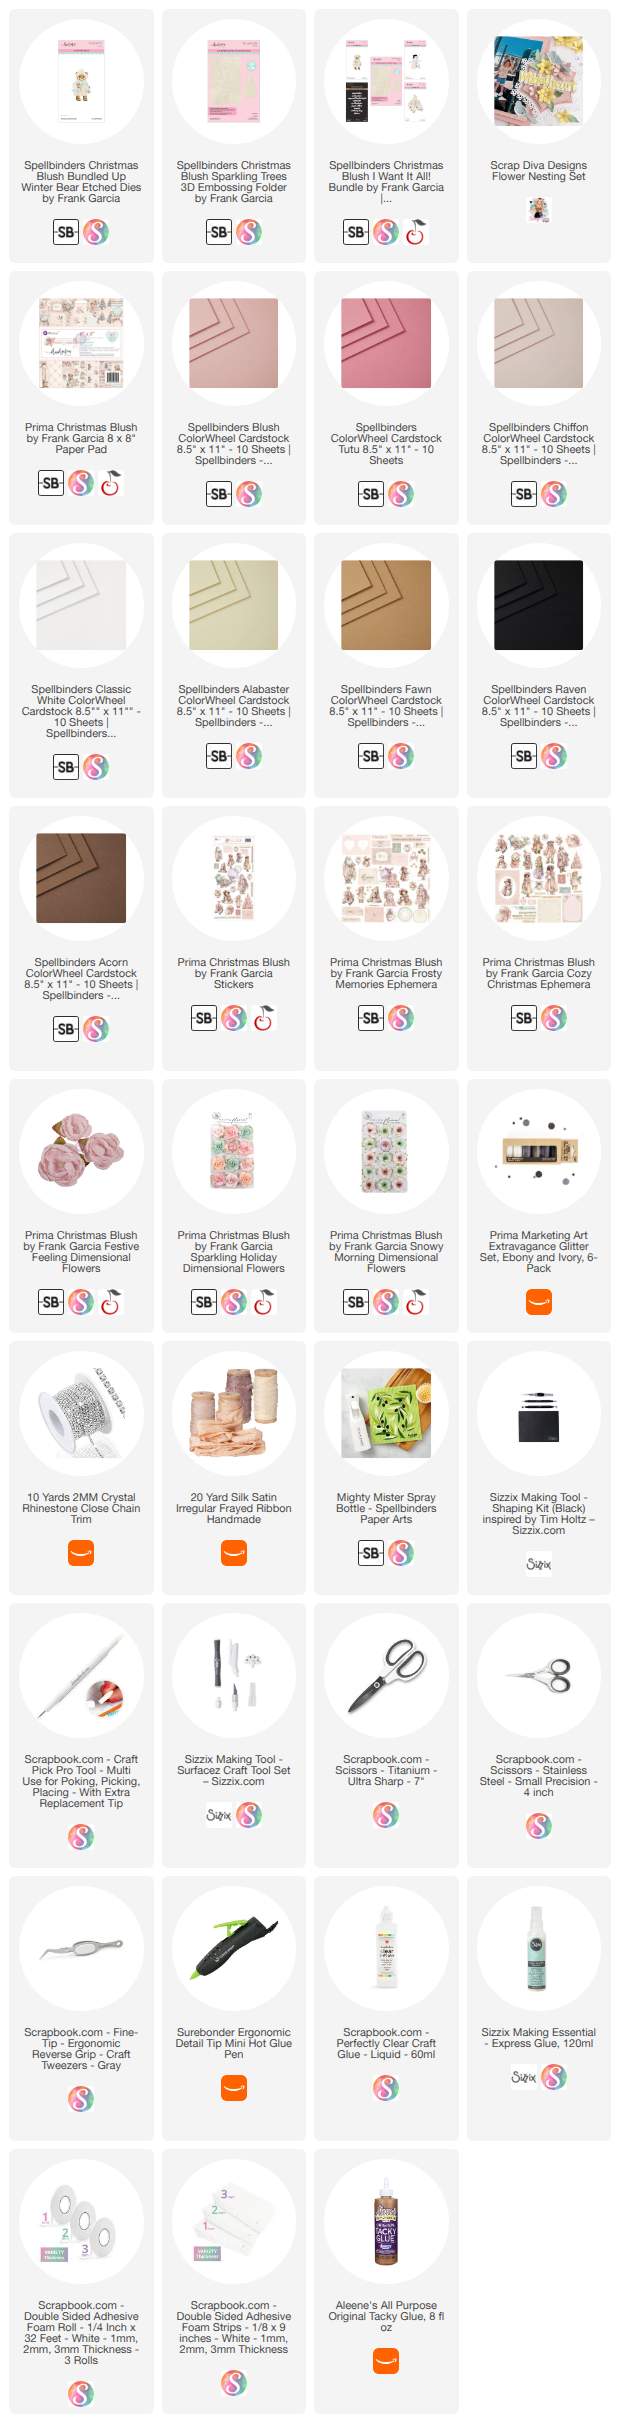
Shop the Supplies:
Scrapbook.com, A Cherry On Top, Sizzix, Prima Marketing, Spellbinders, Scrap Diva Designs, Etsy & Amazon
I am an affiliate/associate with multiple companies. When you shop the links below, I receive a small commission from the affiliate on qualifying purchases, at no additional cost to you. This helps me balance the costs of the time and love I put into my projects and blog so I can continue to share my ideas with you for FREE. If you shop the links, thank you! I greatly appreciate it.
Below are products that I used for this project.


0 comments
I'd love to hear your thoughts!