
Skating Into the Holidays: How to Assemble the Frosty Skates Christmas Blush Die Cut
These frosty skates are perfect for winter and Christmas projects. Here's how to assemble this die cut from Frank Garcia and Spellbinders.

Hello, crafty friends! Frank Garcia has another collaboration with Spellbinders for coordinating products that match his collection. And there are some super cute dies in this new release!

One of them is the Frosty Skates Etched Metal Die, which I think is perfect for a holiday tag or card! I think these ice skates are just so adorable with the bows and frills. And when you add a little sparkle to the blades, these truly become frosty skates!
I'll have all of the supplies used listed below, so let's get right into this tutorial!

Start by trimming a layered tag, using three different papers from the Christmas Blush 8x8 Paper Pad. I like to use my Sizzix Scoring Board and Trimmer Tool as it makes it easy to cut a perfect angle. Then Distress the edges of the top two layers of paper.

Next, glue your tag layers together with your favorite adhesive, then punch a hole in the top of the tag.

Then die cut your Frosty Skates die to create a pair of skates--that means you need to cut most of the dies in the set twice. Depending on how you want to treat the laces at the top (tied in a bow or untied), you may just need to cut those options once--I ended up having one skate tied in a bow and one untied.

Then assemble each ice skate. I started with the layers of the boot and adding the ruffles. Then I added the laces. There are some small pieces of the bottom of the laces and the top of the laces that are separate from the main criss-cross die cut, so don't loose those. I ended up having to recut this because I did, so don't make my mistake.

The little tied bow also has a center knot layer that you don't want to lose. I added that tiny die cut using a wax tip tool to make it easier to place. Then attach the bow or the untied laces to the top of the boot of the skate. There are some ribbons that decorate the back of the boot, so glue those to the back near the heel of the boot. Then add the sole and the blade of the skate.

If you want to have your skates tied together, glue the layers of the large ribbon together.

Then attach the top of each skate to the bottom of each ribbon.

Using the ephemera from the Frosty Memories and Frosty Frames set, add some layers to the top left of your tag. Then take one of the heart frames from the Frosty Memories Ephemera set. Measure it and then cut a piece of patterned paper to fit behind it, using the same as the second layer of your tag. Add some foam adhesive to the back of it, then attach it to the cut piece of patterned paper. Add this to the center of the tag.

Add some clear glue to the edges of the skate blades, then sprinkle the glue with some iridescent glitter from Finnabair's Winter Glitter set. Once dry (it will only take a few minutes), add foam adhesive and then glue it to the tag, layering it over the heart frame. Add some ornament ephemera to the top right of the tag.

Use some hot glue to attach some of the smaller Warm & Cozy Flowers from Christmas Blush to the bottom right of the tag. Add a sentiment ephemera over the top of the flowers. Add some pink Spellbinders gems to the tag. Then take some crinkle ribbon and add it to the top loop of the tag. Tie some of the pink ribbon from Christmas Market into a bow and glue it to the top of the tag. (If you don't have this lace and ribbon set from Prima, I added a similar pink ribbon since this set is out of stock everywhere.)

And that's it! Let's take a closer look at some of the details of this tag. Like the sweet Frosty Skates that are the star of this project!

And of course you can't have a Prima paper collection project without a few of their famous flowers. I love the glittered edges on these poinsettias.

And of course the ephemera in Frank Garcia's collections are always so vintage, shabby chic and delicate. I love these little ornaments.

And that's it! I hope you enjoyed this little tag tutorial and that it inspires you to use the Spellbinders coordinates for the Christmas Blush collection. You can check out the full collection of coordinates for Christmas Blush on the Spellbinders website--let me know which part of the collection is your favorite. You can also check out my guest blog for Spellbinders using the Sparkling Trees 3D Embossing Folder & Die and Sweet Snowman Etched Die. Until next time, happy crafting!
Adrienne
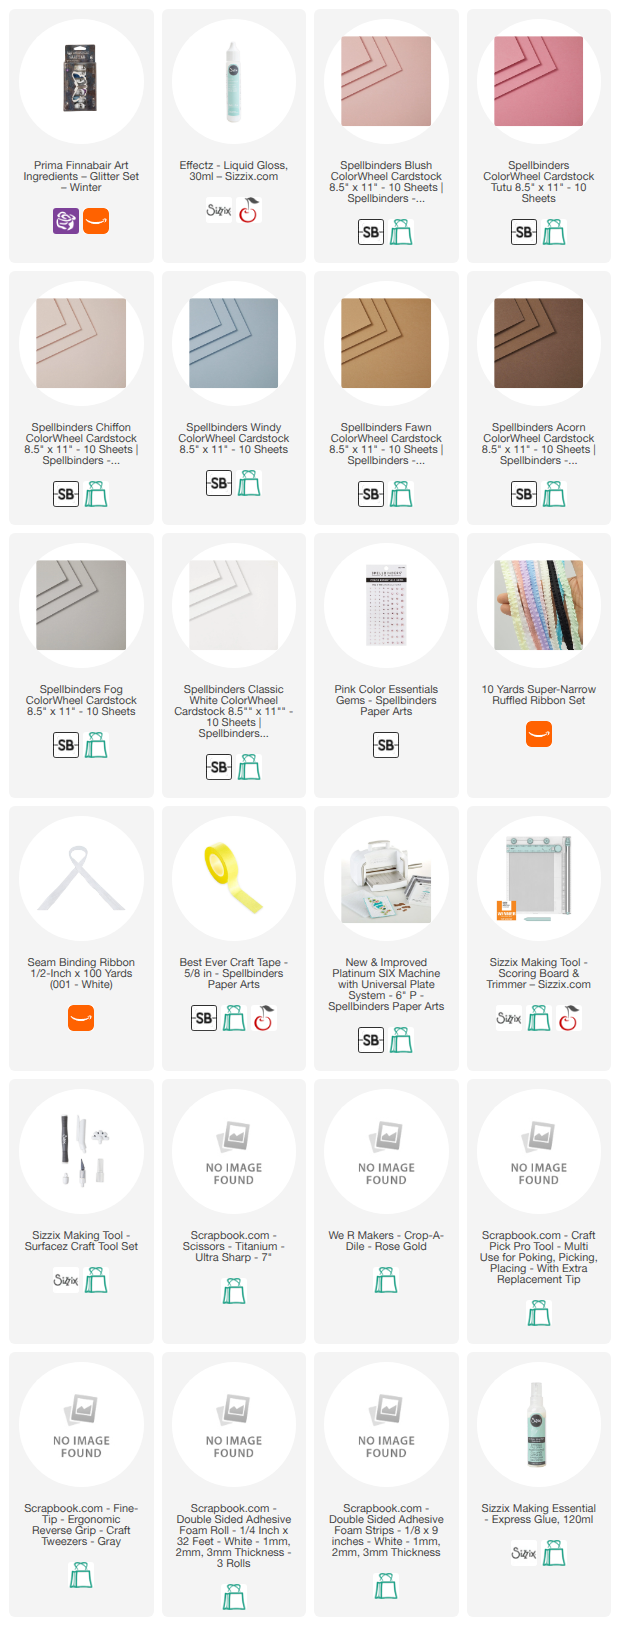
Shop the Supplies:
Scrapbook.com, A Cherry On Top, Sizzix, Prima Marketing, Spellbinders, Scrap Diva Designs, Etsy & Amazon
I am an affiliate/associate with multiple companies. When you shop the links below, I receive a small commission from the affiliate on qualifying purchases, at no additional cost to you. This helps me balance the costs of the time and love I put into my projects and blog so I can continue to share my ideas with you for FREE. If you shop the links, thank you! I greatly appreciate it.
Below are products that I used for this project.


0 comments
I'd love to hear your thoughts!