
Springtime Easter Egg Basket with Mini Album
From Easter gift to Easter memories! Learn how to turn the Scrap Diva Designs 3D Egg Pocket into a mini album.

Hello, crafty friend! I'm back with my final guest design for this month for Scrap Diva Designs. Today I’m sharing how you can use the 3D Egg Pocket post-Easter gifting to hold all your special memories from Easter or spring.

This sweet egg basket is perfect for holding an egg shaped mini album that can store photos from the special day (or just spring in general if you don’t celebrate Easter).

I’ve got the full supply list for you below and if you use the code ADRIENNEBOESE at Scrap Diva Designs, you can get 10% off your purchase!

The egg shaped mini album is made using the same die set as the egg basket. And in my latest YouTube tutorial, I’ve broken it all down for you—the first half focuses on how to assemble the 3D Egg Pocket and decorate it, while the second half of the tutorial shares inspiration for creating your own egg-shaped mini album.
I won’t go into all the details of this tutorial here because everything you need is in the video above. But I will share a few pictures of the details here so it’s easier for you to study them. First, we'll take a look at some of the details on the front side of the egg pocket, like the sweet details added at the bottom (ephemera and die cut flower) and the diamond chain trim around the back.

Next, let’s take a look at the back of the egg pocket and the embellishments I added to it. I used the Spring Words 2026 and Flower dies from Scrap Diva Designs.

Now let’s look at the mini album itself, starting with the cover. I used the Slimline Bunnies and Spring Words 2026 dies along with the flowers, bow and chicken wire from the 3D Egg Pocket Die. I also added some charms to the binder ring with a lobster claw clasp.

Because the album is connected at the top with a binder ring and flips up, I designed the back sides of the cover and pages with the egg pointing downward. On this first page on the back of the cover, I added a matte for a future photo and then layered on ephemera, using foam adhesive to pop it up, allowing you to slip a photo in later.

The second page I added ephemera, lace flowers, and one of the pretty die cut leaves from the Scrap Diva Flower die set.

On the third page is another matte for a photo, some lace and ephemera plus the die cut flowers from the 3D Egg Pocket die. I really like them in the smooth white with the yellow centers--reminds me of daisies!

The fourth page has another matte for a photo with ephemera and the word "Happy" die cut from the Spring Words 2026 die set.

The next two pages are my favorites! The fifth page has the smaller of the two doilies from the Flower Nesting Set from Scrap Diva Designs, leaves from the Flower die, and some pretty ephemera.

On the sixth page I added another of the Slimline Bunnies with a tiny bow die from my stash. I layered vellum ephemera under and over it.

The seventh page has a bunch of lace, ephemera and a Flower die with one of the flowers from the 3D Egg Pocket for part of the center (like I did on the back of the Egg Pocket)--I really like these two dies layered up like this!

On the eighth and final page I added a bird from the Spring Memorydex die from Scrap Diva Designs, plus those little flowers in blue around a piece of ephemera and a matte for a final photo.

I hope that you enjoyed this project inspiration and that you make your own version to hold memories from spring and Easter because this little 3D Egg Pocket from Scrap Diva Designs is literally the cutest thing ever! Until next time, happy crafting!
Adrienne
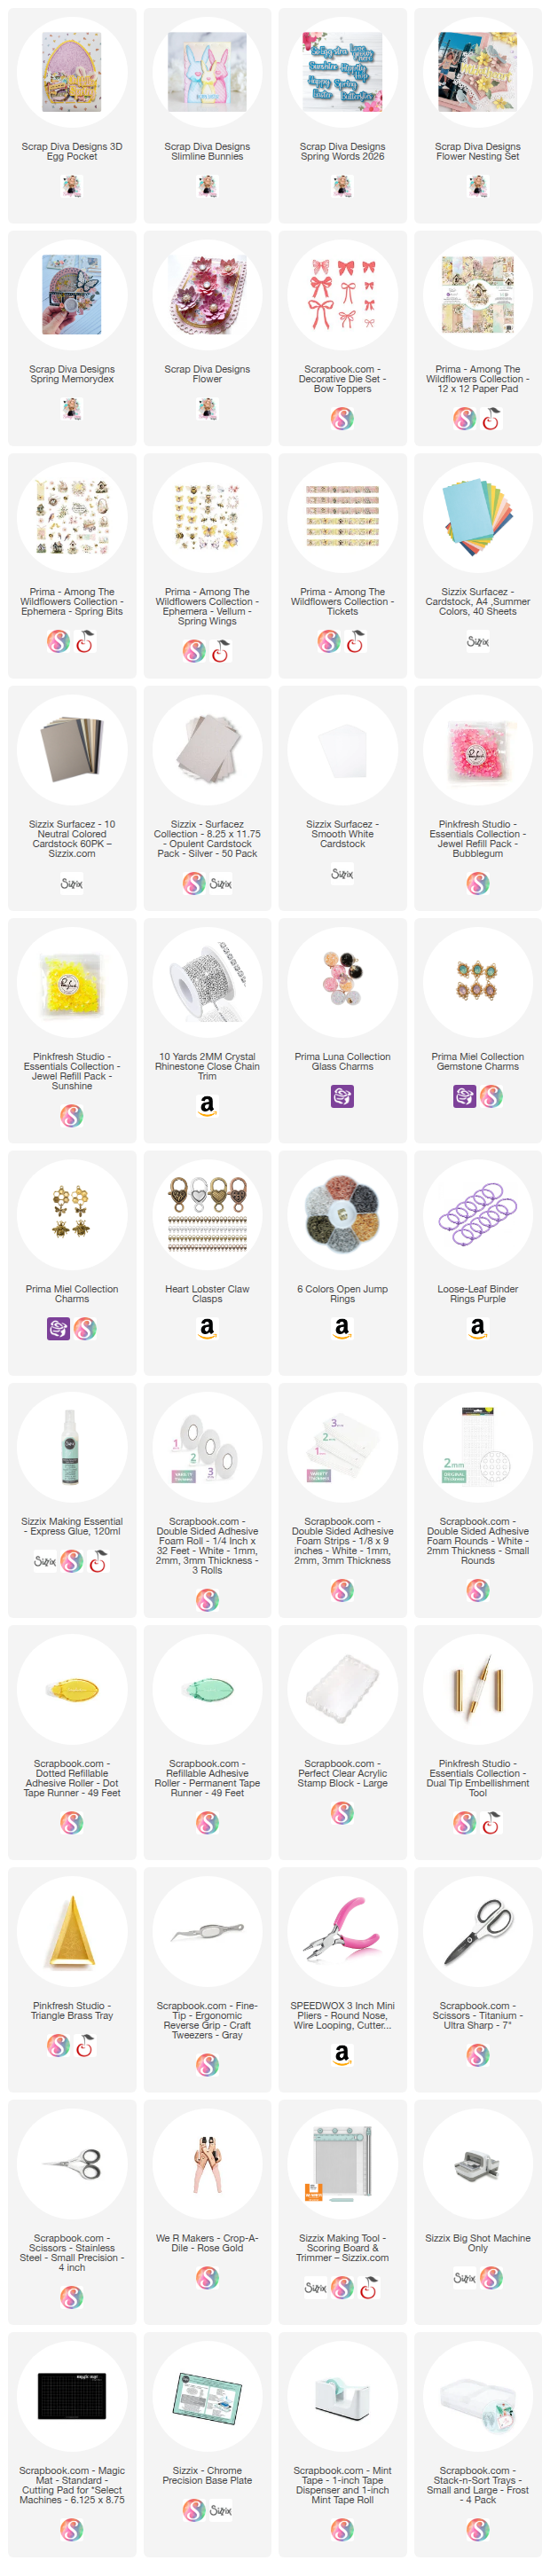
Shop the Supplies:
Scrapbook.com, A Cherry On Top, Sizzix, Prima Marketing, Spellbinders, Scrap Diva Designs, Etsy & Amazon
I am an affiliate with multiple companies. When you shop the links below, I receive a small commission from the affiliate, at no additional cost to you. This helps me balance the costs of the time and love I put into my projects and blog so I can continue to share my ideas with you for FREE. If you shop the links, thank you! I greatly appreciate it.
Below are products that I used for this project.


0 comments
I'd love to hear your thoughts!