
How to Create Embroidery Patterns with Stamps
If you have always wanted to create your own embroidery patterns, but don’t feel you are artsy enough to draw your own patterns by hand or on a computer, this tutorial is for you! In this video tutorial, I'll share how you can combine multiple stamps to create a single embroidery pattern.

Hi, crafty friend! If you've been following me on Instagram, you likely have known that I've been learning embroidery. I've shared a few projects here and there, but I wanted to do a more in-depth tutorial on how you can use stamps to create your own embroidery patterns.

For paper crafters interested in learning embroidery, this can be a great way to experiment, learn and get more use out of your stamps! For pros, this can be a great way to create gorgeous patterns on your own, without the need to know how to draw or use a vector based illustration program.

In my YouTube tutorial video, you'll see all the supplies I used (which you can also find listed at the bottom of this blog post), learn how to create an embroidery pattern with stamps, my embroidery process, plus how to finish off your embroidery project.
Now I'm by no means an embroidery expert, as this is only my sixth embroidery project. But I hope that for the pros, you find new ways to enjoy embroidery; and for beginners, I hope you enjoy learning how to embroider with some tools that feel familiar to you.

Now, let's take a closer look at some images of my project!

For this project, I used the Sizzix Studio Magnolia stamp set designed by Willow Wolfe. I combined the large magnolia stamp, the magnolia branch, and the butterfly stamps

I used a total of 3 different pink DMC embroidery flosses to create depth and shading. I also utilized pad stitching and bullion stitching to create bulkier pad.

I used both satin and long and short stitching for the magnolias as well as stitching in a fishbone-like way to create more realistic petals with texture. I didn't follow a specific long and short pattern as I wanted to make the stitching more natural and organic.

The flower buds were stitched in a satin/long and short hybrid as well as the fishbone style stitch. I used the two darker pink flosses and the dark green floss for the leaves. The branches are created using stem and back stitches.

The butterfly is mostly a satin stitch with two hues of blue DMC floss. For the body of the butterfly, U used a bullion stitch and the antenna are a long stitch tacked down to follow the curve with a French knot on the top.

The flower centers are made up of French knots, using the same brown floss as the branches.

To go around the circle, I used a DMC metallic thread and a chain stitch.

I hope that you enjoy this tutorial and that it inspires you to create your own embroidery patterns and learn the art of embroidery. I have found embroidery to be so therapeutic. When I'm feeling down about the world or life, I pick up an embroidery project and find joy in stabbing fabric over and over again--you know, since murder is frowned upon, lol! (And might I suggest this "feeling stabby" needle minder?)
Until next time, happy crafting!
Adrienne
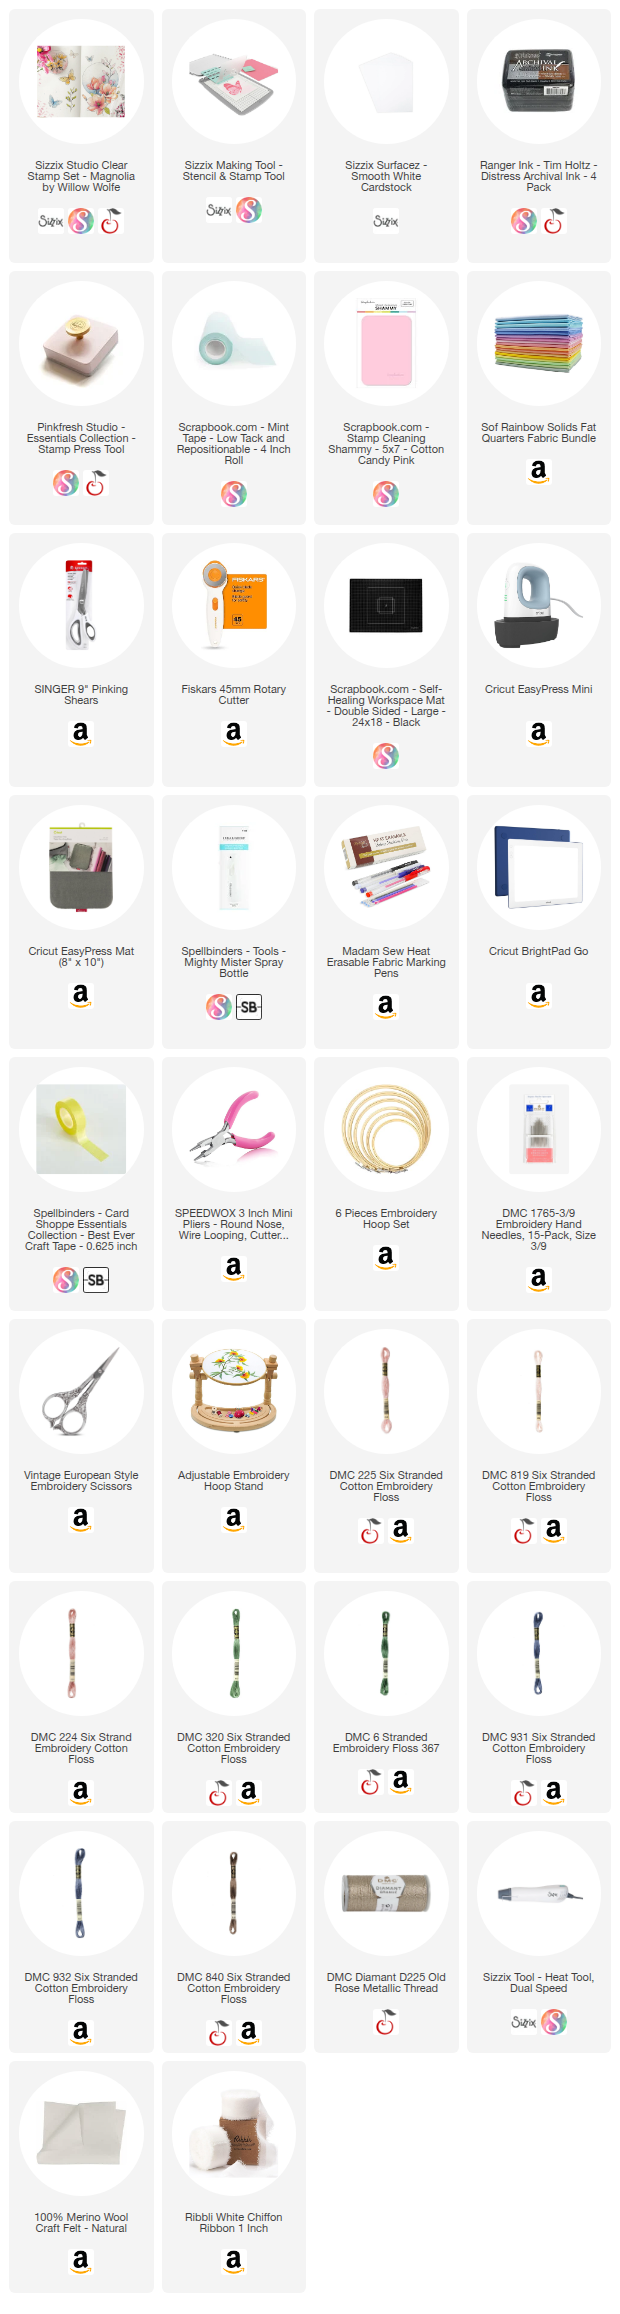
Shop the Supplies:
Scrapbook.com, A Cherry On Top, Sizzix, Prima Marketing, Spellbinders, Scrap Diva Designs, Etsy & Amazon
I am an affiliate with multiple companies. When you shop the links below, I receive a small commission from the affiliate, at no additional cost to you. This helps me balance the costs of the time and love I put into my projects and blog so I can continue to share my ideas with you for FREE. If you shop the links, thank you! I greatly appreciate it.
Below are products that I used for this project.


0 comments
I'd love to hear your thoughts!