I love an alternative to a card and these large tags with a pocket are perfect for holding a gift card, being used in a junk journal or turned into a mini album!
Hey, crafty friend! These large tags are versatile and can be used for so many things. But we'll get to that in a moment. I'm more into tags than I am cards, so anytime I can use it as an alternative I jump at the chance. When you combine the new Sizzix Snap and Swap Large Tags with the Snap and Swap Pockets, you get endless ideas!
In each Thinlits set, you get a base die plus a bunch of swappable edges to create your own custom project without all the bulk of a bunch of large dies. (You can shop the essentials used to make this project below!)
And, if you haven't been seeing all the amazing things created by Sizzix Creative Design Team members and Sizzix Designers using the Snap and Swap Large Tags, then let me direct you to a few Instagram posts for some more creative inspiration:
- This stunning vintage style tag created by Karen
- This amazing bunting created by Christine
- This lovely ephemeral tag created by Natasha
- This beautiful textural tag created by Annika
- This gorgeous mini album created by Alexis
Now back to these tags and this quick little tutorial. I die cut out the Snap and Swap Large Tags--cutting the larger one with a straight bottom edge from cardstock, and the smaller one from patterned paper using the torn edge. I also cut out the large hole reinforcer and the star reinforcer from some cardstock.
If you are new to the Snap and Swap technology, be sure to check out my full-length tutorial video over on my YouTube channel!
I cut the Snap and Swap Pocket base with the straight edge from the same cardstock, Then I cut the layer piece, with the triangle edge. I inserted this triangle edge in the other direction. I scored the tag layer so I could fold over that little triangle flap.
I glued the tag pieces together with Express Glue and dotted adhesive. I scored and glued the pocket together, then glued the patterned paper layer on. Then I glued the pocket onto the tag, placing it near the bottom of the tag.
I die cut out the flying raven from Tim Holtz's Feather and Raven die and the smaller moon from the Moonlight die from black and grey cardstocks. I glued the layers of the moon together, bend the ravens wings, then glued both pieces on using foam adhesive. I tucked a piece of ephemera under the moon.
I used some chipboard from Reneabouquets to decorate the top of the tag. The black one is embossed with two layers of Ranger's black embossing powder and the purple is spritzed with a Tim Holtz mica spray.
I die cut the Snap and Swap File Folder using the shorter torn edge swappable die from the tag set. (The shorter tag edgers fit both the file folder and the pocket!!) I also die cut some of the Fine Stems dies from black cardstock. I stapled these florals to some ephemera and the file folder, then inserted these into the pockets.
I added some Prima flowers and die cut leaves to the pocket, along with some gems. Then I added some black chiffon ribbon to the top of the tag.
I hope you give the Snap and Swap system from Sizzix a go. I'm excited to grow my collection and see what other edgers will be interchangeable with future sets, giving even more endless options for creativity. Until next time, happy crafting!
Adrienne
Shop the Supplies:
Scrapbook.com, A Cherry On Top, Spellbinders, Sizzix, Etsy & Amazon
I am an affiliate with multiple companies. When you shop the links below, I receive a small commission from the affiliate, at no additional cost to you. This helps me balance the costs of the time and love I put into my projects and blog so I can continue to share my ideas with you for FREE. If you shop the links, thank you! I greatly appreciate it.
You can also use the code adrienne15 for 15% off your order on the Prima Marketing Retail site.
Reneabouquets is a small business that offers bespoke paper crafting embellishments.
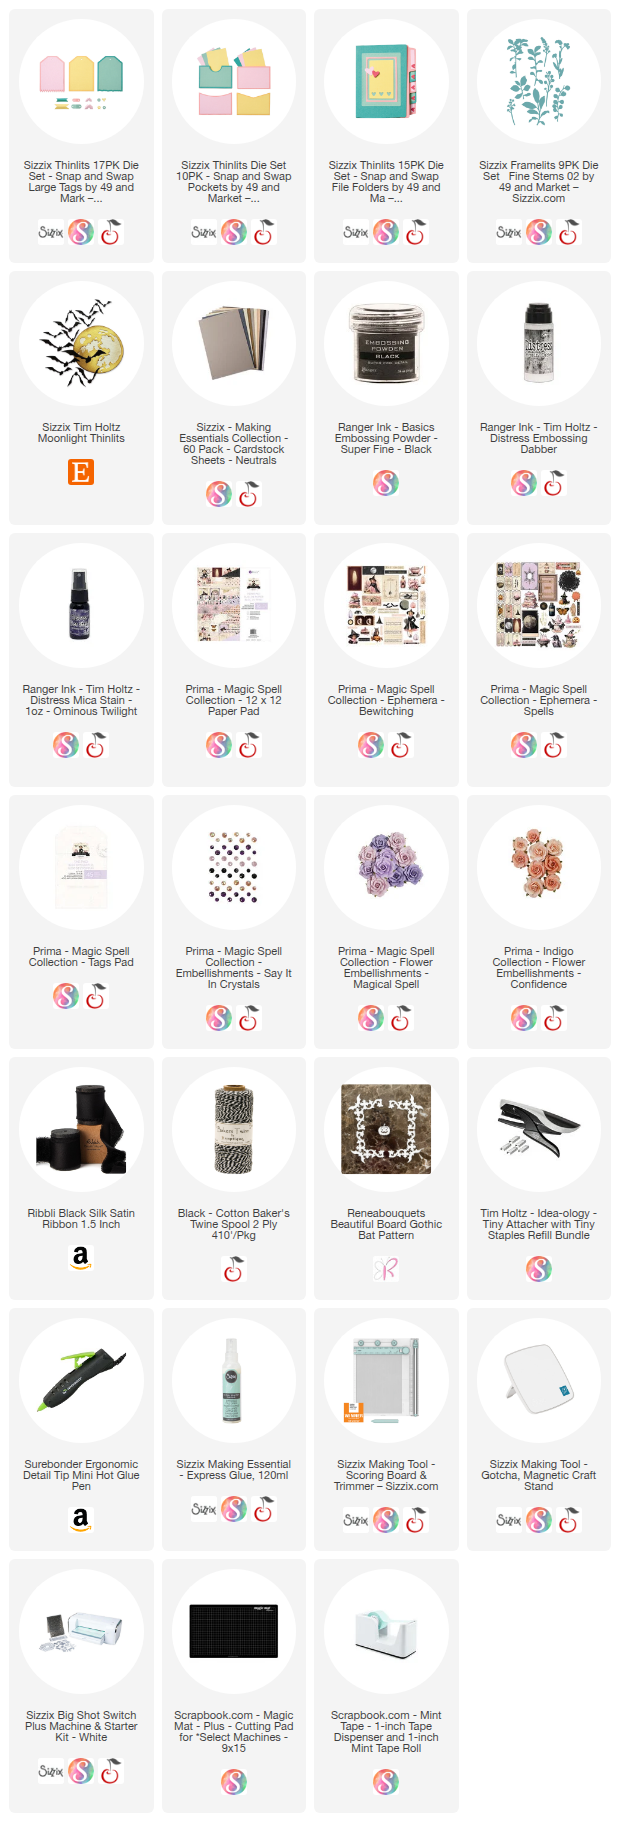
Below are products that I used for this project.


0 comments
I'd love to hear your thoughts!