DIY Paper Matchbox Tutorial with Mushroom Vignette
This DIY paper matchbox is perfect for all your tiny matchbox art. Get your free instruction guide!
Hey, crafty friend! I love tiny art--in fact, I used to make miniatures a few years ago. Nothing too extreme, just some fun little things for my niece's dolls. To celebrate my love of mini art, I decided to make these sweet matchbox mushroom vignettes.
I've got a free instruction guide you can download that includes measurements and directions. I even have measurements for an optional lid, if adding frame ephemera isn't your vibe. And, as always, I have the list of supplies I used for my own version of this project listed below for you. Now, let's get into this tutorial!
Start by die cutting a piece of Prima Marketing's In the Moment 12x12 paper to 4 by 5 inches. Then score in by 1/2 inch and 1 inch on each side. Then cut the tabs free and notch your tabs like in the image above. (I definitely recommend checking out page 2 of my guide, where you can get a detailed look at what to snip off with your scissors.)
along your score lines and then glue the small tabs to the inside of your matchbox. This will create the box shape. Then fold over and glue the larger tabs to create a more finished look to the inside of your matchbox.
At this point, you can also create the lid to your matchbox if you want to use one. But I decided to cover the opening with some ephemera. I used the golden hued frame from one of the In the Moment ephemera packs.
But before I glue that on, I add 2 pieces of the grassy knoll ephemera from the Return to Wonderland Forest Finds Ephemera. I use 1mm thick foam to adhere the back one in place, closer to the top of the box, and the second one using 2 layers of 3mm thick foam toward the bottom of the box.
Make sure that the foam on the upper layer of grass stays at the bottom of the ephemera so you can tuck mushrooms in between your grass layers.
Then add in your largest mushroom piece over the back grass ephemera, using 1mm thick foam. Add the smallest mushroom on the top layer of grass using 1mm thick foam. Before adding your last mushroom, add on the frame ephemera using hot glue, adding the glue along the edge of the box.
Once the frame is in place, add in your last mushroom piece using 3mm thick foam, allowing the mushroom to overlap the frame edge a bit. The final step is to add a chipboard sentiment, some paper flowers and crystals to your project, and voila! A sweet mushroom vignette in a DIY matchbox. Until next time, happy crafting!
Adrienne
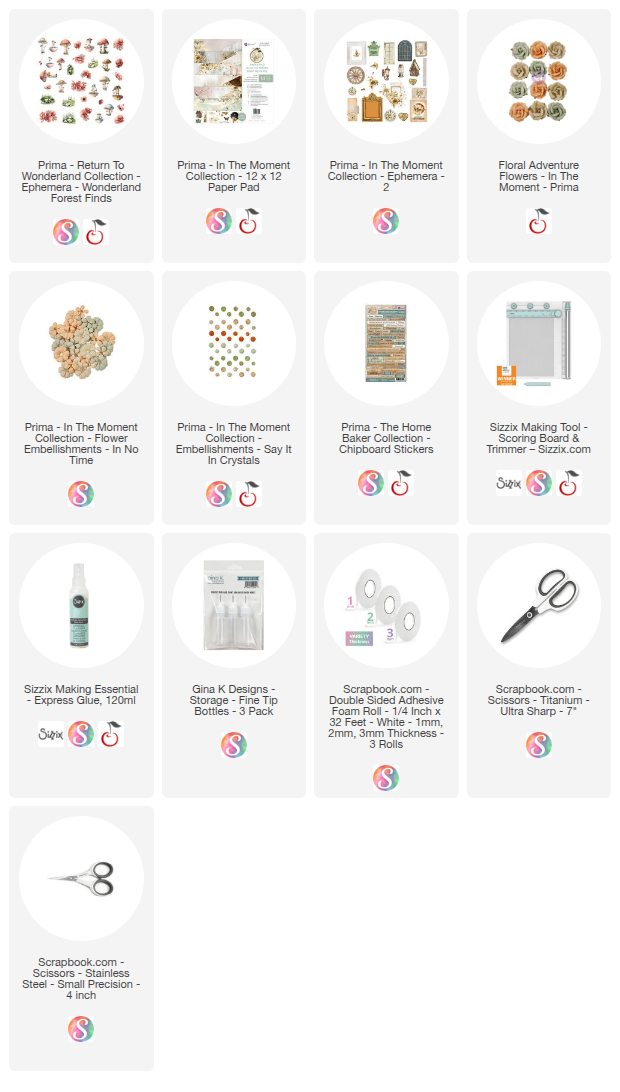
Shop the Supplies:
Scrapbook.com, A Cherry On Top, Spellbinders, Sizzix, Etsy & Amazon
I am an affiliate with multiple companies. When you shop the links below, I receive a small commission from the affiliate, at no additional cost to you. This helps me balance the costs of the time and love I put into my projects and blog so I can continue to share my ideas with you for FREE. If you shop the links, thank you! I greatly appreciate it.
You can also use the code adrienne15 for 15% off your order on the Prima Marketing Retail site.
Below are products that I used for this project.


0 comments
I'd love to hear your thoughts!