
How to Create a Secret Garden Gate Shadowbox with Prima's Serene Petals!
Serene Petals features architectural details and beautiful spring motifs. Create a secret garden gate shadowbox using the collection and this tutorial!

Hey, crafty friends! Prima Marketing recently released Serene Petals, a collection that features their classic floral motifs, architectural elements, and soft pink and green hues. For my first project with this collection, I wanted to create a lit shadowbox using several pieces of the 12x12 paper, ephemera, and of course, the lovely flowers!

I made this shadowbox from scratch, so let's get into this fun tutorial!
Start by fussy cutting the gate out from the 12x12 paper pad. I highly recommend a self-healing craft mat and swivel craft knife as you'll want to cut out the larger open areas between the wrought iron detail of the gate.

Cut the garden lattice paper to 10 1/2 x 10 1/2 inches leaving one of the larger floral clusters in the corner.
Then cut the pink brick paper to 10 1/2 x 10 1/2 inches. On the right side, cut the brick randomly, like it's a crumbling wall, but make sure that your gate is able to fit comfortably on the pink brick paper. Then cut an arched opening where the gate will layer over the brick paper. This will allow you to see the garden lattice paper at the back through the gate.
Using some Finnabair Modeling Paste and the Shabby Romantic Stencil Set, apply the paste through the damask stencil on the right side of the lattice paper. Then apply the same paste through the Calculations Stencil onto the pink brick paper. Set these aside to dry.

To create the housing of the shadowbox, cut some white chipboard to these sizes:
- 1 back piece - 10 5/8 x 10 5/8 inches
- 4 side strips - 10 5/8 x 1 1/12 inches (you may want to cut just a tiny bit off the end of 2 of the strips to help line all 4 up to create a perfect box more easily)
You'll also need to cut some patterned paper to go around the outside of the shadowbox to make it pretty. The side strips will overlap with the back piece and help hold the chipboard together. I used the pink background paper for the sides and the blond wood for the back. Here are the measurements:
- 1 back piece - 10 5/8 inches x 10 5/8 inches
- 4 side strips - 10 5/8 x 2 inches, score at 1 1/2 inch, notch off the ends of the tabs created at a 45 degree angle
- 8 latch strips (2 for each corner) - 1 1/2 x 1/4 inch
To help support your layers but also create space between them, you'll want some foam adhesive and cardboard box. Trace the Pink brick paper out onto a piece of cardboard box. Pencil in some lines that bring the opening of the arch out a little wider, and bring in the lines along the right edge. This will leave space for your lights. Then using a craft knife, cut out the cardboard box shape. Cover the inside edge of the arch and the right edge of the cardboard with some strips of the Prima Paper.

Fussy cut the urn from the 12x12 paper and a floral cluster that fits in the urn from the 6x6 paper pad. I also picked out my floral cluster ephemera pieces and trimmed off some of the excess white halo, again using my swivel craft knife and a self-healing craft mat.
Now that your elements are ready to go, let's start with the assembly. Glue the lattice paper to the white chipboard backing piece. Near the bottom center, punch a hole through the pieces. This is where you will string your lights through. (You want to make sure that this hole is covered up by the pink brick paper.)

Glue the side strips of patterned papers to the side strips of chipboard, ensuring the score line on the patterned paper is along the long edge of the chipboard. Take the left side strip and the top strip and fold at the scored line then use this tab to attach these pieces to the top and left side of your box. Fold the two strips up to create the sides of the box and using a bit of hot glue, glue the two pieces together where they meet at the corner.
Flip the box over to the back. Take the patterned piece of paper for the back and apply adhesive only along the top left side of the paper (as the back side of the paper is facing you)--this is very important! You'll adhere this piece so that the adhesive is covering the tab on the top right side (as the back of the box is facing you). You want to leave the rest of it unglued for now so you can slip the tabs for the bottom and other side of the box underneath.

Flip the box back over and re-punch through the hole you made near the bottom to go through the tab and the back paper pieces that have covered up the hole. String your lights through the hole. (You may want to temporarily hold your tiny lights in place on the back of your box with some washi tape.)
Using the corner you created in your shadow box, place your cardboard where it needs to go, then glue the pink brick paper to it, using the corner of the box to help you line the two up. Flip your brick layer over and apply some foam adhesive to the back side, leaving space and gaps for the wire of your lights.

Then glue the tiny lights to the back of your cardboard using hot glue. I had enough to go around the gate, spacing the lights closer together and hiding the excess wire, plus taking the lights along with crumbled edge of the brick paper.
Remove the backing on your foam adhesive and lining up the top left corners again with the shadowbox, adhere the brick layer to the lattice layer. If you want some "wiggle time" to get your brick layer place perfectly, add some liquid adhesive over your foam adhesive.
Add foam adhesive to the back of your gate layer. Peel off the backing, add liquid adhesive to the foam, then line up the bottom edges of the gate and pink brick, as well as the bottom left corners.
Before getting on to the fun part of decorating, let's finish assembling the box and create a housing for the battery pack. Fold the the right strip and bottom strip at the score line and glue that tab to the back of the box, slipping the tabs under the back patterned paper. Then finish gluing the back paper in place.

To create a box for the battery pack cut a strip of paper from the 6x6 paper pad. Most of the button cell battery packs will fit these measurements:
- Cut the strip to 2 3/8 x 6 inches
- Score at 1 1/8, 1 1/2, 2 5/8, 3, 4 1/8 inches
- Turn it 90 degrees and score at 3/8 inches
Fold at the scored lines and then cut along them in the bottom 3/8 inch section to create tabs. Also trim off the paper after the 3rd 1 1/8 section and trim the bottom tab off that 3rd section. Notch the smaller tabs and one of the longer tabs. Fold around to create a box and glue the two 1 1/8 inch sections on either end together. Fold the notched long tab in, then glue and fold in the smaller tabs. Finish off by gluing the un-notched tab over the bottom.
Glue this little box to the back side of your box and slip the battery pack in. If you have some excess wire you want to hide, glue a piece of larger ephemera from Serene Petals to the battery box. It makes it pretty and hides any unwieldy wires while still giving you access to change the batter or turn the lights on/off.

Fold the 8 tiny strips you created in half and glue them over the corners of the shadowbox. This will add just a little more sturdiness to the construction. I added some matte silver flatback pearls to top and sides of the tiny strips to make it look like rivets. (Don't add any to the bottom or your box won't sit nicely!)
Flip the box back over and begin to decorate your shadowbox! Glue the fussy cut floral to your urn with a bit of foam adhesive. I added a tiny bit of lace to it as well. Add this to the bottom right of your shadowbox. Then take the "La Bell France" ephemera piece and glue it to the lattice paper with foam adhesive, tucking it slightly behind the pink brick layer.

Add some of the floral ephemera using foam adhesive over the top left of the arched gate, and along the top right side. Create a floral cluster with various paper flowers from the collection just under your floral ephemera on the right side of the gate. Add some of the smaller flowers to the layers of floral ephemera around the gate. Tuck in a little lace if you want.
I added two mini urns with some clear bubbles, which I think looks like gazing balls. I used Heavy Body Gel to glue these in, along with a tiny dab of hot glue to help hold them in place while the gel cured. I added one to each side of the gate.

Then take the window box of flowers from the chipboard stickers and hot glue two white Memory Hardware Pearls to the back of it to create a little "stand." Glue the window box to the bottom right corner with hot glue. Glue a few of the smaller flowers around the window box and urns.

Using Finn's White Gesso, dry brush the flowers and papers with the gesso for that shabby chic, distressed touch. Then add some Art Stones with the Soft Matte Gel. The finishing touch is to add a few green pink and white pearls to your flowers and around the urns, plus some of the pretty glitter Crystals from collection.
I hope that you enjoyed this tutorial and that it inspires you to make a shadowbox of your own! Until next time, happy crafting!
Adrienne
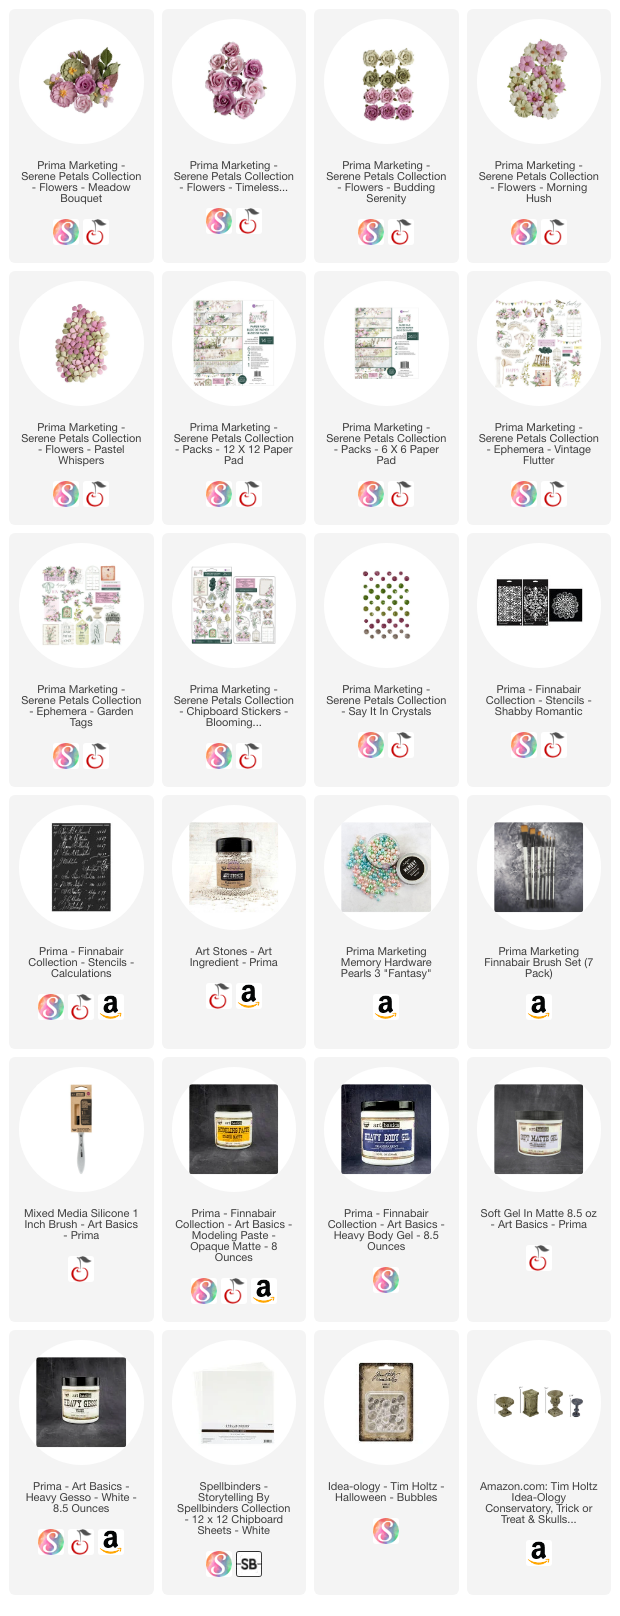
Shop the Supplies:
Scrapbook.com, A Cherry On Top, Spellbinders, Sizzix & Amazon
I am an affiliate with multiple companies. When you shop the links below, I receive a small commission from the affiliate, at no additional cost to you. This helps me balance the costs of the time and love I put into my projects and blog so I can continue to share my ideas with you for FREE. If you shop the links, thank you! I greatly appreciate it.
You can also use the code adrienne15 for 15% off your order on the Prima Marketing Retail site.
Below are products that I used for this project.


0 comments
I'd love to hear your thoughts!